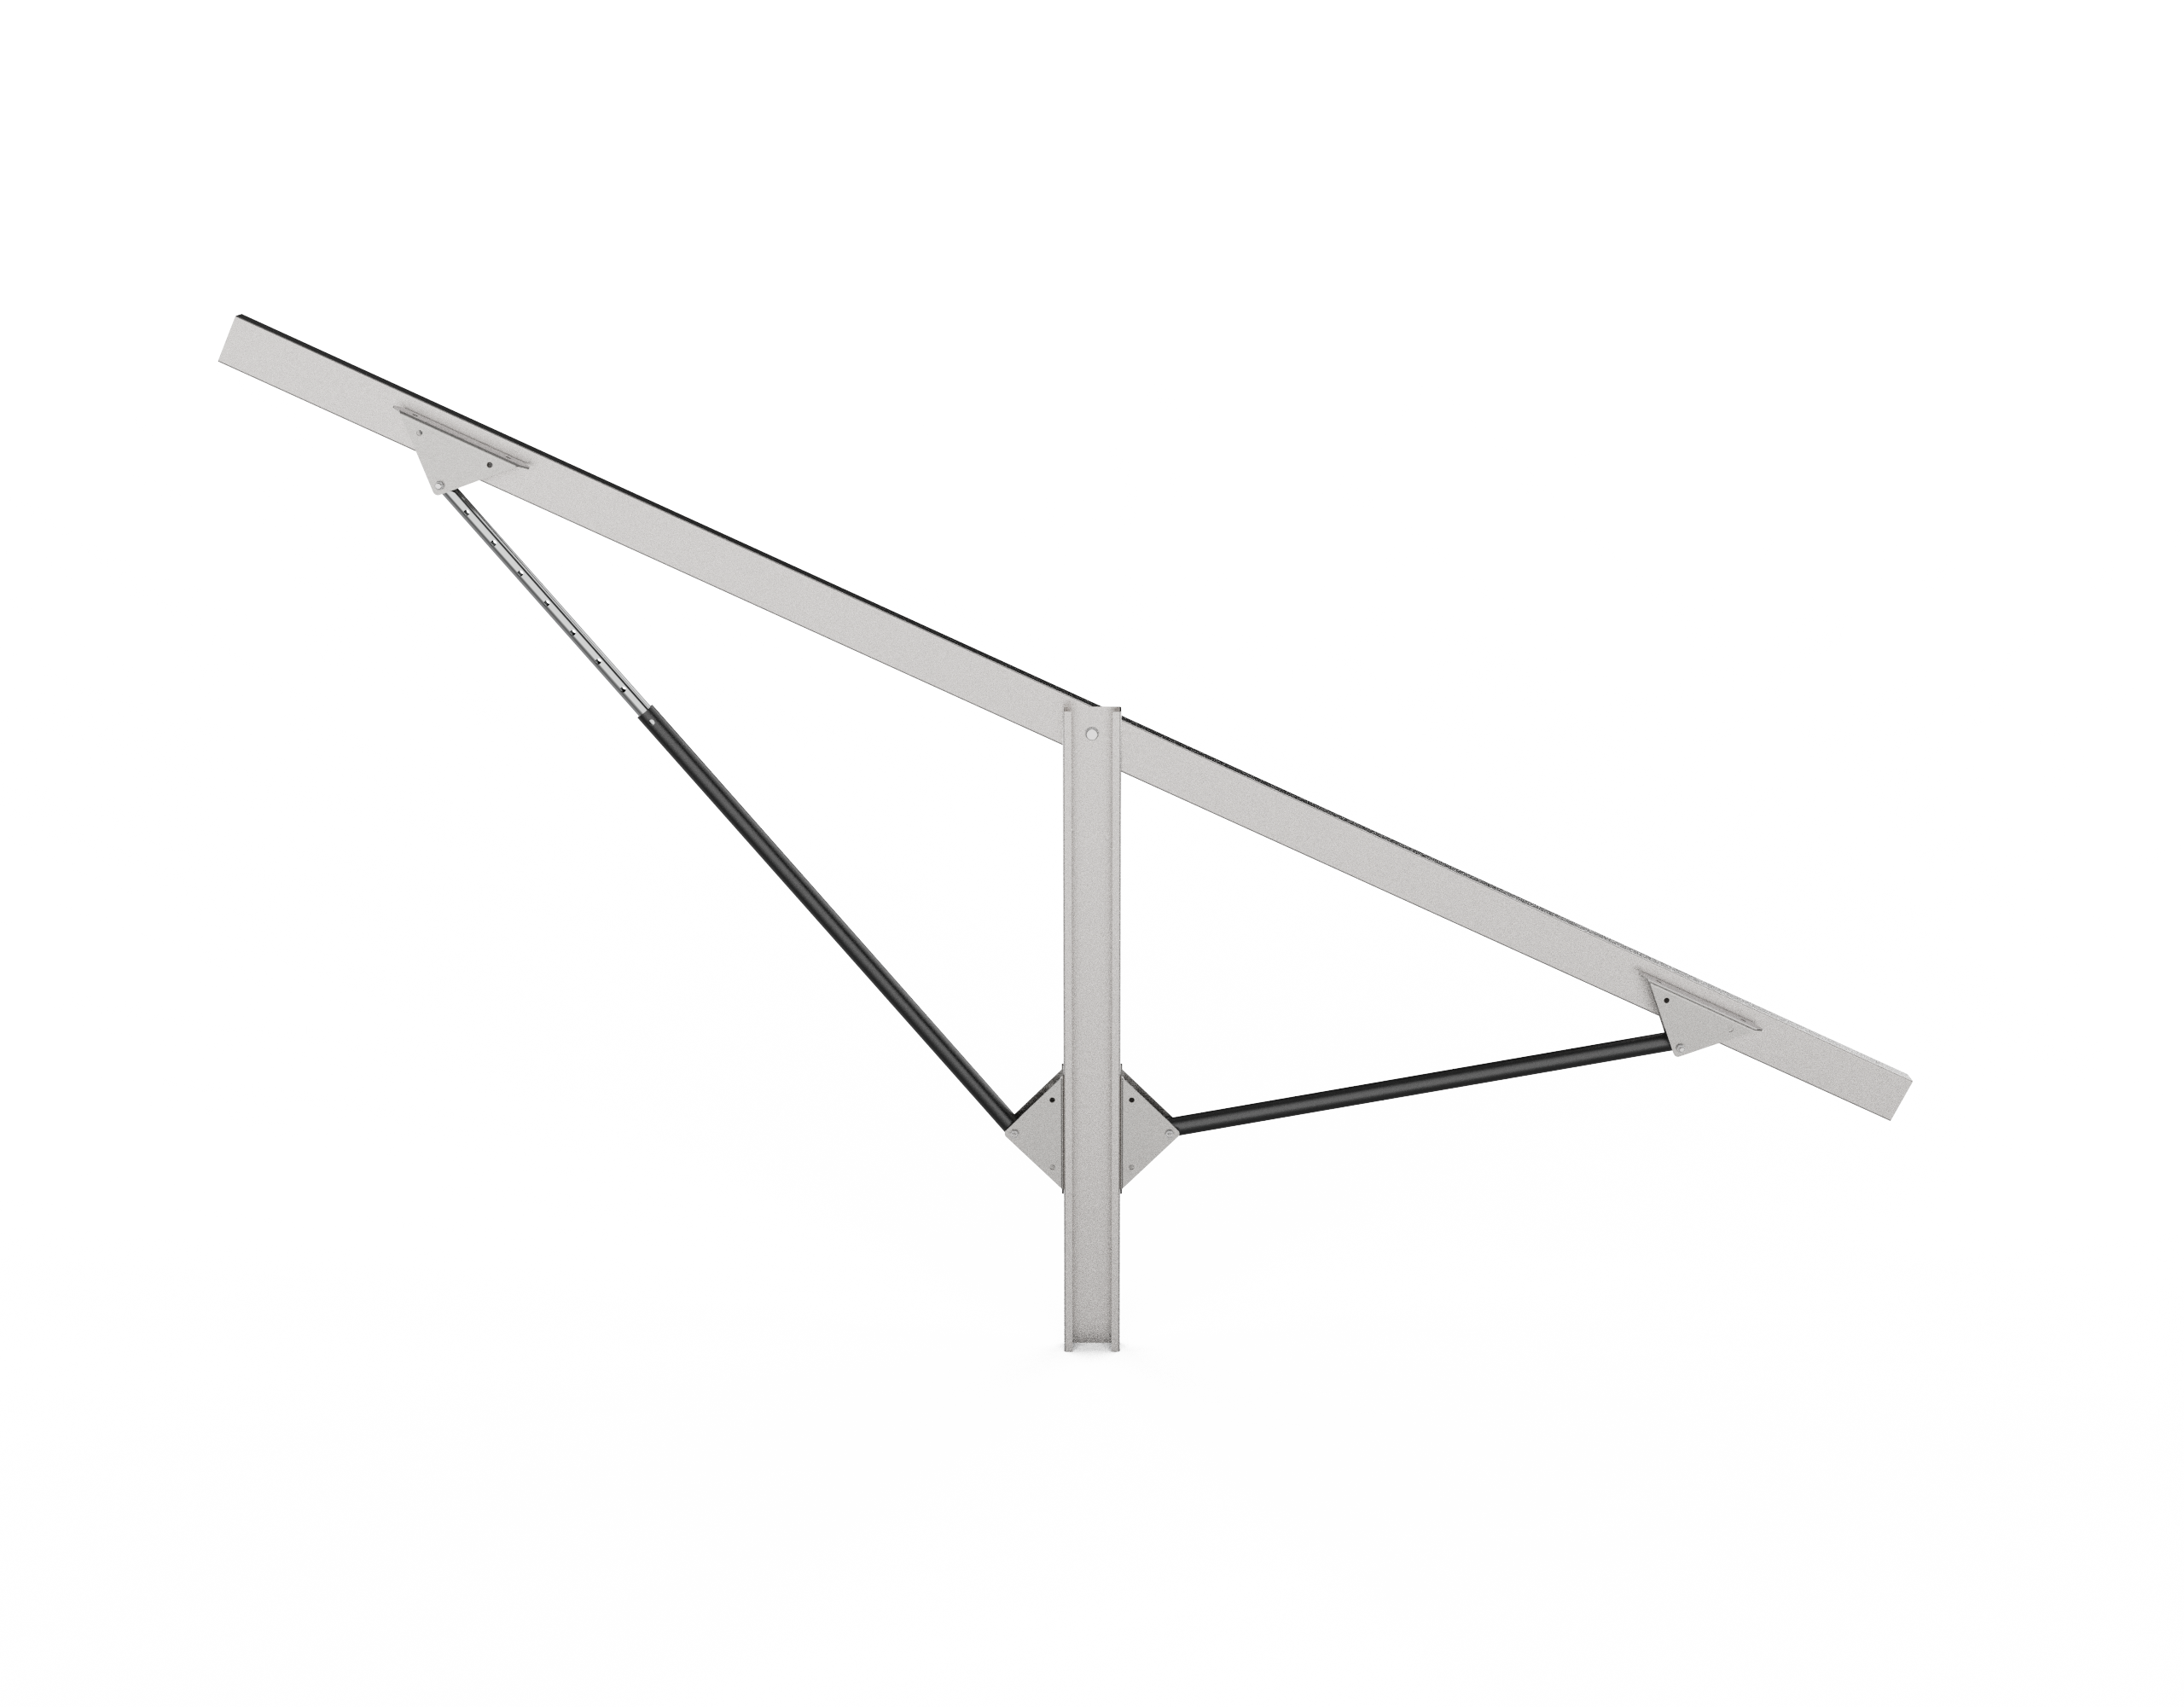
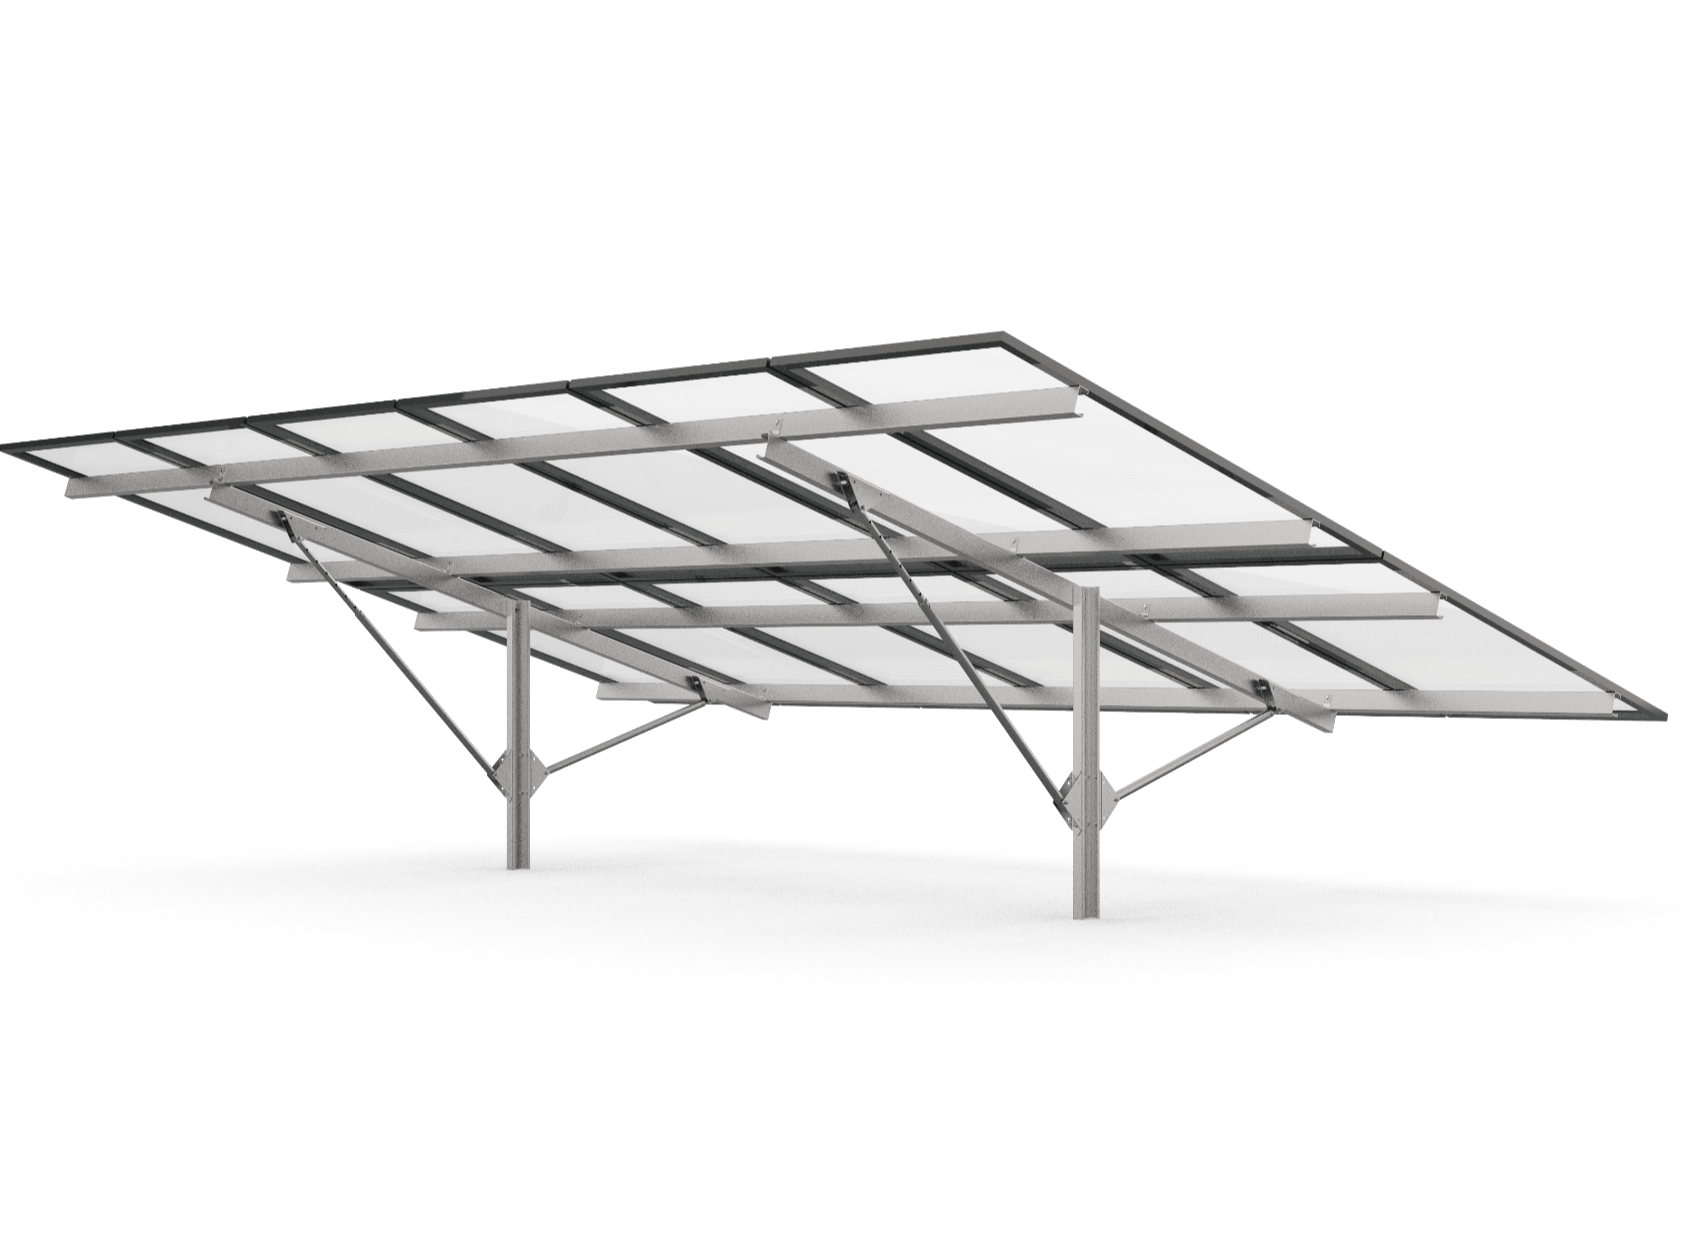
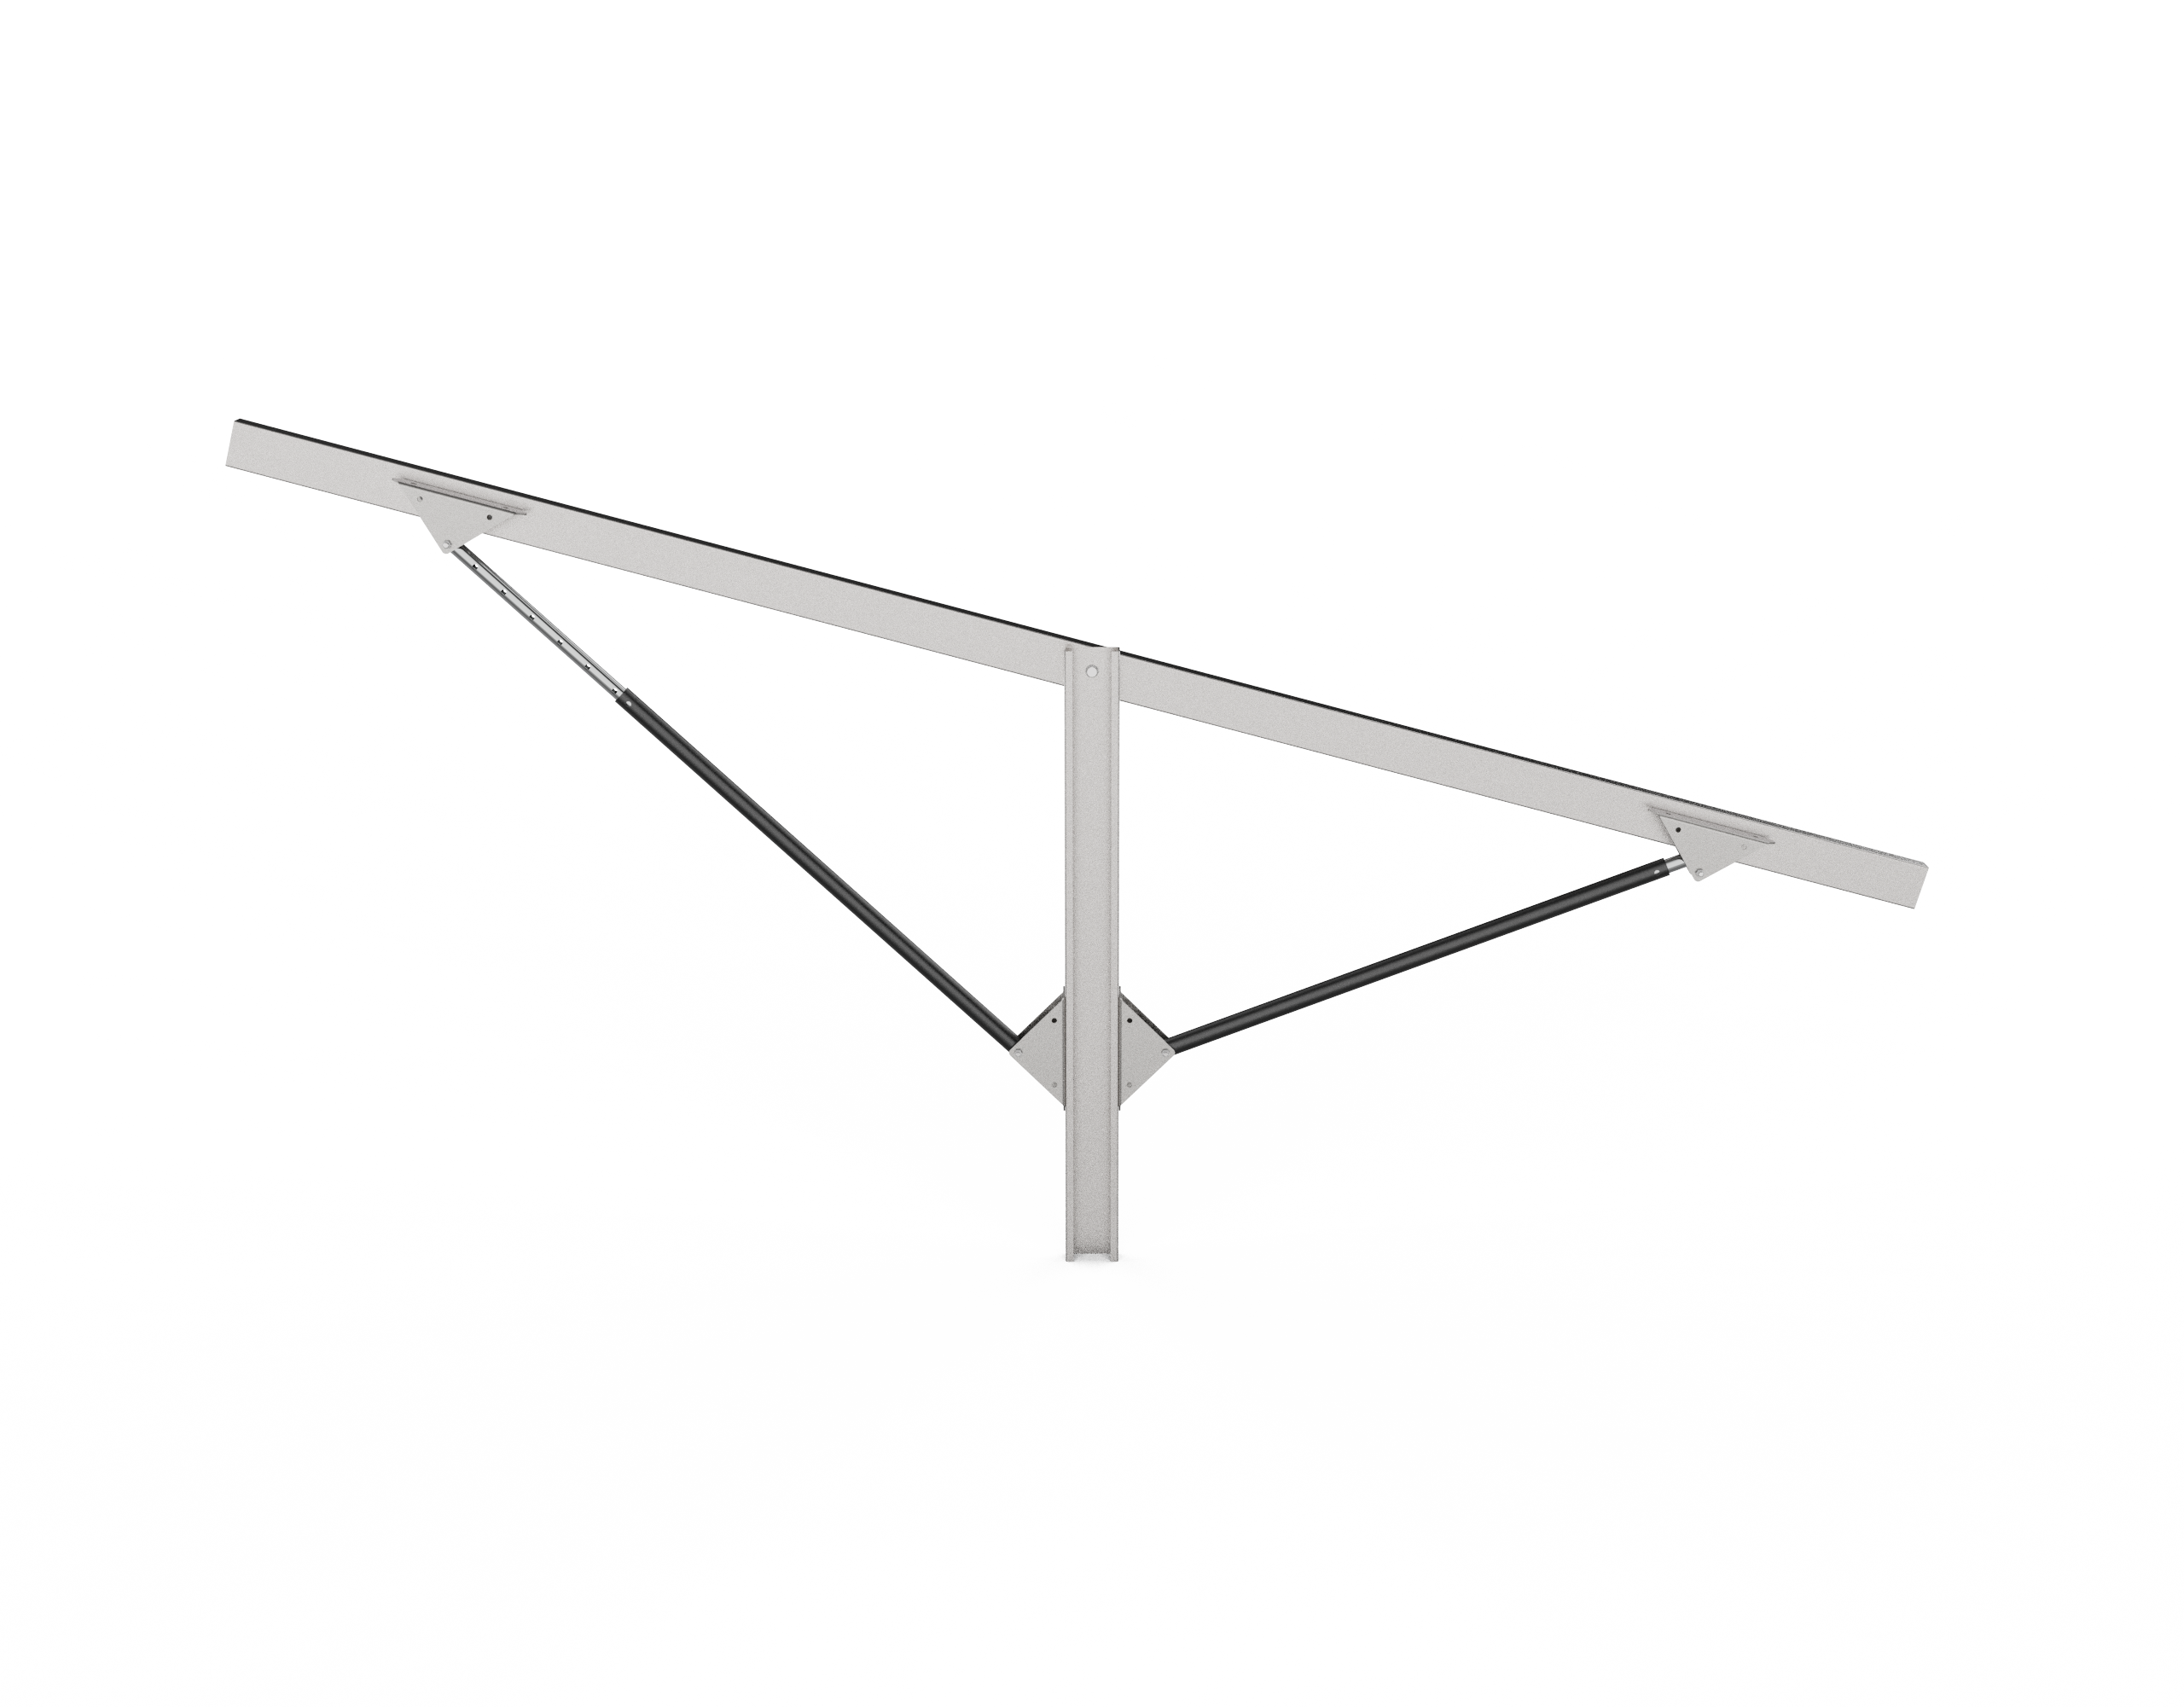
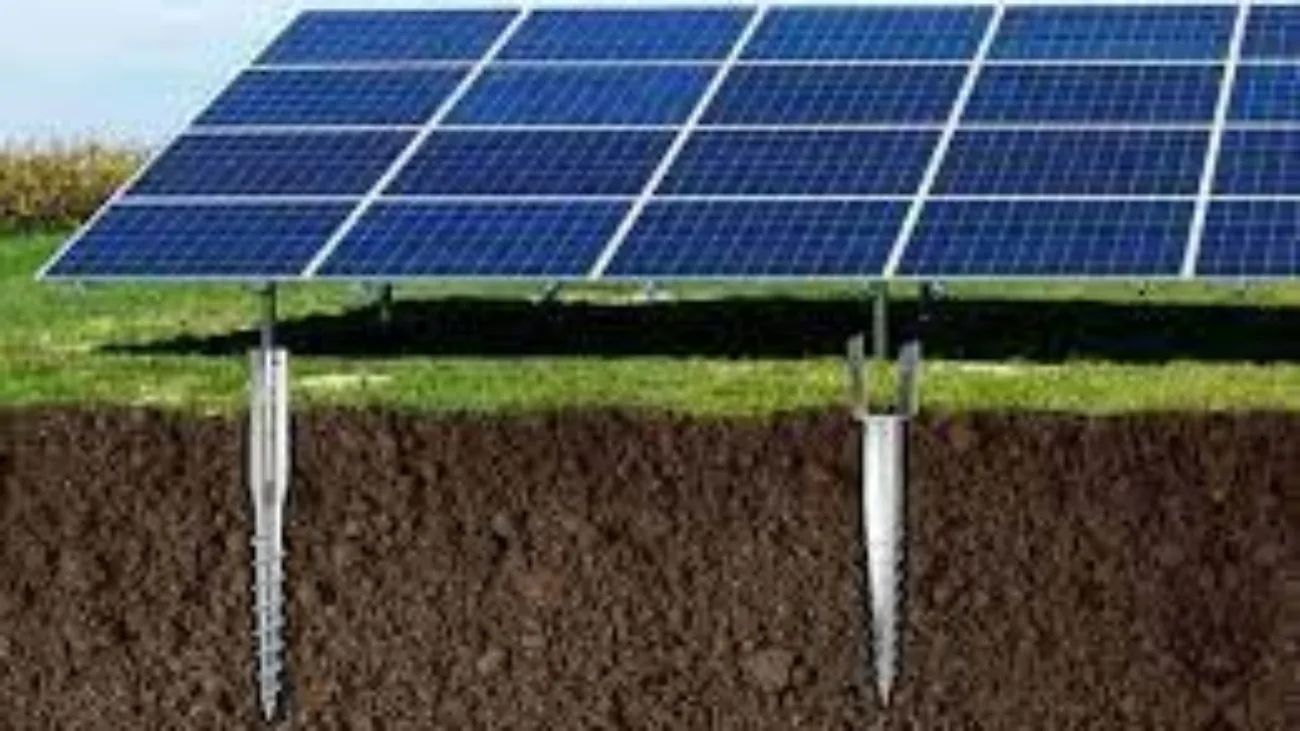
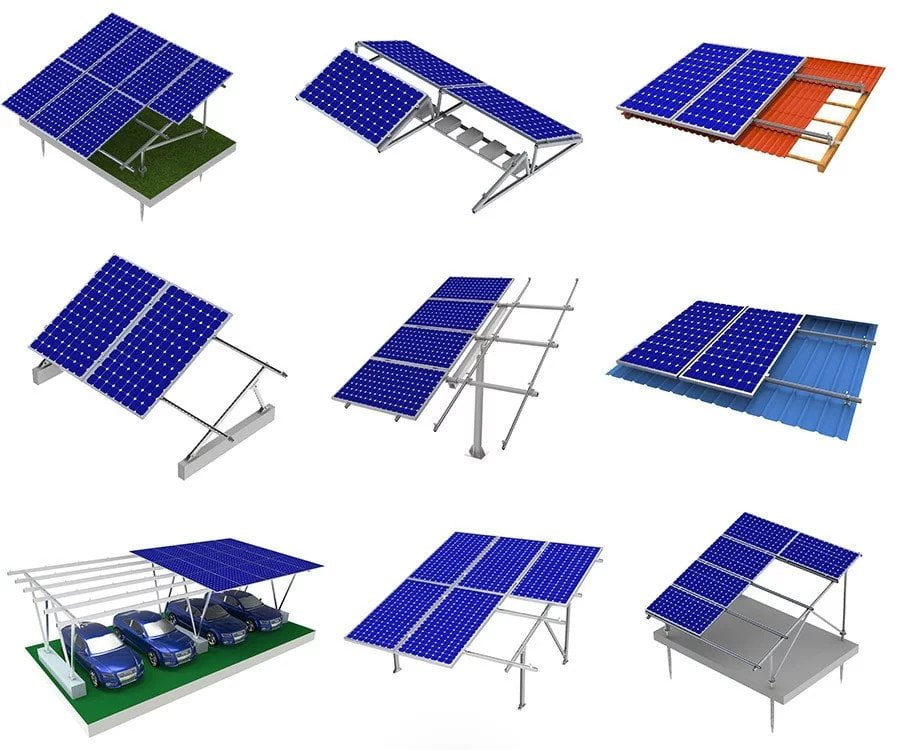
Solar Panel Mounting Accessories

Accessories Used in Solar Panel Mounting System

I. Introduction to Solar Panel Mounting Accessories
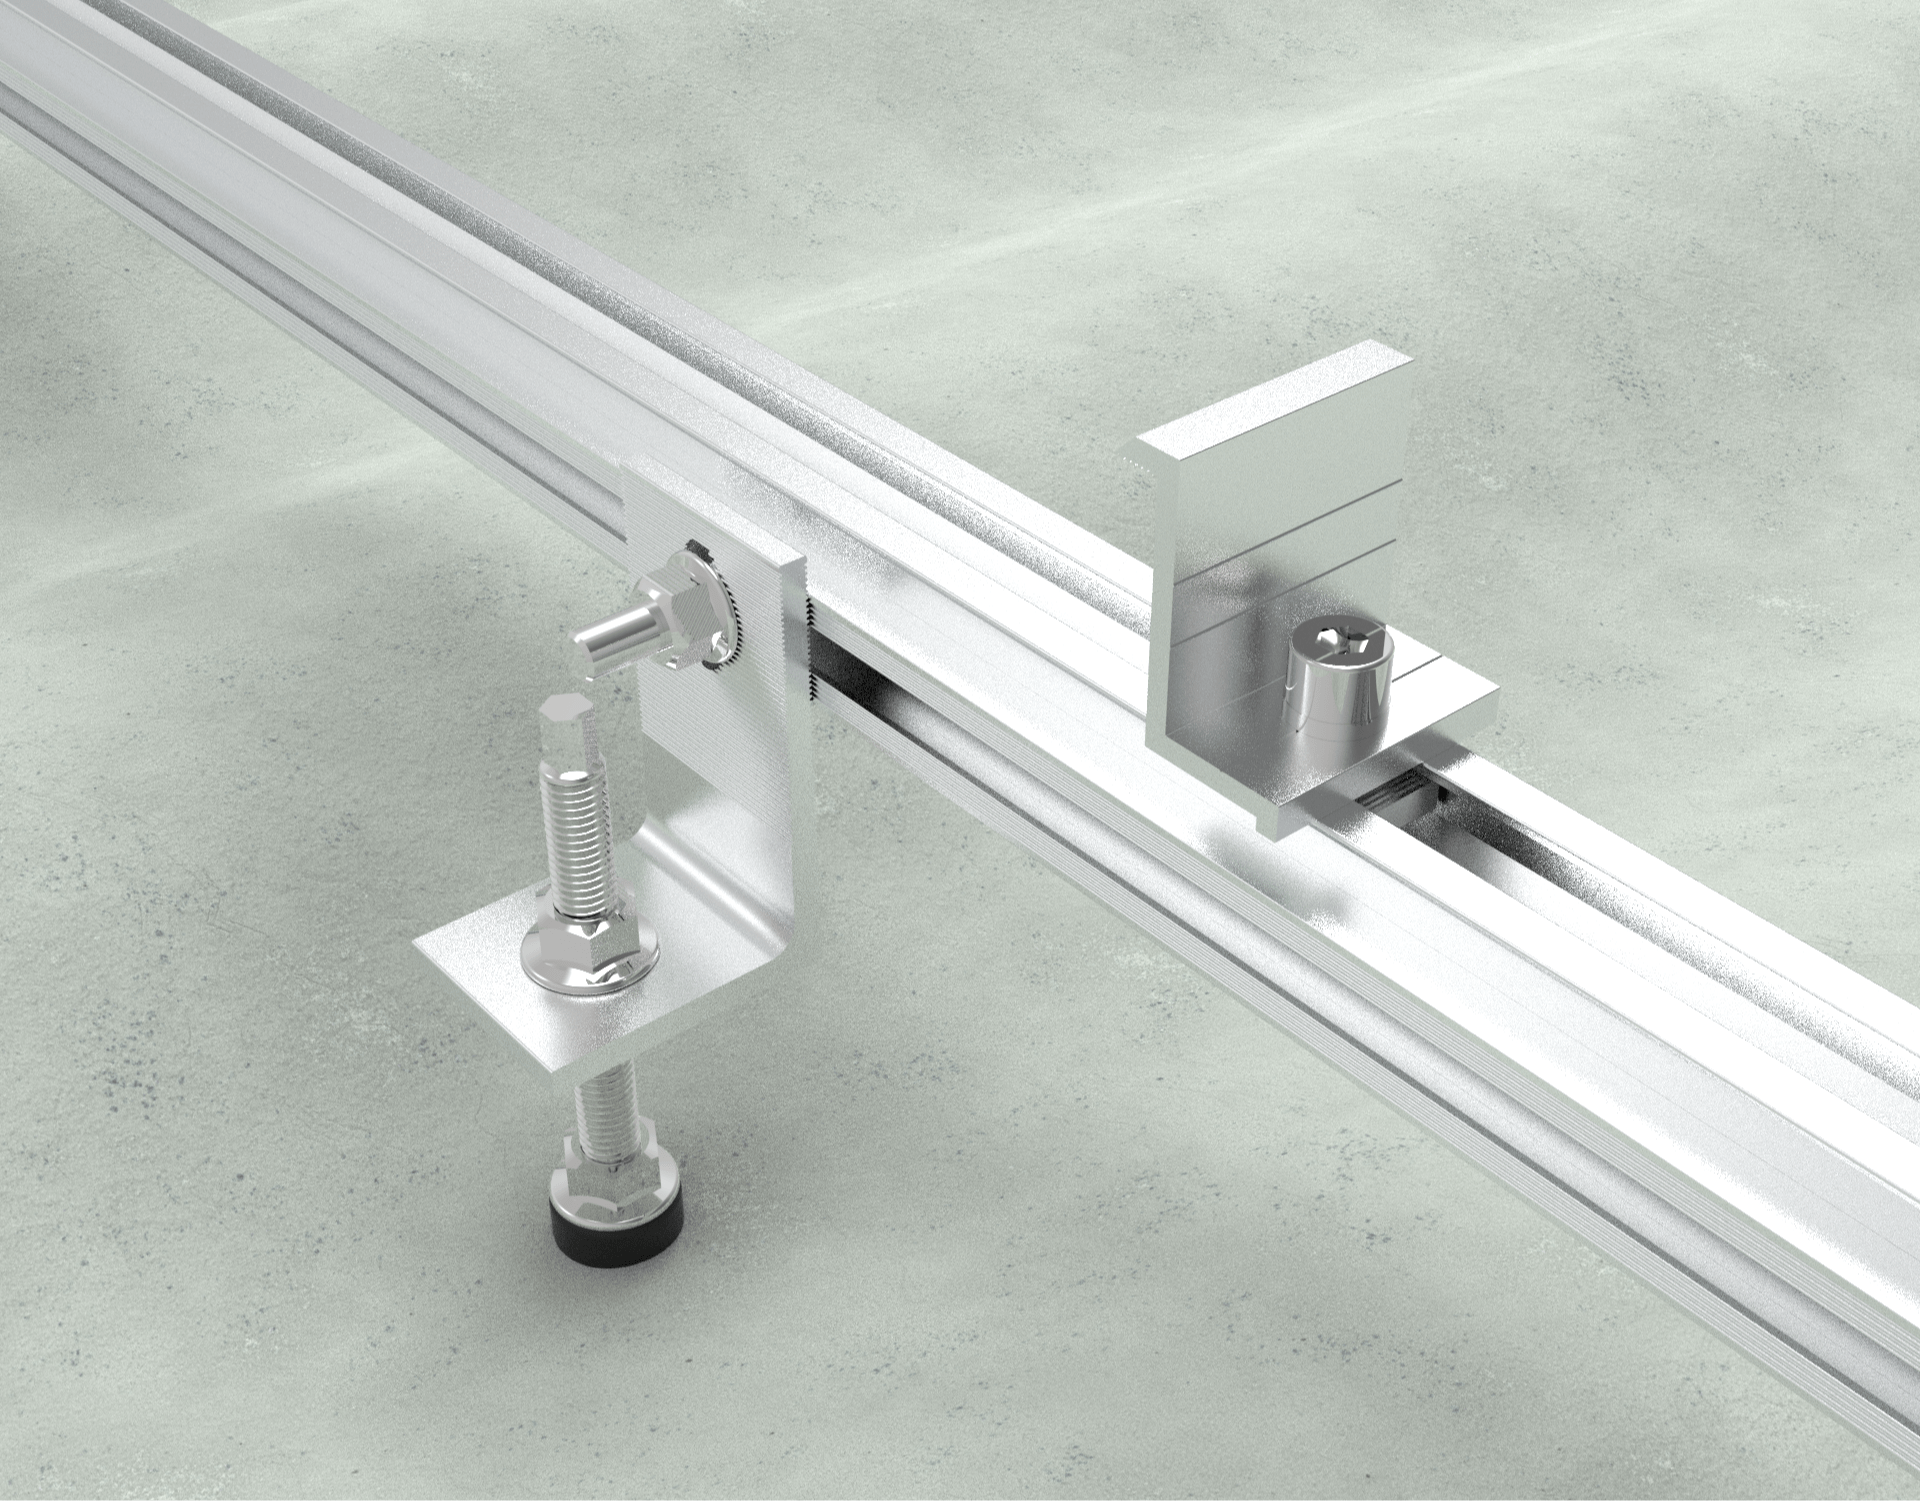
Solar Panel Mounting Accessories

Solar panel mounting accessories are essential components of any solar panel mounting system. These accessories help securely install solar panels on rooftops, ground mounts or other surfaces.

Some key solar panel mounting accessories include:

  • Solar base plate – Provides a sturdy foundation for the solar panel structure.
  • Solar degree clamps – Allow adjusting the solar panel angle to optimize sunlight exposure.
  • End Z clamps – Attach solar panels securely to the mounting rails.
  • Middle U clamps – Hold solar panels together on mounting rails for stability.
  • Power snaps – Anti-theft clips to prevent solar panel theft.
  • Nuts and bolts – Fasten all components of the solar structure together.
  • Fastener chemicals – Bond mounting bolts to the installation surface for strength.
AccessoryPurpose
Solar base plateFoundation
Solar degree clampAngle adjustment
End Z clampPanel attachment
Middle U clampStability
Power snapSecurity
Nut/BoltStructure
Fastener chemicalStrength

These solar panel mounting accessories are made from durable materials like steel and aluminum. They can withstand tough outdoor conditions for long periods.

Using the right mounting accessories improves the safety, performance and lifespan of any solar panel installation. They provide the structural integrity needed to keep solar panels fixed securely under different wind, weather and environmental conditions.

Investing in good quality mounting accessories like spring nut-bolts, SS Allen bolts and structural fastener chemicals ensures your solar power system will function optimally for many years.

II. Solar Base Plate for Foundation

The solar base plate provides a sturdy foundation for the entire solar panel mounting structure. It is installed directly on the roof, ground or any other mounting surface.

The base plate bears the weight of solar panels, racks and other components. It must be made of durable materials like:

Base plates are available in different sizes like:

  • 41mm x 41mm
  • 80mm x 40mm

Larger solar panel installations require bigger base plates for greater load bearing capacity.

The key functions of a solar base plate are:

  • Anchor the mounting structure securely to the installation surface.
  • Resist corrosion and environmental damage.
  • Support the weight of solar panels, racks, wires etc.
  • Withstand high winds without failing.

A proper foundation is crucial for safety and performance of the solar power system. High quality base plates ensure:

  • Long term mounting structure stability.
  • Optimized energy output.
  • Reduced risk of collapse or damage.

Invest in sturdy and appropriately sized solar base plates for your installation. Proper selection and installation of base plates will maximize the lifespan of your solar panel mounting system.

III. Solar Degree Clamps for Angle Adjustment
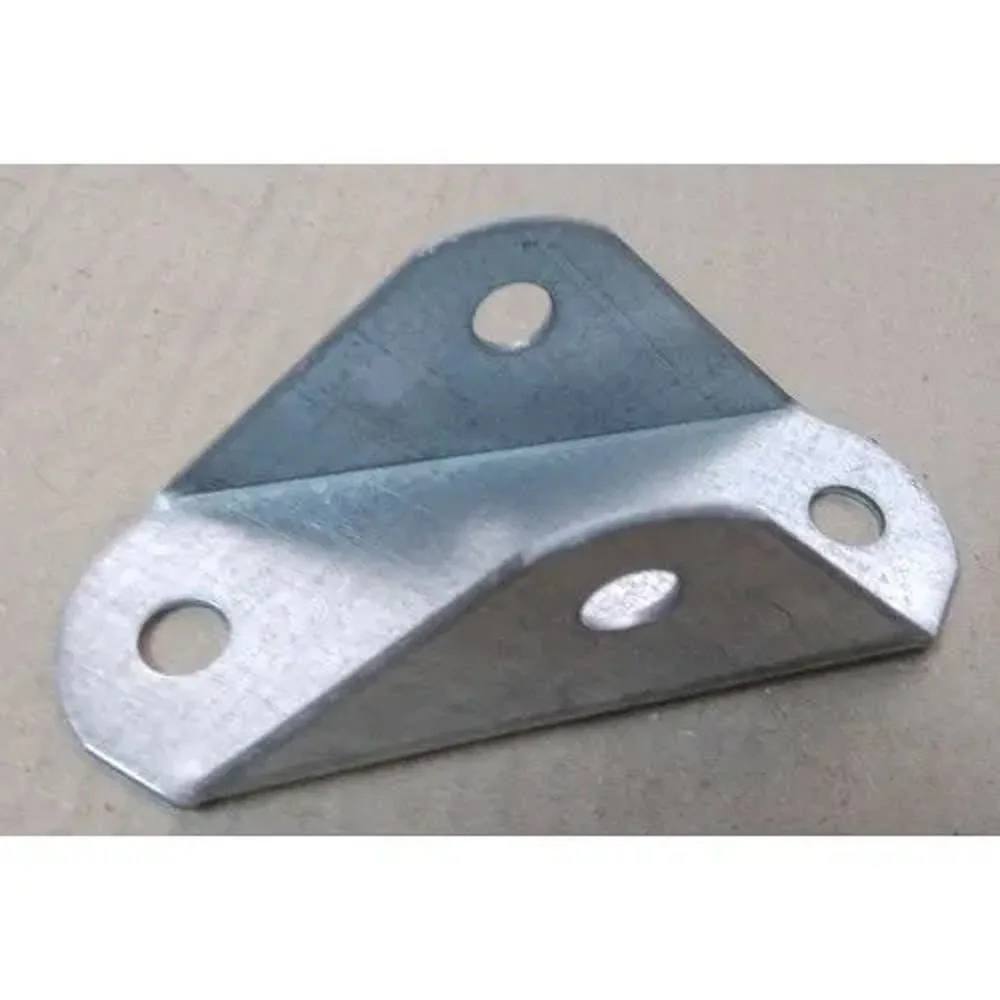
Solar Degree Clamps for Angle Adjustment

Solar degree clamps allow for seasonal tilt angle adjustment of the solar panels to optimize energy production.

These clamps are installed between the solar panel frames and the mounting rails. They have adjustable knobs that can tilt the panels at different angles.

Degree clamps are available in different sizes like:

  • 41mm x 41mm
  • 80mm x 40mm
  • High quality solar degree clamps are made of materials like:
  • Anodized aluminum
  • Stainless steel

Key features of degree clamps include:

  • Adjustability range of at least 45 degrees tilt.
  • Corrosion resistant construction.
  • Easy to install knob bolts.
  • Compatibility with panel frame sizes.

Proper tilt angle as per sun’s position ensures:

  • Maximum sunlight exposure on the solar panels throughout the year.
  • Optimized power output.
  • Enhanced return on investment.

Solar degree clamps must be robust enough to hold the panels steadily at the right angles. Investing in properly sized, good quality clamps will maximize energy production from your photovoltaic system.

Annual seasonal adjustment of panel angles using degree clamps improves solar electricity generation and economic viability of the installation.

IV. End Z Clamps to Attach Panels
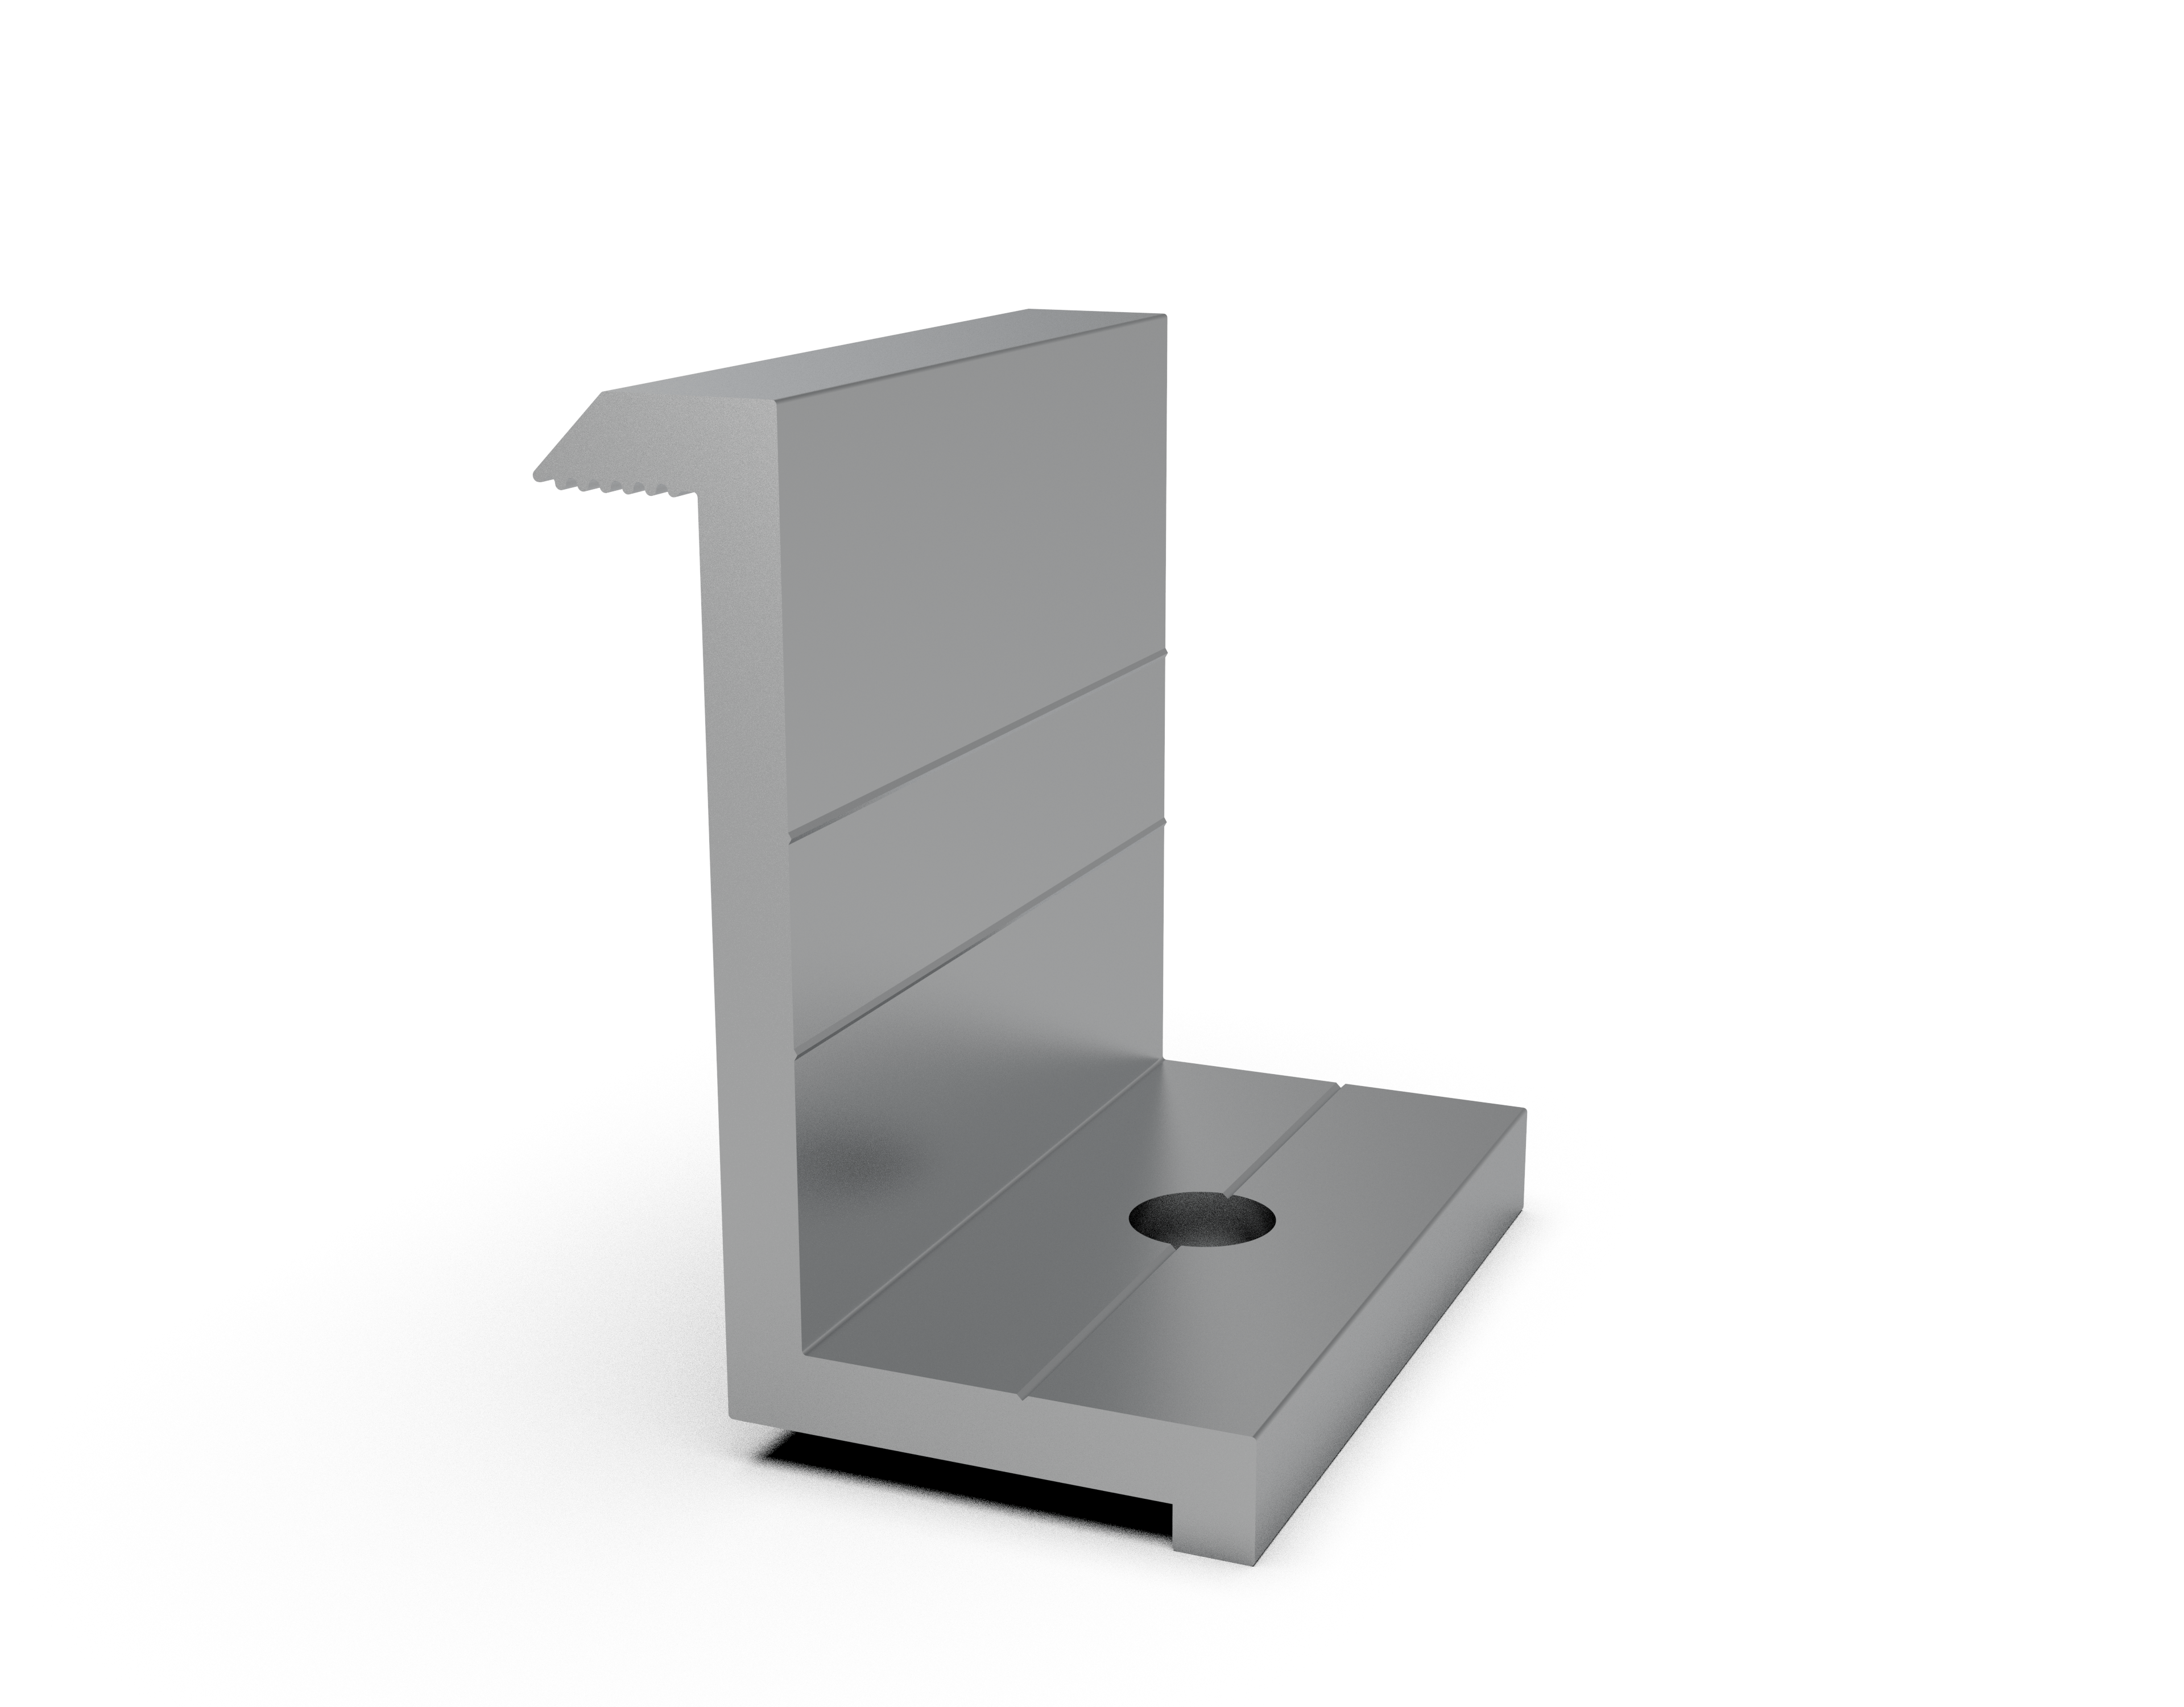
End Z Clamps to Attach Panels

End Z clamps are used to securely attach the solar panels to the mounting rails of the structure.

These clamps have a unique Z-shape design that tightly grips the edge of the solar panel frame on one side and the mounting rail on the other.

Key features of high quality end Z clamps include:

  • Sturdy aluminum or galvanized steel construction.
  • Weather resistant build.
  • Pre-drilled holes for easy installation.
  • Long lasting finish to prevent corrosion.

End clamps are available in various sizes to match different solar panel frame dimensions.

Benefits of using end Z clamps:

  • Provide very secure attachment of panels without gaps or loosening.
  • Allow for quick and easy panel installation.
  • Suitable for long term outdoor use.
  • Reusable if panels need rearranged.

Proper panel attachment is crucial for:

  • Optimized solar energy production.
  • Withstanding wind, rain and other weather events.
  • Preventing panel theft.
  • Ensuring long term safety and function.

Invest in good quality end Z clamps designed specifically for your solar panels. Correct installation using the right clamps will maximize the stability and lifespan of your photovoltaic system.

V. Middle U Clamps
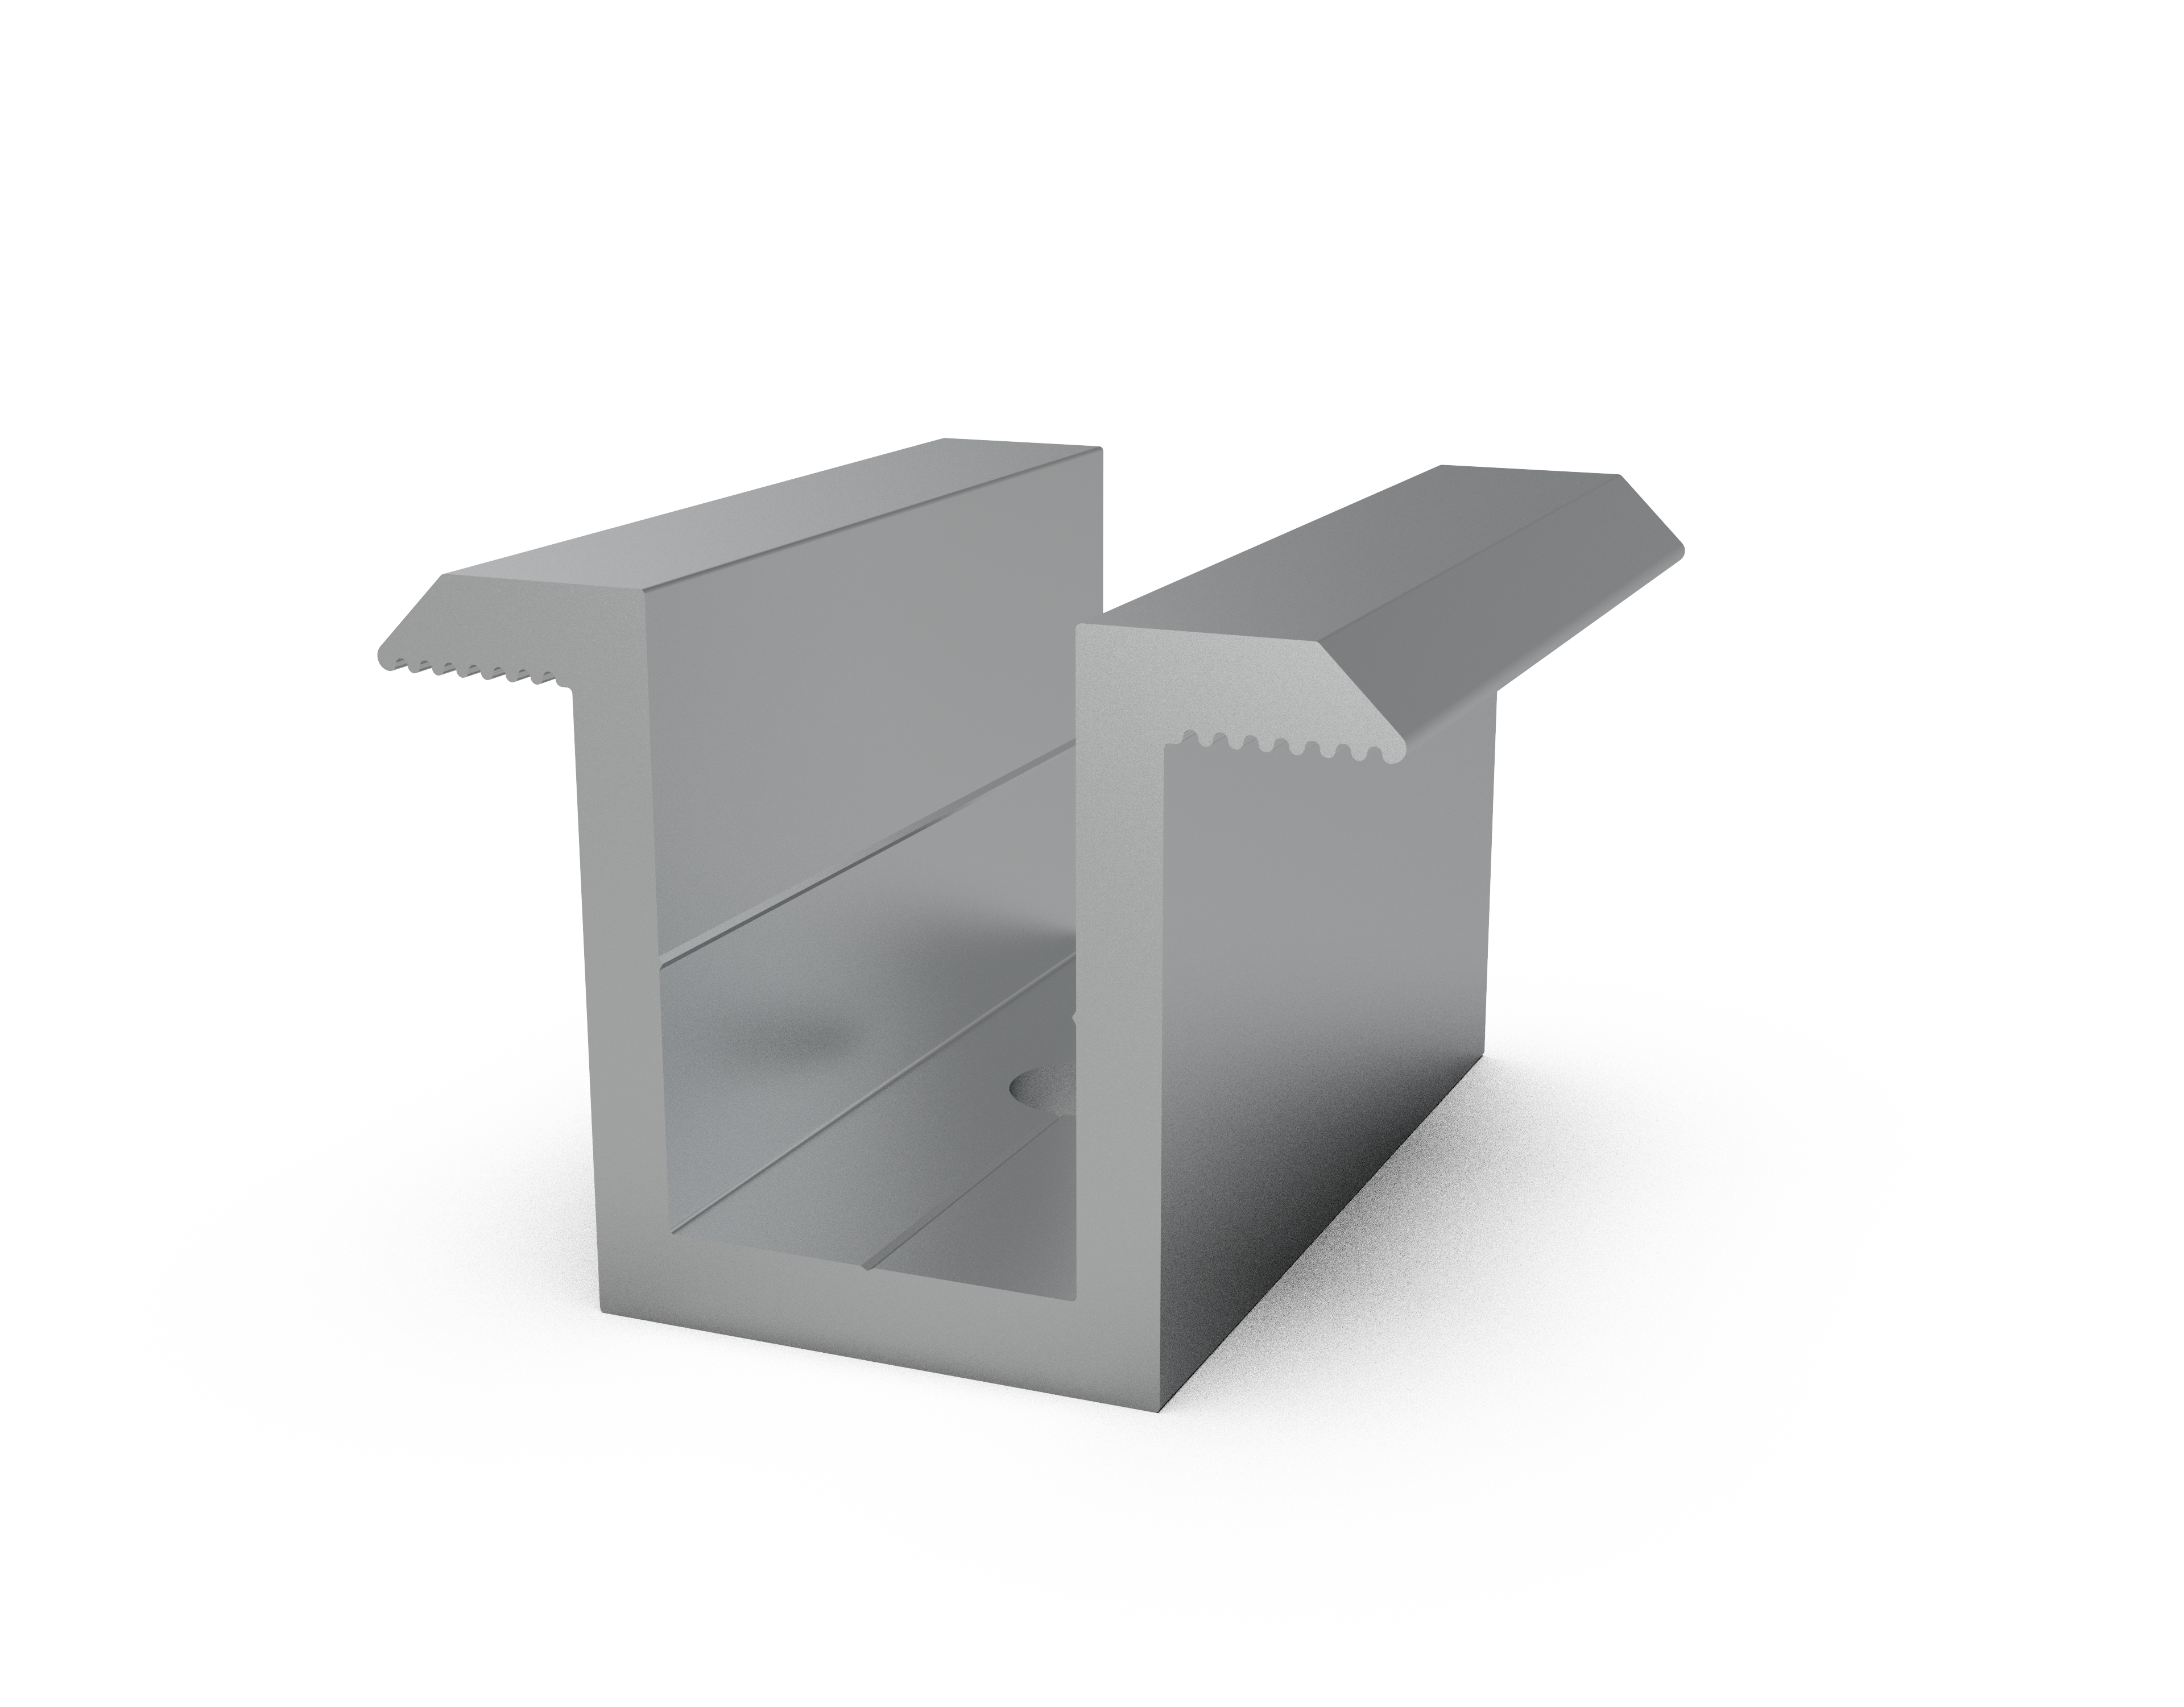
Middle U Clamps for Stability

Middle U clamps are installed between two adjacent solar panels on the mounting rail for optimum stability.

These U clamps have a curved, rounded shape that securely grips the edges of two panels equally.

Key features of high quality middle U clamps are:

  • Durable aluminum or galvanized steel construction.
  • Corrosion resistant finish.
  • Available in various sizes to fit panel frames.
  • Pre-drilled holes for quick installation.

Benefits of using middle U clamps:

  • Prevent panels from sliding down or drifting apart.
  • Provide excellent structural support.
  • Suitable for all types of solar panel mounting structures.
  • Reusable if panel positions need adjusted.

Proper stability of the solar panels ensures:

  • Optimized energy production over time.
  • Ability to withstand weather events like storms, snow etc.
  • Long term safety and function of the system.
  • Reduced maintenance costs.

Invest in appropriately sized, high quality middle U clamps designed for your specific solar panels. Correct installation of these clamps will maximize the structural integrity and lifespan of your photovoltaic system.

Key features of power snaps:

  • Made of durable UV-resistant plastic.
  • Available in different sizes to fit rail dimensions.
  • Require no tools for installation.
  • Reusable as needed.

Benefits of power snaps:

  • Deters potential solar panel theft.
  • Provides extra peace of mind and security.
  • Suitable for all types of panel mounting structures.
  • Quick and easy to install.

VII. Nuts and Bolts for Structure

Nuts and bolts are used extensively in solar panel mounting to assemble the structural framework.

Common types include:

  • Spring nuts – Allow easy insert of bolts into drilled holes.
  • SS Allen bolts – Tighten panels and components securely.
  • Stud bolts – Attach items like junction boxes.

Benefits of using the right nuts and bolts:

  • Strong assembly of the entire mounting structure.
  • Ability to withstand weather elements like rain, wind.
  • Long term integrity and stability.
  • Reusability during the maintenance.

High quality hardware is essential for:

  • Optimized energy production over decades.
  • Reduced risk of structural failures.
  • Lower maintenance time and costs.

Choosing appropriately sized nuts and bolts made of durable materials ensures a sound framework for your solar panels. Periodic inspection and proper re-tightening preserves the stability and lifespan of the installation. Investing in good quality mounting hardware is vital for a robust and long-lasting solar power system.

VIII. Fastener Chemicals for Extra Strength

Fastener chemicals provide additional strength and stability for roof-mounted solar installations.

These adhesives are used with bolts and screws to securely bond the mounting structure to the roof surface.

The typical application process involves:

  • Drilling a hole in the roof material.
  • Injecting the chemical into the hole.
  • Inserting a bolt and allowing the adhesive to set fully.

Benefits of using fastener chemicals:

  • Create an exceptionally strong and waterproof bond.
  • Allow secure attachment to tile, metal and other roof types.
  • Compensate for weaker roof materials.
  • Resist weathering and deterioration over time.

Proper structural strength enables the solar system to:

  • Withstand extreme winds, rain and other weather events.
  • Avoid leaks, cracks and damage to the roof.
  • Maintain optimal mounting integrity for decades.

Proper installation by trained professionals ensures maximum structural reinforcement and lifespan for your roof-mounted solar system.                

Solar Mounting Structure Construction Methods

Solar Mounting Structure Construction Methods

Solar Mounting Structure Construction Methods

I. Selecting Solar Mounting Structures

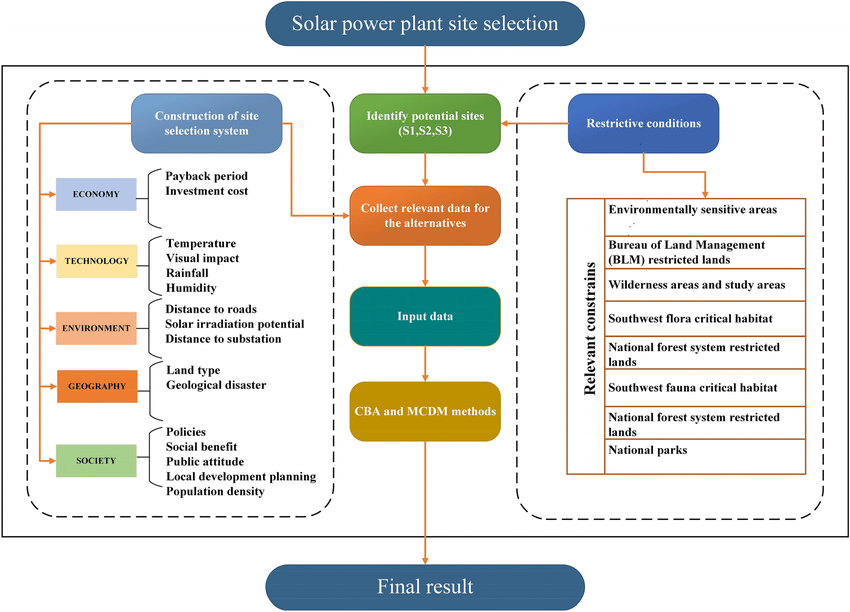
Carefully selecting solar mounting structures is crucial in maintaining solar panel performance and system longevity. This process involves geological surveys, soil condition analysis, fixed tilt and tracker design considerations, and recommendations from advanced modelling tools.

Foundation Requirements

Our geological surveys must be performed to determine the optimal type of foundation for the solar mounting system, assessing:

FactorsRecommendations
Soil acidityApply protective coating if needed
N valuesIndicative of soil strength
GroundwaterPrevent corrosion
Soil conditionsDetailed analysis

Plant Design Considerations

The mounting structures must account for the planned plant design:

  • Fixed tilt: Angled at optimal degree for site location
  • Trackers: Follow sun throughout the day, best suited for flat sites

Analyse topography to account for complex terrain:

  • Foundation pile lengths
  • Model shadowing
  • Streamline parts and installation

Automated Recommendations

Leverage advanced modelling software like Rated Power to automate:

  • Plant layout optimization
  • Component selection for environmental conditions
  • Cost, performance and profitability projections

These tools provide data-driven recommendations to optimize mounting structure selection based on the project goals and constraints.

Their projections help determine required:

  • Pole diameter and depth
  • Fastenings rated for extreme weather
  • Reinforcements to prevent collapse

Carefully weighing these considerations enables selection of cost-effective, durable solar mounting systems able to withstand decades of operation.

Click Here to Learn More

II. Mounting Structure Types

The soil conditions and operational environment dictate the optimal mounting structure. Main options:

Ballast Mounts

Ballast Mounts Mounting Structure
  • Pre-cast concrete block
  • Rest on compacted soil
  • Residential rooftop installations
  • Avoid need to drill/excavate

Helical Piles

Mounting Structure Helical Piles
  • Driven into soil conditions
  • Withstand uplift forces
  • Resist expansion and strong winds
  • Provide load-bearing capacity

Pole Mounts

Pole Mounts Mounting Structure
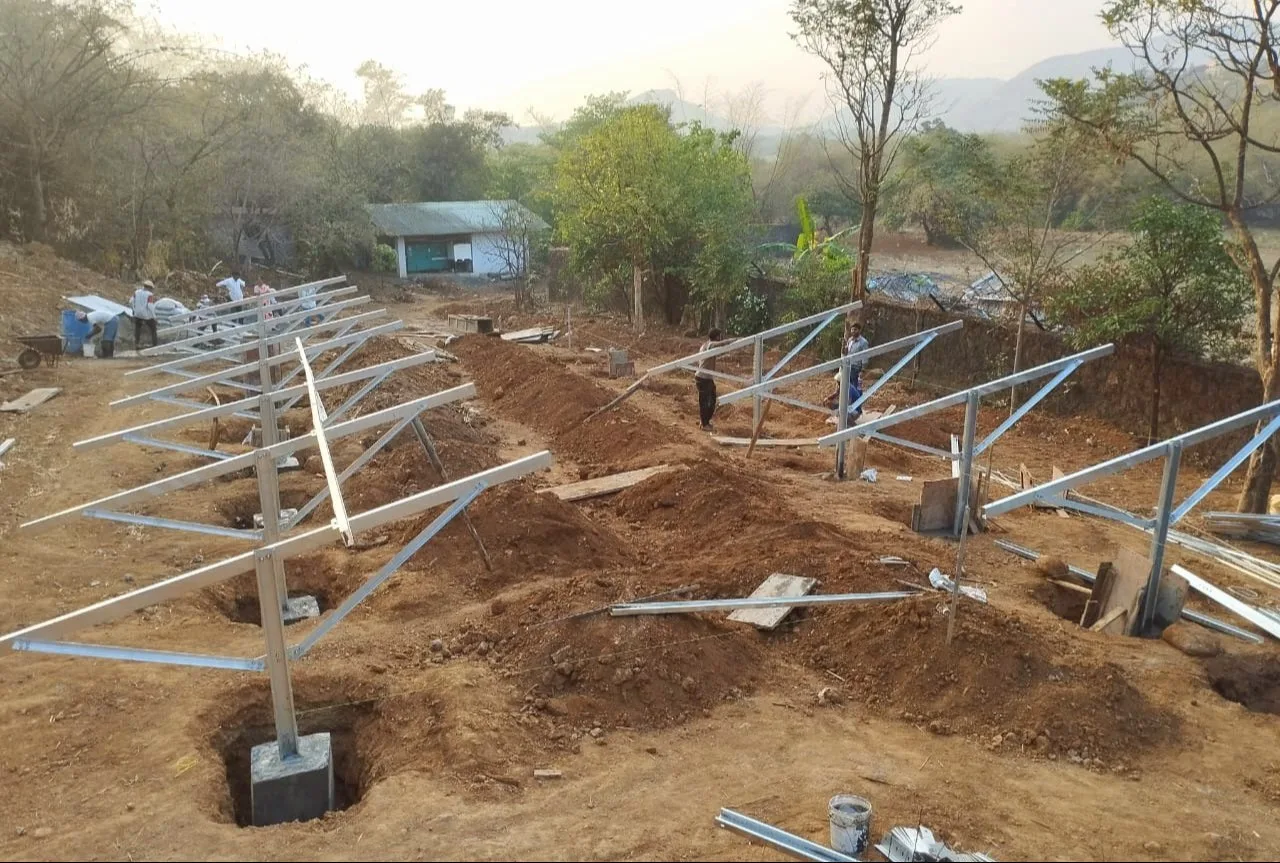
  • Steel poles with concrete anchors
  • Simpler than ballast mounts
  • Multi-pole systems
  • Single row of panels
  • Ease large project adjustments

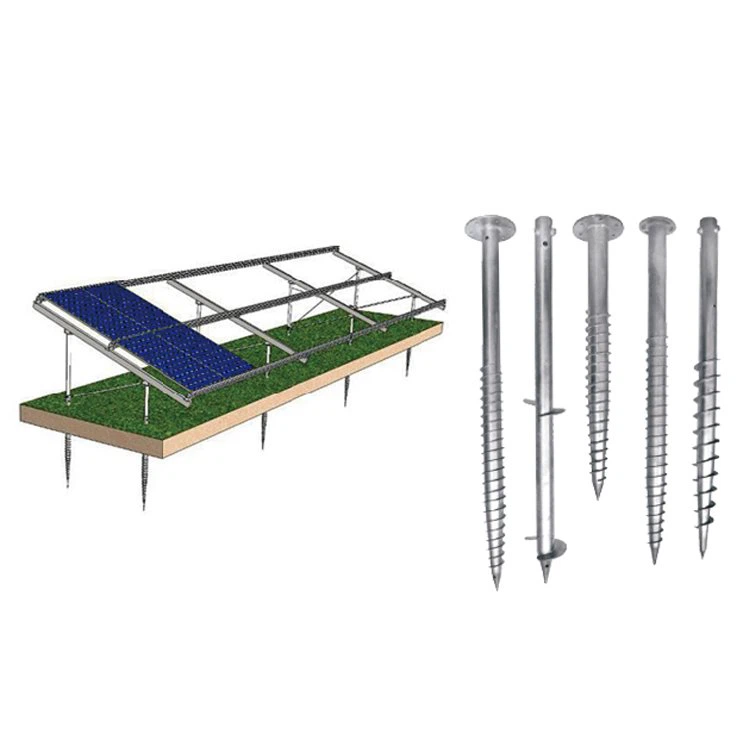
Ground Screws

Ground Screws Mounting Structure
  • Soil conditions:
  • Compacted
  • Heavy clay
  • Rocky surface
  • Minimal earthwork and engineering
FactorConsiderations
Steep terrainScrews have limited gradient suitability
Granular soilsProvide less stability

Read More

Concrete Foundations

  • Ideal for:
  • Brownfield sites
  • Capped landfills
  • Wetland sites
  • Minimally invasive mounting

Careful analysis of the site geological surveys and planned solar farm size determines optimal structure types.

Learn More

III. Structure Installation

Once the mounting structure type is selected, proper installation is key to ensuring solar farm performance and longevity.

Location Planning

  • Survey site topology
  • Mark locations for:
  • Mounting structure base
  • Foundation piles

Considerations:

  • Access for construction equipment
  • Optimizing spacing and tilt angles
  • Minimizing shading

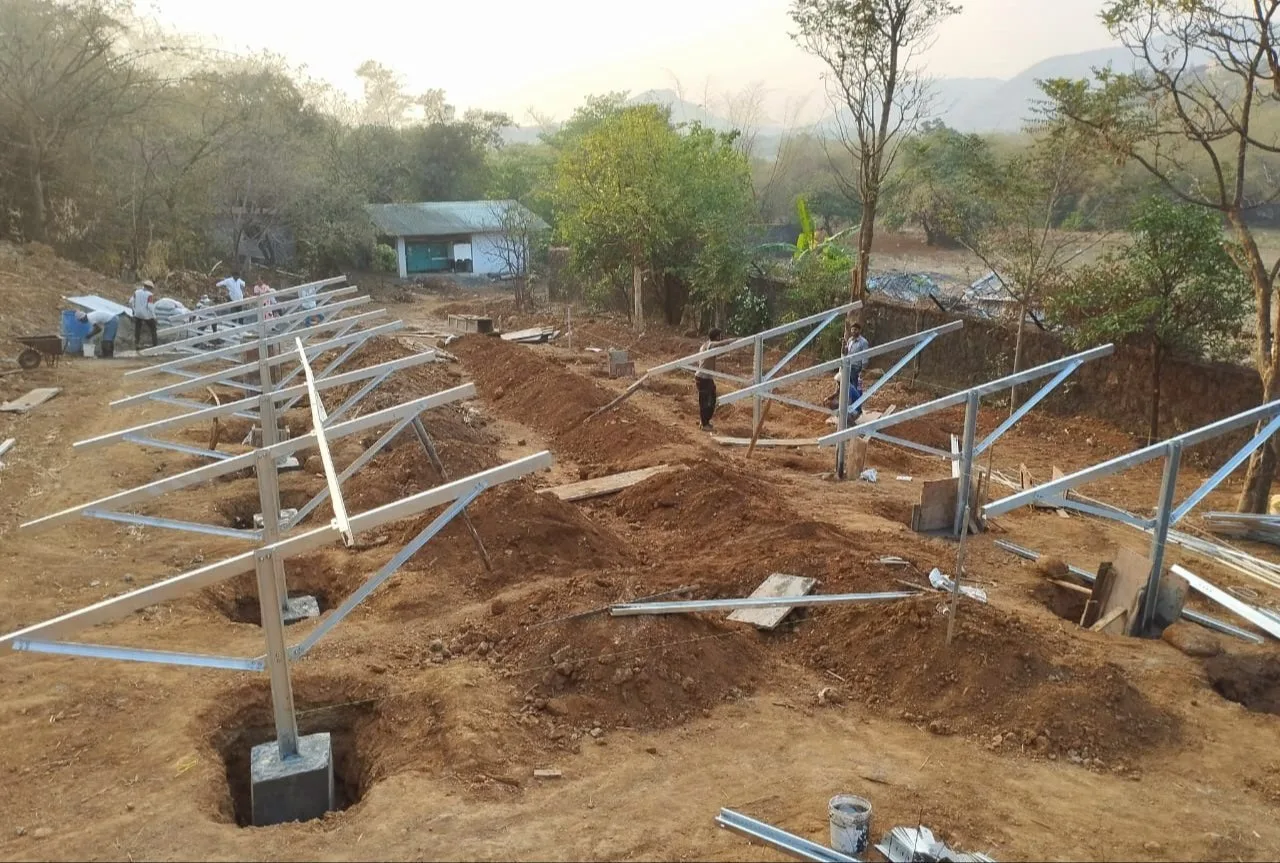
Foundation Installation

Method depends on structure type:

  • Ballast
  • Level ground
  • Position blocks
  • Bolt to frames
  • Piles:
  • Drive into ground
  • Depth based on soil, loads
  • Attach to structure
  • Screws:
  • Mechanically screw in
  • Add torque as needed
  • Concrete:
  • Cast foundation
  • Cure properly
  • Attach racks

For small sites, hand tools can be used. Larger solar farms require:

  • Excavation equipment
  • Pile driving machinery
  • Cement pouring

Other Considerations

  • Schedule installs around rain to allow proper curing
  • Check for shift/corrosion periodically
  • Assess after extreme weather events

Proper base structure installation ensures the solar farm can withstand environmental conditions for the project lifetime.

IV. Failure Modes

Improperly designed or installed mounting structures can fail, causing solar farm damage or collapse.

Design Failures

Inadequate design is a common failure mode:

  • Incorrect tilt angle
  • Reduces energy generation
  • Accelerates weathering
  • Insufficient corrosion planning
  • Shortens lifespan
  • Risks collapse
  • Not accounting for environmental conditions
  • Wind, snow, rain loads
  • Seismic factors
  • Lightning strikes

Use advanced modelling tools during design to predict and address these factors.

Installation Failures

Faulty foundation installation causes most failures:

  • Improper pile depth
  • Loosens over time
  • Insufficient anchor
  • Inadequate curing
  • Weakens concrete
  • Cracks under load
  • Poor leveling
  • Twists structure
  • Unbalances loads

Conduct pull-out testing after install to validate integrity.

Impact

  • Panel damage from detached arrays
  • Destabilized ground
  • Risks landslides
  • Further equipment damage
  • Lost energy generation
  • While repairs conducted
  • If decommissioned

Preventing mounting structure failure is crucial for utility-scale solar farm optimization. Adequate design and installation is key.

V. Advanced Modelling

We specialized solar design software leverages advanced algorithms to streamline and optimize mounting structure selection.

Key Features

  • 3D site modelling
  • Analyse terrain
  • Identify ideal layout
  • Automated engineering
  • Foundation sizing
  • Pull-out calculations
  • Structural analysis
  • Machine learning
  • Data from prior projects
  • Improves recommendations
  • Custom reporting
  • Details selections
  • Installation guidelines

Automated Deliverables

Extract key project outputs:

  • Bill of materials
  • Parts, quantities, costs
  • Permit drawings
  • Submit directly
  • Installation plans
  • Equipment needs
  • Construction schedule

Continuously optimize as design evolves:

  • Adjust for equipment purchases
  • Update code compliance
  • Reruns in seconds

Why automate?

  • Eliminates error-prone manual work
  • Provides data-backed recommendations
  • Saves significant time and costs
  • Enables design of high-performing mounting solution

Leveraging advanced tools ensures selection of ideal, cost-effective mounting systems for each unique solar site.

VI. Next Steps

Properly designing and implementing solar mounting structures is critical for project success. Key recommended next steps:

Detailed Site Analysis

Perform in-depth site surveys assessing:

  • Soil conditions
  • Composition
  • Load capacities
  • Topography
  • Height variations
  • Obstacles
  • Accessibility
  • Construction equipment
  • Maintenance needs

This data informs ideal mounting structure planning.

Design Optimization

Leverage advanced algorithms to automate optimizing for:

  • Energy generation projections
  • Land usage efficiency
  • LCOE minimization
  • Custom objectives

These tools run iterative simulations to determine optimal:

  • Tilt angles
  • Foundation sizing
  • Pole configuration
  • Tracking capabilities

Streamlining mounting structure design enables maximized ROI.

Demo Request

See a live demo of data-driven mounting structure optimization in action:

  • Custom 3D site modelling
  • Foundation design
  • Automated BOM generation
  • Performance/cost projection

Understand capabilities before committing, to ensure solution adequacy for specific project needs.

Implementation Planning

With optimized mounting structure selection completed, detailed implementation planning is next:

  • Permitting
  • Grid interconnection
  • Foundation and structure installation
  • Panel mounting
  • Inspection

Proper construction is vital for protecting long-term solar farm durability against extreme weather and maximizing energy generation.

We provide careful planning and leveraging modern solar design tools enables streamlined mounting structure implementations for productive, profitable solar projects.

Solar Project Construction Costs Efficiency

8 Ways to Slash Solar Project Construction Costs Efficiency

 Solar Project Construction Costs Efficiency

I. Select the Right Land

Select the Right Land

Choosing the right piece of land is a critical first step to lower solar construction costs. The land has certain requirements and criteria that must be met before building a solar project on it, covering factors like:

  • Topography and terrain
  • Electrical infrastructure access
  • Wildlife impact

The land should ideally be:

  • Reasonably cleared and level
  • Within 1-3 miles of a substation
  • Within 1 mile of a three-phase power line

It’s important not to rush into leasing land only based on an attractive price. Being selective about your future solar site may cost more upfront and involve competition with other solar developers, but the wrong land could raise financial implications later on.

For example:

  • Contaminated lands bring liability and regulatory issues
  • Prolonged construction time and higher costs

Conducting site evaluations with a geotechnical investigation plan helps mitigate risk:

Site Condition EvaluationsImportance
Slope stability analysisEnsures proper foundation design
Sediment control testingInforms storm water management system
Subgrade examinationsVerifies adequate ground bearing pressure

Being selective about your solar land site may cost more upfront, but saves money in the long run by preventing avoidable construction issues. Analyse the size, shape, and terrain to determine if the land meets critical criteria. Don’t rush into a land lease solely based on an attractive price.

Click Here to Learn More

II. Let the Land Inform Design

Once you have secured the right land, conduct thorough site evaluations to inform the solar project design. This helps reduce unexpected issues arising during construction that add costs. Key steps include:

Geotechnical Investigations

Perform detailed geotechnical studies of the site including:

  • Slope stability analysis
  • Soil corrosivity measurements
  • Identifying soil bearing pressure and capacities

This data helps determine:

  • Proper foundation dimensions
  • Appropriate ground preparation
  • Necessary sediment erosion controls

Having accurate geotechnical inputs prevents under-engineering foundations that fail or over-building that wastes money.

Racking and Mounting Design

Racking and Mounting Design

The site’s soil and terrain conditions should also guide designing the solar racking system:

  • Account for slope, load capacities and wind shear
  • Ensure proper anchor sizing and embedment depths

Carefully matched racking avoids unnecessary costs from:

  • Insufficiently anchored structures failing in high loads
  • Oversized racking increasing materials, construction and land use

Storm Water Management Evaluation

Preventing runoff and erosion problems during construction protects water quality and avoids costly mitigation.

In sum, informed solar design optimized for the site’s unique properties saves money during builds and over asset life cycles.

III. Choose Reliable Equipment

Selecting durable, high-performing equipment suited for the solar project can help efficiently meet construction targets and budgets. Best practices include:

Vendor Evaluation

Thoroughly assess potential vendors and suppliers on:

  • Product quality and durability
  • Warranties and maintenance terms
  • Past performance meeting specifications

This reduces unexpected costs from fixes or change orders.

Specification Setting

Clearly define project performance requirements and operating conditions including:

  • Weather resilience testing (wind, humidity, temperatures)
  • Critical load capacities and safety factors
  • Compliance with all applicable standards

Equipment unable to meet specifications can slow progress or require replacements.

Testing and Inspection

Validate equipment condition and capabilities through:

  • Performance verification testing
  • Quality control inspections at factories and upon delivery
  • Operational trial runs before full deployment

This prevents integrating defective components into builds.

Preventative Maintenance

Follow all manufacturer recommended upkeep like:

  • Component lubrication and cleaning
  • Tightening loose connections
  • Tuning and calibration

Proactively caring for equipment prevents breakdowns or failures that are more disruptive to fix during active construction.

Choosing robust, durable equipment tailored to the project’s specific demands increases construction efficiency and asset longevity while lowering lifetime equipment costs.

IV. Simplify Racking Installation

Streamlining the solar racking installation process through thoughtful design and planning cuts costs by maximizing efficiency. Useful techniques include:

Adjustable Components

Specify racking with some flexibility to accommodate variability in site conditions like:

  • Slope grade changes
  • Subtle foundation shifts
  • Minor anchor position adjustments

This avoids expensive time delays from disassembly or holes requiring re-drilling.

Installation Work Plans

Create detailed work plans mapping the sequential process including:

  • Equipment and tool requirements
  • Labour needs and assignments
  • Anticipated production rates

Thorough plans allow coordinating teams and deliveries for smooth flows, preventing downtime from missing items.

Streamlined Hardware

Prioritize racking using simplified components like:

  • Universal clamps fitting multiple module types
  • Single bolt designs
  • Integrated ground bonds

Simpler assemblies with fewer unique parts quicken overall mounting.

Specialized Equipment

Leverage purpose-built tools for efficiency gains on repetitive tasks like:

  • Auto-dispensing auger rigs for drilling pile foundations
  • Custom jigs ensuring consistent positioning
  • Lifting aids for positioning sections

The right equipment prevents injury and enhances productivity.

Careful coordination, adjustable parts allowing adaption, and streamlined installations prevent complications that sap field productivity – saving costs with efficient solar racking assembly.

V. Control Construction Budget

Carefully managing the construction budget helps avoid cost overruns that erode project returns. Best practices include:

Early Cost Estimation

Develop initial budgets during early planning using expected:

  • Equipment, material, and labour expenses
  • Permitting, grid connection, and inspection fees
  • Site preparation and installation costs
  • Lease payments

Regularly update these projections with real quotes as specifics firm up.

Risk Assessment

Proactively evaluate uncertainties that may impact costs like:

  • Inclement weather delays
  • Potential supply chain disruptions
  • Changes in material pricing
  • Community complaints

Identify mitigations to contain budgets despite issues.

Contingency Funds

Incorporate 5-10% contingencies within budget estimates for the inevitable unplanned events on large builds. This prevents scrambling to fund surprises.

Value Engineering

Continuously identity ways to trim costs like:

  • Sourcing substitute materials
  • Simplifying designs
  • Using more efficient construction techniques

Savings from value engineering provide additional buffers.

Change Control

Carefully evaluate any project changes for cost/benefit before approval to prevent scope creep.

Ongoing cost oversight, planning for uncertainties, and continuous optimization prevents overspending, keeping solar projects economically viable.

VI. Account for Soft Costs

“Soft costs” like permitting, financing, and labour add up. Strategies to control these expenses include:

Streamlined Permitting

  • Research local solar ordinances in detail
  • Prepare thorough permit packages
  • Use expediters to ease process

Understanding requirements and properly completed submissions prevent delays from application issues.

Efficient Procurement

  • Comparison shop equipment and materials
  • Leverage online supply marketplaces
  • Optimize logistics like shipping modes

Casting a wide net surfaces best pricing and responsiveness.

Labour Optimization

  • Cross-train workers on multiple tasks
  • Use crews balancing experience levels
  • Incentivize on-time delivery

Flexible, motivated crews prevent downtime and inefficiencies.

Strategic Sourcing

  • Buy cables, connectors in bulk
  • Seek winter off-season discounts
  • Favour modular components

Order consolidation and tactical timing reduce supply chain expenses.

While some soft costs are fixed, focus on streamlining variable expenses.

Cost Containment Strategies

AreaSavings Approach
PermittingSubmit complete packages
ProcurementLeverage marketplaces
LabourReward on-time work
SourcingBuy at scale in off-seasons

Get ahead of soft costs early in planning to protect project profitability.

VII. Assemble Experienced Team

The right solar project team is crucial for on-time, on-budget delivery. Best practices for assembly include:

Diverse Expertise

Staff key roles with experts in areas like:

  • Solar design engineering
  • Procurement and supply chain
  • Project planning and controls
  • Grid integration and commissioning

This breadth covers the multifaceted competencies vital for success.

Proven Track Records

Validate capabilities by examining:

  • Years in industry
  • Projects successfully delivered
  • Client references
  • Safety and performance metrics

This reduces risk of underperforming personnel sinking progress.

Aligned Incentives

Structure contracts promoting shared project success through:

  • Bonuses for schedule and budget achievement
  • Penalties for missteps
  • Profit sharing

Incentive alignment prevents finger pointing during crunch times.

Scalable Resourcing

Ensure capacity to flex expert personnel levels up and down as activity fluctuates during project phases. This cost-effectively right-sizes labour.

Responsiveness Training

Conduct emergency response simulations preparing crews to smoothly handle incidents like storms or injuries if they arise with minimal safety and cost impacts.

Investing in the right expertise, experience, motivation and responsiveness in a solar build team pays dividends through maximized efficiency and risk reduction over the project lifecycle.

VIII. Prepare Contingency Funds

Despite best-laid plans, unexpected events during solar construction add costs. Maintaining contingency funds mitigates overruns threatening project viability. Best practices include:

Historical Spending Analysis

Examine past projects to estimate emergency cost frequencies in areas like:

  • Permitting delays
  • Weather downtime
  • Equipment failures
  • Materials pricing changes

These insights quantify contingency targets.

Probability Impact Matrices

Map identified risk events by likelihood and potential cost severity to prioritize responses and gauge required reserves.

RiskHigh LikelihoodLow Likelihood
High CostPermit denialsFoundation redesigns
Low CostInspectionsMinor repairs

Ongoing Reassessment

Re-evaluate required contingency amounts and probability estimates at major milestones as uncertainties resolve over the project timeline.

Contingency Tracking

Implement formal change control processes ensuring contingency funds only applied to eligible unforeseen costs rather than scope expansions.

Proactively earmarking reserves for the inevitable unknowns, continually refining estimates, and tightly controlling drawdowns ensures access to emergency funding without tapping capital required for planned activities. Sized correctly, contingencies become insurance policies enabling construction progress despite surprises.

Seasonal Tilt Solar Mounting Systems

Seasonal Tilt Solar Mounting Systems

Seasonal Tilt Solar Mounting Systems

I. Introduction

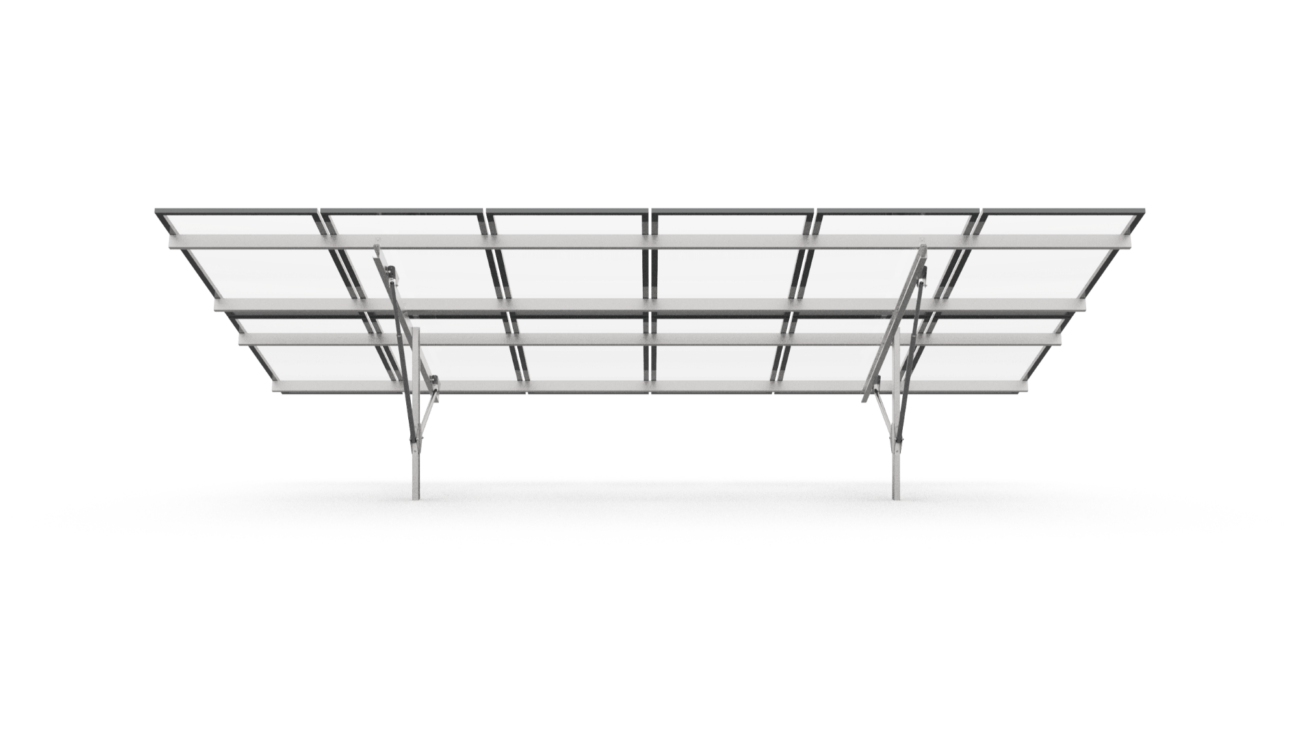
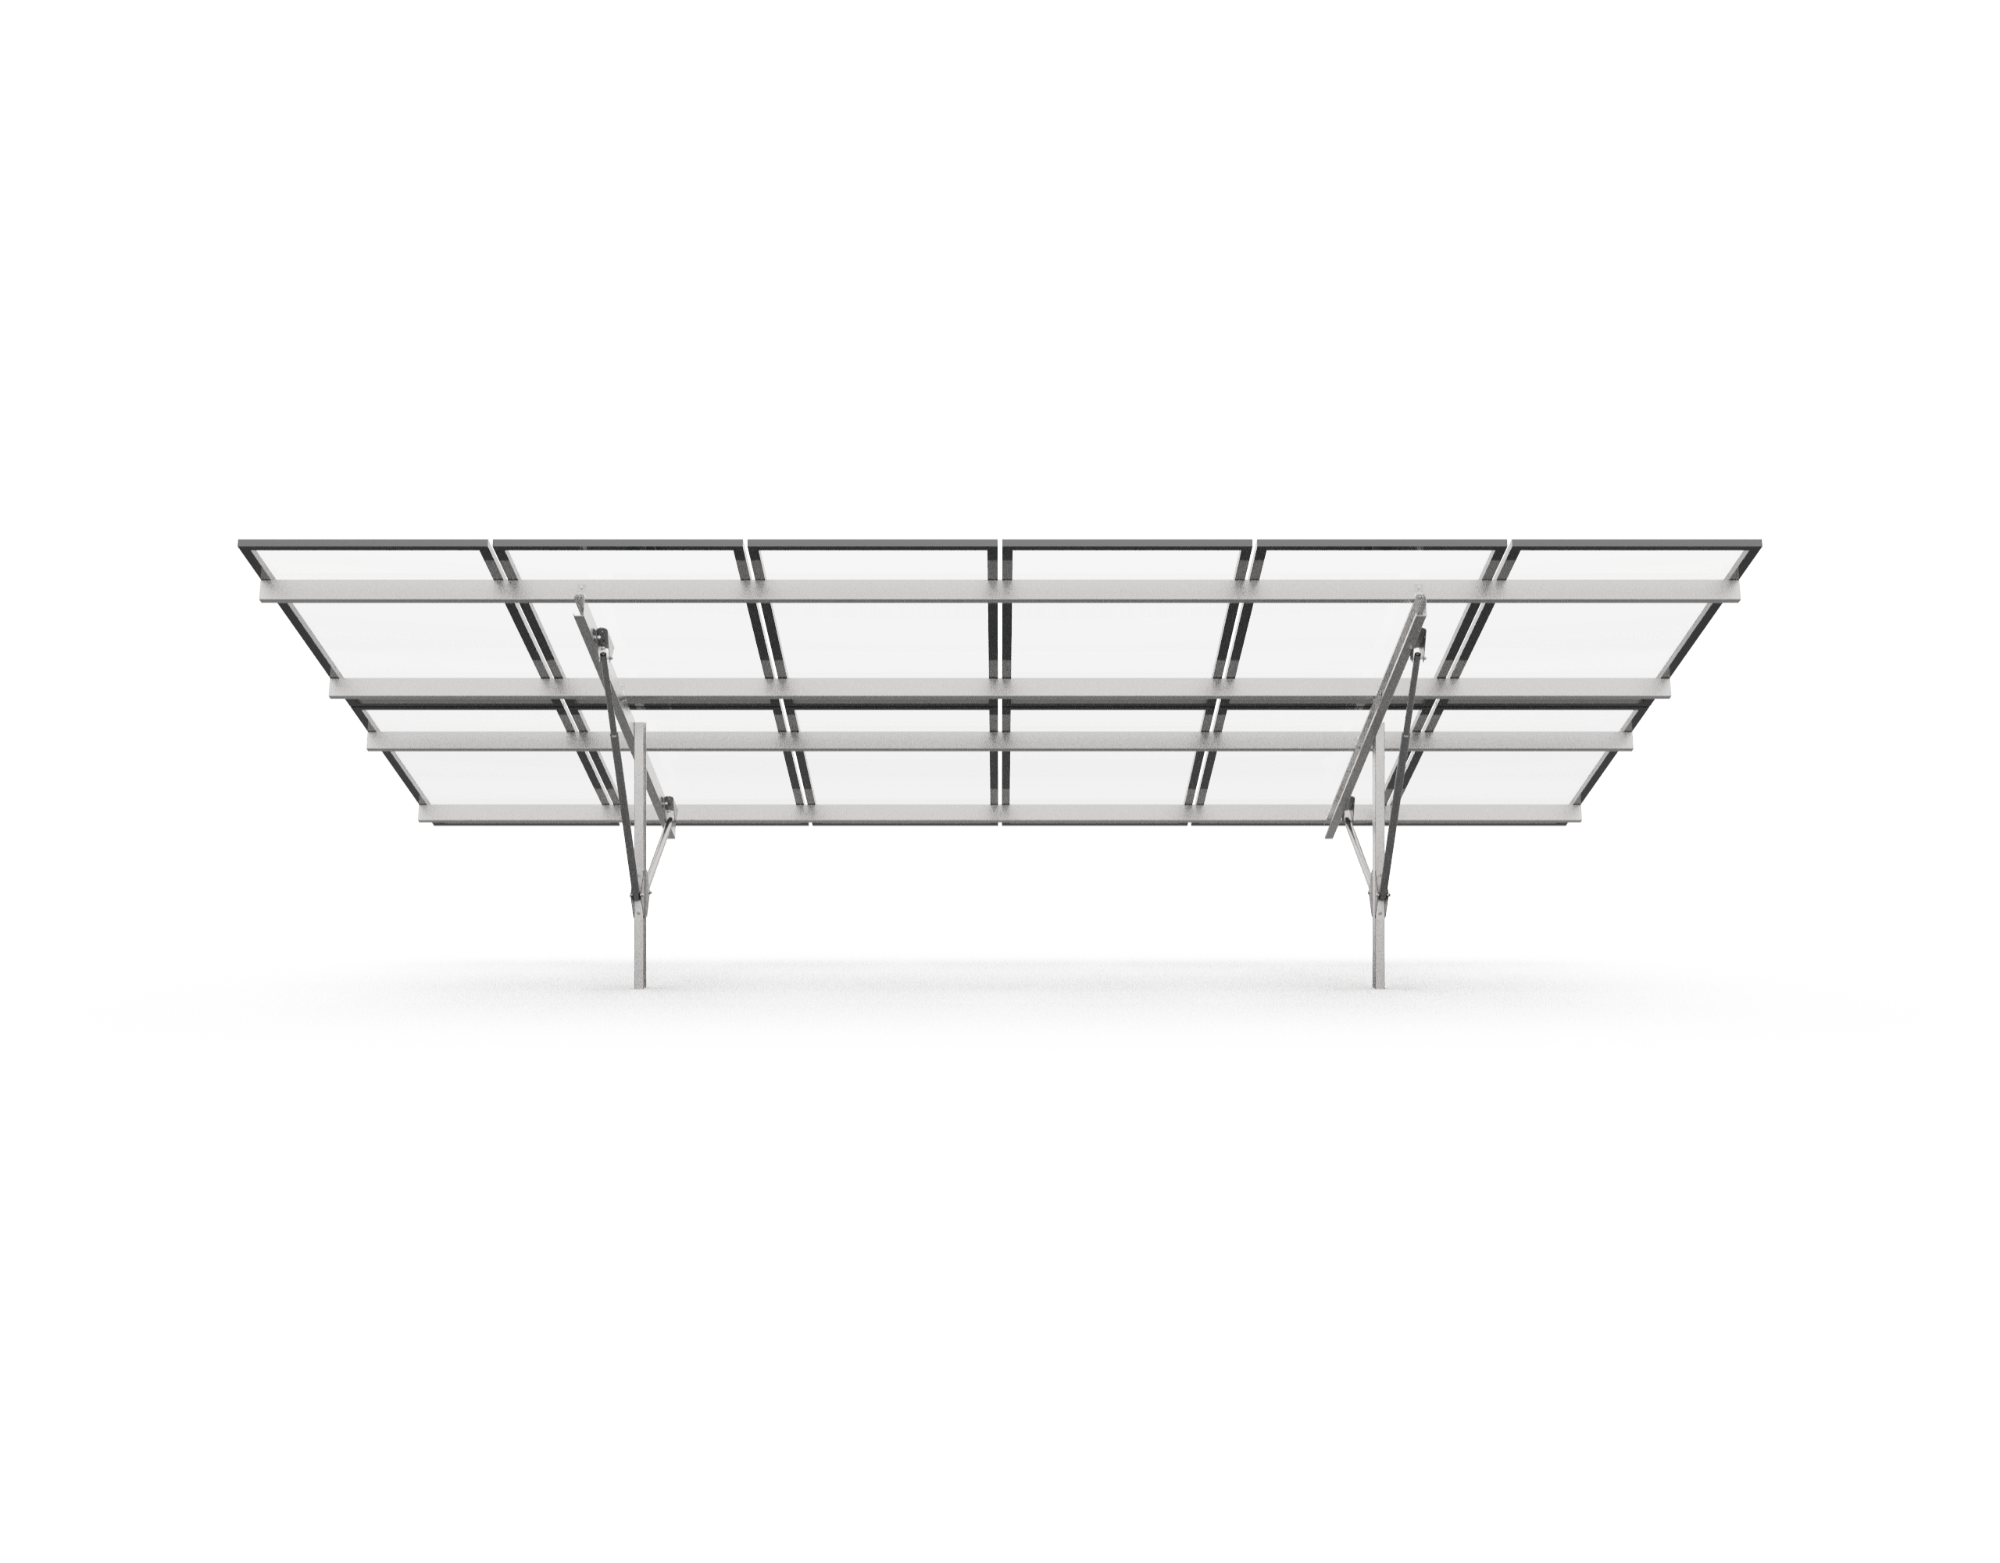
Seasonal tilt solar mounting systems refer to adjustable structures that allow for changing the orientation of solar panels to optimize energy production as seasons change throughout the year.

Key features of these systems include:

  • Manual adjustable joints and mechanisms to easily alter the tilt angle of the solar panels. This allows for:
  • Increased power generation during peak sunlight seasons. Seasonally adjusted panels can capture 5-10% more energy than fixed tilt systems.
  • The ability to position panels to maximize sunlight exposure depending on location and time of year.
  • Durable materials including galvanized steel, aluminium alloys, and stainless steel to withstand weather conditions over 25+ year lifespans.
  • Corrosion resistant treatments like anodizing and galvanization to protect system integrity.
  • Simple structures with less accessories and components, enabling:
  • Low installation costs
  • Reduced maintenance and operations expenses
TypeGround Mount
ColourNatural or Customized
TreatmentAnodized, Galvanized
Structural MaterialsAluminum Alloy, Galvanized Steel, Stainless Steel

By changing orientation 2-3 times per year, seasonal tilt mounting maximizes solar collection during peak seasons. Manual adjustability makes modification straightforward based on location and time of year. Durable, corrosion-resistant materials also minimize maintenance costs over decades of service.

II. Durable and Corrosion Resistant Materials

Durable and Corrosion Resistant Materials

Seasonal tilt solar mounting systems are designed for durability to withstand decades of outdoor exposure to various weather conditions. Key material considerations include:

Corrosion Resistance

Corrosion can compromise structural integrity over years of service. Therefore, systems utilize:

  • Galvanized steel: Galvanization applies a protective zinc coating to steel. This guards against rust for 25+ year lifespans.
  • Anodized aluminium: Anodization electrically treats aluminium alloy to reinforce corrosion resistance.
  • Stainless steel: Stainless steel alloys like 304 and 316 feature chromium to prevent surface oxidation from weather exposure or rust.

Simple Structure

Simpler designs result in:

  • Fewer components needed for installation.
  • Lower potential points of failure or wear compared to more complex structures.
  • This maintains system reliability over decades of operation.
  • Low Installation Costs
  • Minimized parts along with straightforward manual assembly directly reduce initial installation costs.
  • Easy Maintenance
  • Basic robust builds allow easy visual inspection.
  • Manual seasonal adjustments do not require expensive specialized equipment or expertise.

Combined with inherent durability, lifespan maintenance costs stay low.

By focusing on fundamentals of durable, maintenance-free structural design, seasonal tilt mounting systems deliver reliable service for 20-30 years. This allows for outstanding return on investment over the system lifetime.

Click Here to Learn More

III. Location and Hemisphere Factors

To optimize the energy generation, seasonal tilt solar mounting systems must adjust panel angles based on location and time of year. The key factors related to geography are:

Hemisphere

The hemisphere where the system is installed determines peak sunlight seasons:

  • Northern hemisphere – Peak production in summer
  • Southern hemisphere – Peak production in winter

This impacts ideal tilt strategies.

Country/Region

More specifically, the country and region indicate:

  • Latitude – Affects sun angle path
  • Climate patterns – Rainy or dry seasons affect solar availability

Sunlight Exposure

Tilt adjustments maximize sunlight exposure during peak seasons:

  • Winter – Tilt to maximize lower winter sun angles
  • Summer – Account for higher summer sun paths

Angles that capture the most sun during peak seasons will generate the greatest additional energy.

Ideal Tilt Angles

Formulas can dial in optimal orientation based on location:

  • Summer – (Latitude * 0.93) – 21°
  • Winter – (Latitude * 0.875) + 19.2°

Sensitivity Analysis around these starting points can further maximize yearly yield if seasonal cloud cover data is available.

Properly accounting for site geography informs data-driven tilt strategies that maximize solar utilization potential for seasonal mounting systems. This allows substantial gains in solar energy production on an annual basis.

Seasonal Tilt Adjustments

Seasonal Tilt Adjustments

To maximize power generation, seasonal tilt solar mounting systems must alter their orientation multiple times per year to match the sun’s shifting path across seasons. There are two main approaches:

Half-Yearly Adjustments

Half-Yearly Adjustments

Tilt angle can be changed twice a year based on spring/fall equinox dates:

  • Northern Hemisphere:
  • Summer tilt – March 20th
  • Winter tilt – September 22nd
  • Southern Hemisphere
  • Summer tilt – September 20th
  • Winter tilt – March 21st

This better aligns with seasons versus calendar dates.

Quarterly Adjustments

For more precision, adjust tilt 4 times per year aligned to solstices and equinoxes:

SeasonNorthern HemisphereSouthern Hemisphere
SummerJune 20thDecember 21st
AutumnSeptember 22ndMarch 20th
WinterDecember 21stJune 20th
SpringMarch 20thSeptember 23rd

Benefits

  • Increased energy collection during “shoulder” seasons
  • Reduced machine downtime for adjustments
  • Gradual angle changes better track sun’s daily course

Considerations

  • Additional manual labour required
  • Possible downtime during adjustments

Data Analysis

Historical on-site solar data can reveal optimal dates and degree days for adjustments. Sensitivity analysis identifies energy gains from extra tilts.

Automated Systems

For large installations, automated actuators can systematically alter tilt. But this adds complexity and capital costs.

Fine-tuning mount orientation to follow the sun’s seasonal movement provides outsized electricity generation gains for minimal incremental effort using seasonal tilt solar mounting systems.

Ground Screws for Solar Arrays

Ground Screws for Solar Arrays

Ground Screws for Solar Arrays

I. Introduction to Ground Screws for Solar Arrays

Ground screws are an increasingly popular mounting solution for solar arrays, especially ground-mounted solar photovoltaic (PV) systems. As an alternative to concrete foundations, ground screws offer several advantages:

  • Faster installation times
  • Reduced costs
  • Minimal ground disturbance

Helical anchors and ground screws consist of metal piles with screw-like flanges near the tip. They are screwed into the ground using special equipment to provide sturdy anchoring for solar module racking.

The main benefits of using ground screws over traditional mounting methods like cement slabs include:

  • Less invasive – Requires little excavation or concrete pouring
  • Reusable – Can be removed and reused if arrays are reconfigured
  • Faster – Install hundreds of mounts per day vs waiting for concrete to cure
  • Flexible – Adjustable to uneven terrain; suitable for slopes

When to Use Ground Screws

Ground screws are recommended for:

  • Solar farms and large-scale ground-mounted installations
  • Sites with environmentally sensitive areas where minimal ground disturbance is preferred
  • Areas prone to freezing and thawing which can cause ground shift

They may not be suitable for very rocky areas or soils with large boulders.

Click Here to Learn More

Installation Process

Installing helical piles for solar arrays involves:

  1. Optional soil testing to determine depth
  2. Starting hole excavation if needed
  3. Securing mount to rotary hydraulic drive system
  4. Spinning ground screw to required depth

Equipment needed includes:

  • Rotary drive system capable of producing high torque
  • Mounting poles of various lengths
  • Soil testing tools (for friction and density analysis)

Proper Embedment depth depends on:

  • Soil density
  • Frost line depth
  • Wind and seismic factors
Soil TypeAverage Depth
Loose sand8-15 ft
Compact clay5-10 ft
Firm bedrock15-30 ft

Using ground screws for mounting solar arrays can simplify the installation process and reduce overall project costs. Their flexibility and low environmental impact make them an ideal solution for solar farms and ground-mounted PV systems.

II. Types of Ground Screws

There are two main types of screw-based mounts used for anchoring solar arrays:

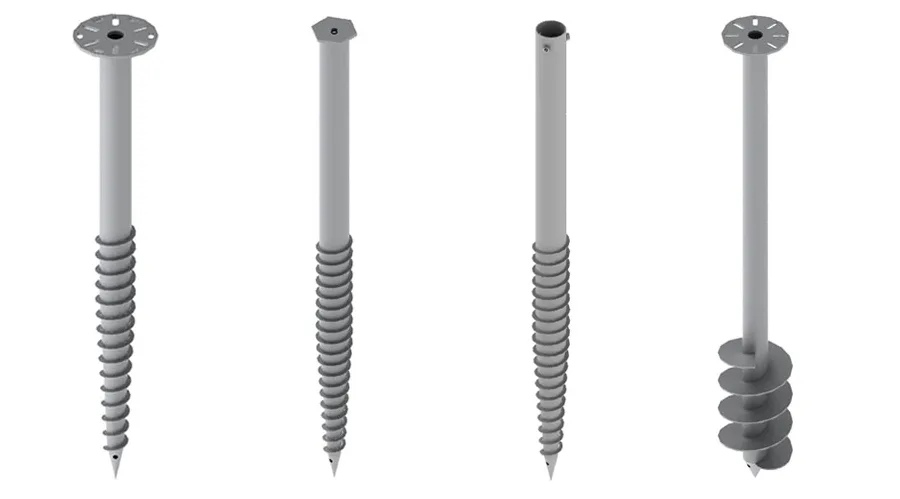
Helical Anchors/Piers/Piles

Helical anchor

Helical anchors consist of a central shaft with one or more helical bearing plates welded near the tip. The spiraling flanges allow them to screw into the soil. Key features:

  • Come in various lengths to match soil conditions and embedment requirements
  • Can have single or multiple helical flanges
  • Available in different shaft diameters and flange sizes
  • Offer tension and compression capacity

Ideal for: Sandy soils, high water tables

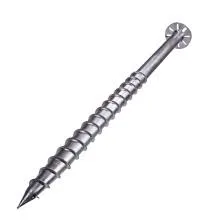
Ground Screws

Ground Screws

Ground screws resemble large wood screws with a pointed, threaded tip. The spiraling thread pattern also makes them easy to install.

  • Sharpened tip can penetrate compacted soils
  • Threaded design displaces soil rather than removing it
  • Work well even in rocky areas

Ideal for: Dense or rocky soils

TypeDiameterLengthsTorque
Helical anchor2-6 in5-20 ft5,000+ ft-lbs
Ground screw4-12 in10-30 ft8,000+ ft-lbs

Both styles can serve as wind and seismic anchors for solar racking. The choice depends on:

  • Soil composition at site
  • Design wind/seismic loads
  • System size and panel weight

Professional engineers size the ground screws and specify embedment depth based on site soil analysis.

III. Installation Methods

Installation Methods of ground screws for solar arrays

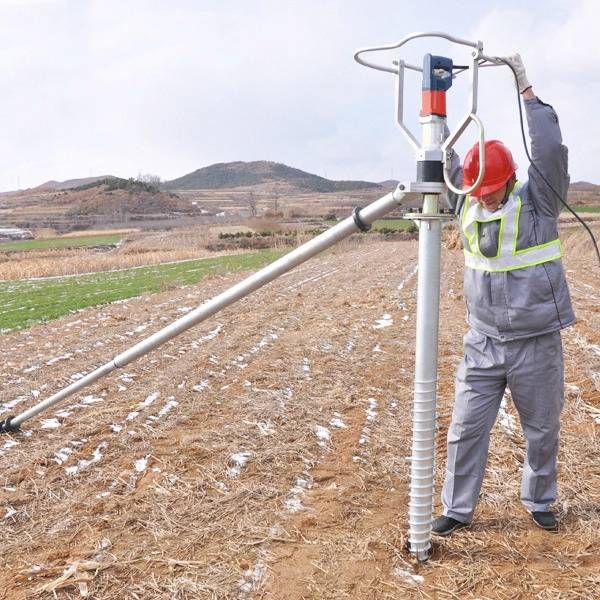
Installing helical piles or ground screws requires specialized equipment to provide enough downward force and torque. Common machinery includes:

  • Hydraulic rotary drivers – Generate high levels of torque (up to 10,000 ft-lbs) to screw anchors into soil. Some models offer vibration damping.
  • Power auger drivers – Rotate and push the pile using an internal auger. Allows addition of pipe extensions.
  • Tracked excavators – Excavators equipped with rotational heads on booms can grip and spin ground screws to depth.

Steps to Install Ground Screws:

  1. Mark screw positions according to engineer plans
  2. Core pilot hole if needed (denser soils)
  3. Position screw at correct angle
  4. Spin screw into ground until proper depth using installed torque values
  5. Level and test installation
  6. Attach solar racking

Other Equipment Needed:

  • Testing devices – Measure torque values during installation
  • Leveling tools – Verify proper angle and depth
  • Compaction tools – Prepare ground surface

For solar farms installing hundreds of anchors, efficiency is important. Multi-screw hydraulic drivers can install 1-2 complete screws per minute in easier soils.

Proper training on machinery is critical to:

  • Maximize productivity
  • Ensure reliable, structurally sound installations
  • Prevent environmental damage

IV. Advantages Over Other Methods

Compared to foundations like concrete piers or I-beams, ground screws offer superior performance for solar installations:

Faster Installation

  • Install crews can screw hundreds of piles per day
  • No excavation or concrete curing downtime

Lower Costs

  • Minimal equipment needs
  • Small crew size for rapid scaling
  • No waste removal or concrete expenses

Reduced Environmental Impact

  • Limited ground disturbance from small diameter holes
  • No excavated soil disposal
  • Landscape preservation around arrays

Flexible Siting

  • Adjustable for uneven or sloped terrain
  • Work around existing landscaping or infrastructure

Structural Reliability

  • Engineered to withstand high wind/seismic loads
  • Resist weathering, corrosion
  • Offers tension capacity for uplift resistance

With faster, cheaper installations plus lower environmental impact, ground screws are an ideal mounting choice for most solar farm projects.

V. Disadvantages

While ground screws have many benefits for solar installations, there are some limitations:

Soil Compatibility

  • Very dense or gravelly soils difficult to penetrate
  • Loose sands provide insufficient grip without concrete base

Screw piles rely on soil friction and compression. Improper soils may require:

  • Pre-drilling pilot holes
  • Additional anchoring methods
  • Concrete collars around piles

Depth Limitations

  • Ideal max embedment depth around 30 feet
  • Deeper soils require change in foundation type

Slope Limitations

  • Most equipment can only handle up to a 30 degree slope
  • Greater angles require terracing or custom machinery

Vibration/Noise

  • Hydraulic drivers create noticeable vibration
  • Not suitable for sensitive animal habitats

Higher Upfront Costs

  • Rotary drivers and related equipment have significant costs
  • Feasible mostly for large solar farms to offset capital

Ground screws work extremely well across many solar sites. However rocky, angled, or loose soil may favour other foundations like mini-piles or concrete piers.

VI. Cost Savings

Using helical piles and ground screws for anchoring solar racking can generate major cost reductions compared to cast-in-place concrete or steel beams:

Faster Installation Times

  • Crews can install 500+ anchors per day with multi-anchor drivers
  • No curing time compared to concrete
  • Quickly scales to meet project deadlines

Reduced Materials Needed

  • Minimal drilling equipment required
  • Avoid formwork, rebar, concrete, cranes of slab/pier methods
  • Small crew size possible for rapid scaling

Lower Site Prep Costs

  • Limited excavation needed
  • No hauling or spoil removal
  • Preserves existing landscape features

Lower Transportation Costs

  • Anchor diameters under 1 foot
  • Easy to transport screws and lightweight equipment
  • Reduce vehicle trips compared to concrete or steel

With quicker installations, reusable materials, and preservation of landforms, ground screws provide major budget savings over alternative mounting approaches.

VII. Environmental Factors

Compared to foundation solutions like concrete slabs, ground screws are much more eco-friendly:

Landscape Preservation

  • Avoids extensive grading and earthworks
  • Allows vegetation to remain and regrow
  • Maintains site drainage patterns

Limited Ground Disturbance

  • Narrow diameter minimally disrupts soil
  • No trenching or excessive digging
  • Reduces soil erosion risks

Wildlife Protection

  • Low noise and vibration installation
  • Leaves habitat intact under arrays
  • Allows animal movement through site

Storm water Control

  • Permeable design doesn’t increase runoff
  • Enables rainwater infiltration

Sustainability

  • Steel is recyclable
  • Anchors can be reused on other sites
  • Reduces use of concrete and carbon emissions

In addition, sites with potential contamination like landfills can use ground screws without digging into unhealthy soils. Their small footprint makes them ideal for environmentally sensitive solar farm locations.

Conclusion

Ground screws present an innovative mounting method for solar PV projects that offers:

  • Faster installation with less manpower
  • Cheaper overall costs than concrete or steel
  • Minimal site impact for sustainability

Key advantages as anchoring foundations:

  • Adjustable for sloped terrain
  • High wind and seismic capacity
  • Tension load resistance
  • Rapid scalability

Ideal applications:

  • Large solar farms
  • Sites with frozen ground
  • Landfill or brownfield locations
  • Areas valuing wildlife conservation

Ground screw limitations:

  • Very loose or shallow bedrock
  • Extreme slopes over 30 degrees

Continuing trends show ground screws gaining favour over pile-driven posts or cast-in-place concrete:

With quicker, cheaper installation and lower environmental impact, ground screw mounting enables the renewable energy transition by easing deployment of ground-mounted PV systems. Their advantages make them a foundation pile suited for the coming decades of solar expansion.

Ground Mounting Structures

Solar Ground Mount Structure – Top Things to Know About

I. Introduction to Ground Mounting Structures

Solar Ground Mounting Structures

In Structura Metal a ground mounted setup refers to a solar panel system that is installed directly into the ground rather than on a roof. Ground installations have become increasingly popular for both residential and commercial solar projects. There are several key benefits that the ground mounts provides over rooftop solar systems:

  • More flexibility in panel placement.
  • Increased energy production.
  • Easier maintenance.
  • Avoid roof obstacles and structural issues.

At Structura Metal Ground Mounted Solar offers much more flexibility in where you can place panels to optimize sun exposure. With a rooftop system, you are also having limitations for the shape and directions of the areas available. Ground mounts allow placement in the wide open spaces without blocking the sunlight.

In addition, we also having the open airflow beneath ground mounted panels helps to keep the temperatures lower. This allows for more efficient energy conversion and increased energy production compared to rooftop systems. Studies show ground mounted solar can produce 10-45% more energy than the fixed rooftop setups.

BenefitsGround Mounted SolarRooftop Solar
Flexible placement
Increased production
Lower temperatures
Easy maintenance

Furthermore, a ground mounting system avoids any roof structural issues or the obstacles like vents, chimneys etc. And since panels are more accessible on the ground, overall maintenance is simpler without working from heights or ladders.

With all these advantages, it’s no wonder ground mounting structures are becoming the preferred mounting solution for many solar projects. Keep reading to learn more about the different types of ground mounted options available.

II. Strengths of Ground Mounted Setups

Ground Mounting Structures Setup

Installing a solar panel system on the ground rather than the roof offers some unique advantages. Here are the main strengths of ground mounted setups:

  • Orientation and Angle Flexibility – With ground mounts, we are having the panels that can be positioned at the optimal angle and directions to maximize sunlight exposure. You are not limited by the shape or direction of the areas on your roof.
  • Higher Energy Production – The open airflow underneath helps keep temperatures lower. This allows ground mounted panels to convert sunlight to energy more efficiently, generating 10-45% more power.
  • Easy Maintenance – Accessing rooftop solar panels typically requires climbing ladders or using special equipment. Ground mounts are closer to the ground, making regular inspection and cleaning much simpler.
  • No Rooftop Restrictions – Rooftop solar projects may be limited by structural issues, vents/chimneys, or lack of space. Ground mounts avoid all the rooftop restrictions.
  • Land Restrictions – While rare, some neighbourhoods have rules against installing visible solar panels. Ground mounts may need to be hidden behind the fences or vegetation.

III. Weaknesses of Ground Mounts

While ground mounted solar offers significant advantages, there are some potential downsides to consider as well:

  • Higher Installation Cost – In general, a ground mounting system has a higher upfront price tag than an equal sized rooftop system. The racking and foundation materials, digging/trenching, and labour make it more expenive.
  • Land Restrictions – Although rare, some neighbourhoods prohibit visible renewable energy systems or restrict their placement. Ground mounts may need creative vegetation or fencing.
  • Safety Concerns – Since panels are accessible, a ground mounting structure poses a minor risk for kids or pets walking into them. Proper fencing helps mitigate this.
  • Damage Risks – Rooftop solar is largely protected from incidental damage. However, ground mounted panels may be exposed to vehicles, animals, weather events, vandalism etc.
  • Aesthetic Impact – Low profile ground mounts usually blend into landscapes well. But some systems stand out and homeowners may prefer to keep their yard/lawn view unchanged.
WeaknessRisk LevelHow to Mitigate
CostHighGet multiple installer bids to reduce price
Land rulesLowPetition for renewable energy exceptions
SafetyLowAdd fencing around solar system
DamageLowAdd protective barriers as needed
AestheticsLowUse vegetation to hide/blend system

IV. Types of Ground Installations

Ground Mounting Installation

If you decide to install the ground mounted solar system, you have several options when it comes to the specific type of mounting structure. The three main types of ground installations are:

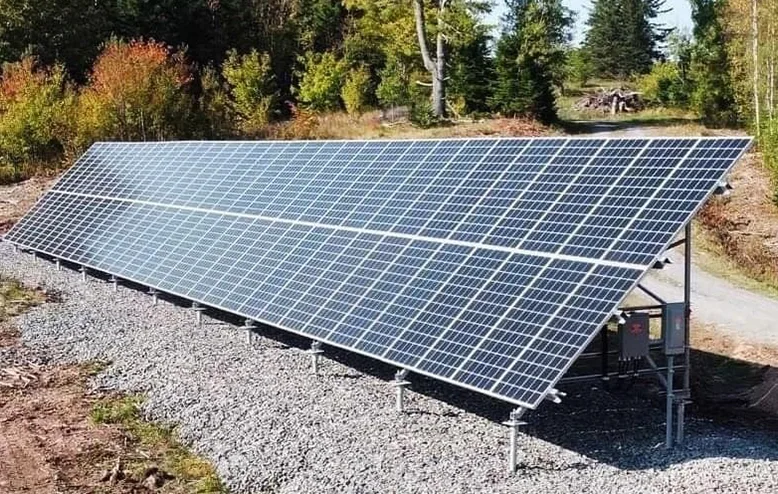
  • Traditional ground-mount
  • Tracking systems
  • Carports and canopies

Traditional ground-mount systems use to anchors and robust structural racking to fix panels in an optimal position. This is the most common type of ground mounted system.

Tracking Systems go by step further by using automated hardware to move panels and follow the sun’s path during the day. This further maximizes energy production but has a higher cost. Single-axis trackers shift panels east-west or north-south to capture more sunlight. More advanced dual-axis trackers can shift in multiple directions to keep panels perpendicular to the sun’s rays.

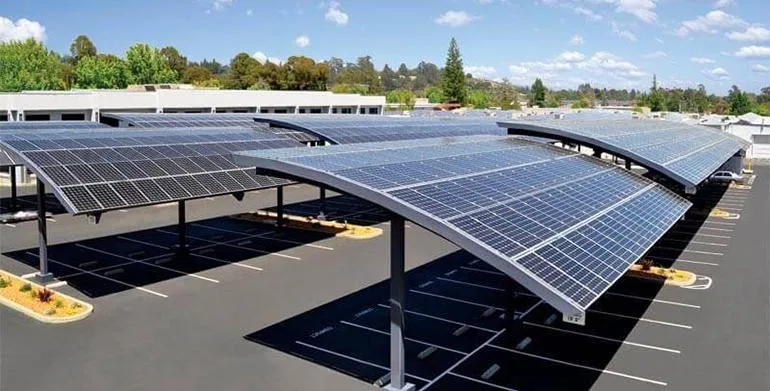
Carports and Canopies utilize very large Ground Mounted Structures as coverage for vehicles in parking lots or other uses. For example, a solar carport can provide shade for cars while generating clean power.

System TypeCost LevelMaintenanceIdeal For
TraditionalLowLowMost installs
TrackingHighMediumLarge installs
CarportsHighLowCommercial

Determine the scale of your solar needs and budget to decide which type of ground installation makes the most sense. Tracking systems produce a good amount of extra energy but carry a cost premium over traditional fixed racking.

V. Traditional Ground-Mount Systems

The most common and cost-effective type of ground mounted solar setup is the traditional fixed racking system.

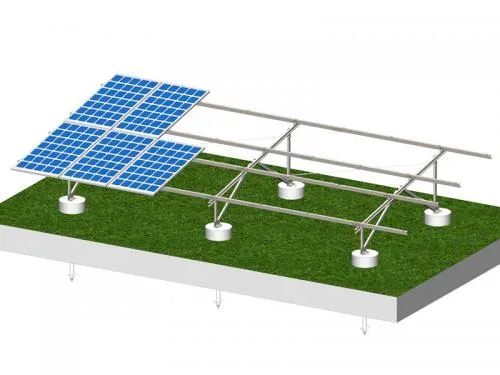
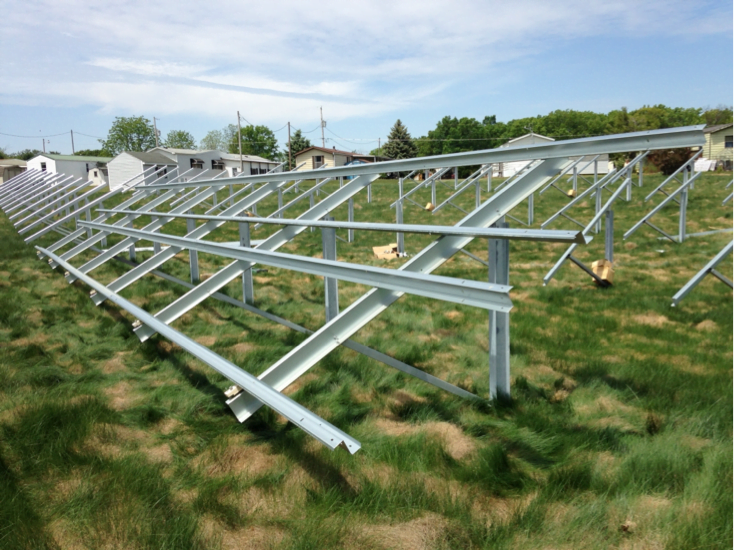
Traditional ground-mount systems work similarly to rooftop mounts. Panels get attached with the strong metal frame and angled to optimize sun exposure. Instead of being installed on singles though, the racking frame mounts directly into the ground with the pier or anchor supports.

Benefits of traditional fixed ground mounting:

  • Low Cost – Traditional mounts have the lowest hardware and installation the costs per watt over other ground systems. This makes it affordable for most homeowners.
  • Easy to Install – For most residential sites, traditional fixed mounts can be fully installed in 1-3 days with a small crew minimizing labour expenses.
  • Low Maintenance – With no moving parts or motors, traditional systems require very little ongoing maintenance besides occasional panel cleaning.
  • Expandable – Additional panels can be easily added later on to increase your system size. The fixed mounting structure is designed for modular expansions.

The simplicity, affordability, and reliability of fixed position ground mounting structures make them a top choice. The only downside is they lack the sun tracking advantage of more complex systems. But the better return on investment keeps traditional mounts popular for residential installs.

VI. Tracking Systems

Tracking System

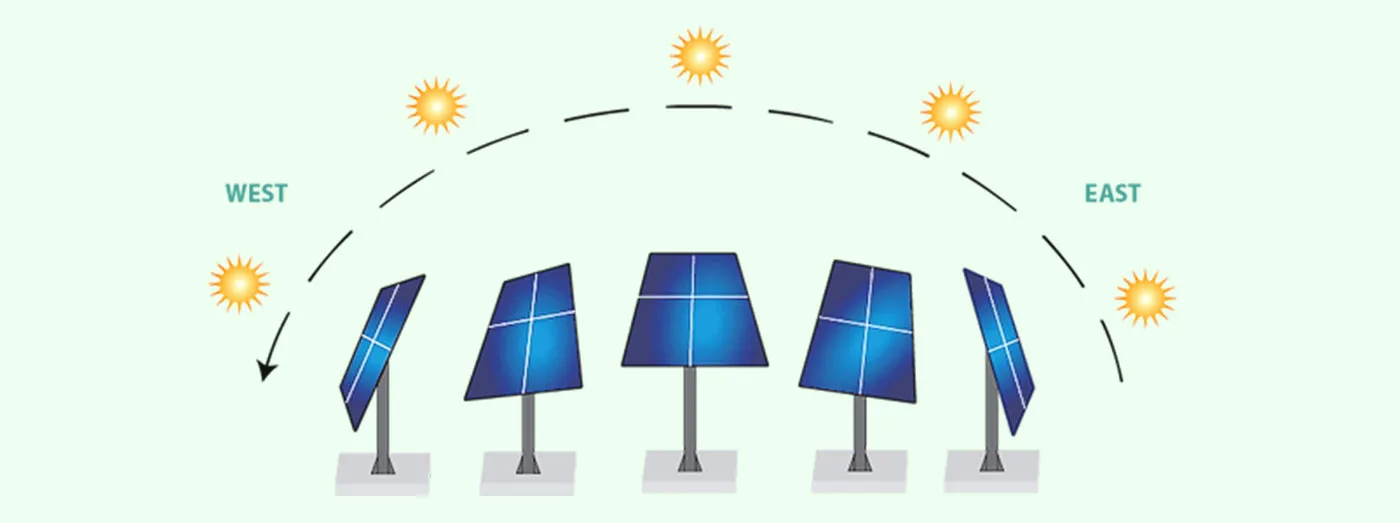
Tracking systems take ground mounted solar technology to the next level for maximum sunlight capture and energy production. These systems utilize motors, sensors, and controlers to automatically move solar panels over the course of a day. By keeping panels aligned perpendicular to the sun’s rays, they generate up to 45% more power annually.

There are two main types of solar trackers used with ground mounts:

  • Single-Axis Trackers: Rotate panels along one axis to follow the sun east to west.
  • Dual-Axis Trackers: Rotate panels along two axes enabling full 360 degree range of motion to precisely face the sun all day.

Benefits provided by tracker ground mounting:

  • Greatly increased energy yield per panel
  • Optimized spacing between rows of panels
  • Better performance in winter months
  • Reduced shade impact

The main disadvantages of using solar trackers are higher hardware costs, more complex installation, and increased maintenance requirements. Trackers utilizes motors, controllers, wiring, and gears that may eventually need replacement. Proper installation is also key for reliability.

Overall, the pros of solar tracking capabilities often outweigh the extra costs for larger commercial ground mounting projects. The significantly higher energy production provides better and faster return on investment. But trackers may be excessive for smaller residential ground installs where fixed mounts sufficient.

Click Here to Know More

VII. Carports and Canopies

Carports and Canopies

Carports and canopies utilize very large ground mounting structures that serve dual purposes. They provide shade or shelter, while also hosting solar panels to generate significant amounts of the electricity.

The most iconic example is the solar carport. As the name suggests, solar panels get installed on the roof structure of a carport. This keeps vehicles underneath shaded from the elements, while the panels above soak up the sunlight. The collected energy can then power buildings, electric vehicle charging stations, or get fed back into the grid.

Solar canopies function similarly, by mounting panels on top of a steel structure designed specifically for shade. You often see these utilized in parks, schools, and playgrounds to produce renewable power in addition to shielding what’s underneath.

Benefits of solar carports and canopies:

  • Large open spaces for mounting many panels.
  • Dual purpose installations (power + shelter).
  • High visibility demonstrations of clean energy.

The main barriers to larger carport or canopy projects have traditionally been the high upfront design and material costs. However, as solar panel prices continue to fall, these types of installations are becoming more financially viable. And they serve as impactful sustainability symbols for schools, commercial centres, and other public spaces.

Learn More

VIII. Cost of Ground Mounted Systems

Installing a ground mounted solar array comes at a higher initial price tag than rooftop solar. There are several cost factors that contribute to this:

  • Structural Materials – Industral grade aluminium and galvanized steel is used to assemble the racking, poles, and foundations. These materials are more heavy duty than typical rooftop mounts.
  • Excavation And Equipment – Digging holes for foundations, trenching electrical wires, renting heavy machinery, and transporting materials add to project costs.
  • Labour – Ground mount installations take longer and often require crane equipment to position modules. More man hours equals more labour expense.

However, against these higher upfront costs are the long term savings:

  • Increased Energy Production – The optimal positioning and solar tracking capabilities lead to significantly more clean energy generated.
  • Accelerated depreciation further reduces tax burden.

Over time, the extra energy and financial incentives make ground mounted systems pay for themselves more rapidly compared to equivalently sized rooftop installs. And protection from weather/debris means savings on roof repairs.

IX. Maintenance of Ground Mounted Solar

Maintenance of Ground Mounting Solar

A key advantage of ground mounted solar is that regular maintenance is easier than rooftop systems. Accessing panels on the ground avoids the need for ladders or technical rope training. Basic upkeep best practices include:

Inspections

  • Inspect all wiring, mounts, gear boxes for damage quarterly. Repair any loose connections or corrosion.
  • Check panel glass for cracks/chips annually which could allow moisture damage.

Cleaning

  • Clear any accumulated leaves/debris around the mounting structure.
  • Wash panels with soft brushes and water at least twice per year for maximum solar absorption.

Vegetation trimming

  • Trim any nearby plants/branches that may overhang and put panels in shade. Sunlight occlusion severely reduces output.

Snow Removal

  • Use non-abrasive plastic shovels to clear heavy snow off panels after storms.

Tracking & Monitoring

  • Ensure tracker motors function properly in all seasons.
  • Monitor production output levels monthly to catch any decreased yields from common culprits like dirty panels, tracking miss collaboration, or wiring issues.

Following this basic preventative maintenance checklist for your ground mounted system improves reliability, extends equipment lifespan, and maximizes solar energy production year after year.

X. Conclusion

Installing solar panels on the ground rather than roofing provides unique advantages. Ground mounted solar gives you flexibility on placement for optimum sunlight exposure for leading to significantly higher energy generation. The ability to incorporte tracking systems takes this productive potential even further.

As solar panel and storage prices continue falling, renewable energy adoption will only accelerate further. Both rooftop and ground mounted solutions each have ideal applications depending on the site constraints and power demands. Consult with qualified solar professionals to map out the best clean energy generation plan tailored for your home or business.

Advantages of Steel Structures in Solar Mounting by Structura Metal in Aurangabad

Introduction:

In the quest for sustainable energy solutions, solar power has emerged as a frontrunner. An often underestimated aspect of solar installations is the choice of mounting structures. Structura Metal, a pioneering company based in Aurangabad, recognizes the immense potential of steel structures in solar mounting. This article uncovers the advantages of employing steel structures for solar mounting and how they significantly contribute to stability and durability.

Benefits of Steel Structures in Solar Mounting:

1. Enhanced Stability:

Steel structures bring an unmatched level of stability to solar mounting. Their robustness and load-bearing capacity ensure that solar panels remain securely in place even in challenging weather conditions, reducing the risk of damage and enhancing long-term performance.

2. Durability Beyond Compare:

When it comes to longevity, steel reigns supreme. Its resilience against environmental factors such as corrosion, UV radiation, and temperature variations ensures that your solar installation maintains its structural integrity over time.

3. Customizable Design Options:

Steel’s flexibility allows for intricate and tailored designs. Whether you require ground-mounted solar systems or integrated rooftop installations, steel solar racking systems can be customized to fit the unique specifications of your project.

4. Corrosion Resistance:

Structura Metal employs advanced corrosion-resistant coatings on its steel structures. This protection safeguards against rust and deterioration, extending the lifespan of the mounting system and ensuring consistent performance.

5. Sustainability in Action:

Choosing steel structures aligns with sustainability goals. Steel is recyclable, reducing the environmental impact of your solar project. Its durability also means fewer replacements, contributing to a greener energy solution in the long run.

6. Versatility in Applications:

From ground-mounted solar systems to rooftop installations, steel’s versatility accommodates various applications. Whether you’re considering commercial, industrial, or residential projects, steel solar mounts offer adaptability.

Steel vs. Aluminum Solar Mounts:

Steel structures offer numerous advantages over aluminum counterparts:

Strength and Load-Bearing Capacity: Steel’s exceptional strength ensures stability in high-stress conditions, outperforming aluminum in load-bearing capacity.

Longevity: The durability of steel makes it a cost-effective choice in the long run due to reduced maintenance and replacements.

Corrosion Resistance: Properly coated steel is more resilient against corrosion compared to aluminum.

Customization: Steel’s malleability allows for intricate designs that cater to specific project requirements.

Environmental Impact: Recyclable steel is a sustainable choice compared to aluminum.

Conclusion:

Structura Metal’s emphasis on steel structures for solar mounting presents an array of advantages. The enhanced stability, durability, and customization options that steel brings to solar panel installations are truly remarkable. As global energy demands evolve and sustainability takes center stage, opting for steel mounting solutions proves to be a smart choice. With its corrosion resistance, load-bearing capacity, and versatile applications, steel structures from Structura Metal pave the way for a stable and enduring solar future.

All type of solar structure in one set up

Types of solar mounting structures

Solar energy is becoming increasingly popular in India, as the country accelerates its efforts to become a leader in clean energy and reduce its carbon footprint. Solar mounting structures are an essential component of any solar energy project, as they support the solar panels and allow them to capture enough sunlight. There are several different types of solar mounting structures to choose from, each with its own unique features and benefits.


Rooftop Mounts: Rooftop mounts are the most common type of solar mounting structure in India, and are typically used for residential and commercial projects. They are available in both railed and rail-less systems, and are generally attached to the roof with bolts or screws. Railed systems have rails that support the solar panels, while rail-less systems attach the panels directly to hardware connected to the bolts/screws. Rooftop mounts are available in sloped and flat roof versions, and can be used to maximize the amount of sunlight captured.


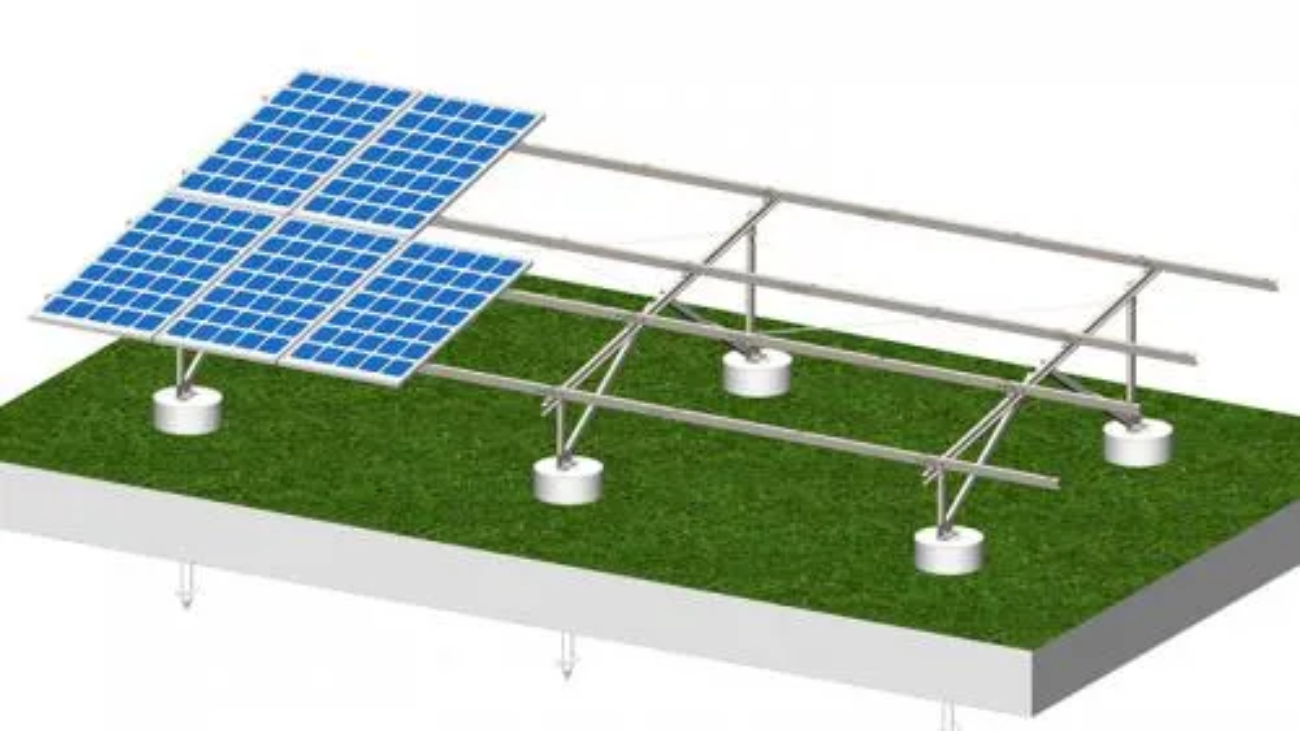
Ground Mounts: Ground mounts are another common type of solar mounting structure in India, and are typically used for larger-scale projects. These mounts are usually constructed of either aluminum or stainless steel, and they are designed to securely hold the solar array in place. Ground mounts can be stationary or adjustable, and they can also be combined with tracking systems to increase the efficiency of the solar array. Ground mounts can further be classified into the following types:

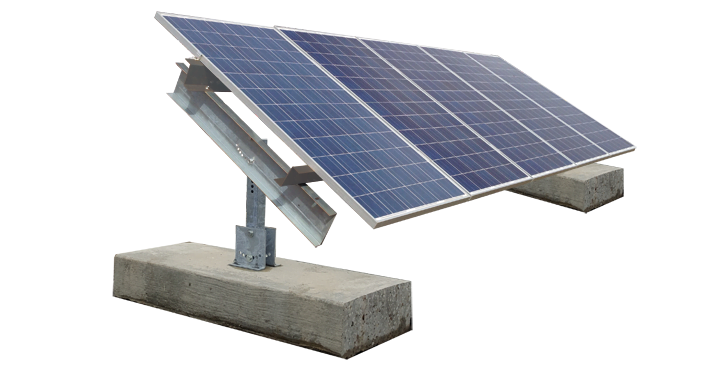
  • Foundation Mount
  • Ballasted Footing Mount
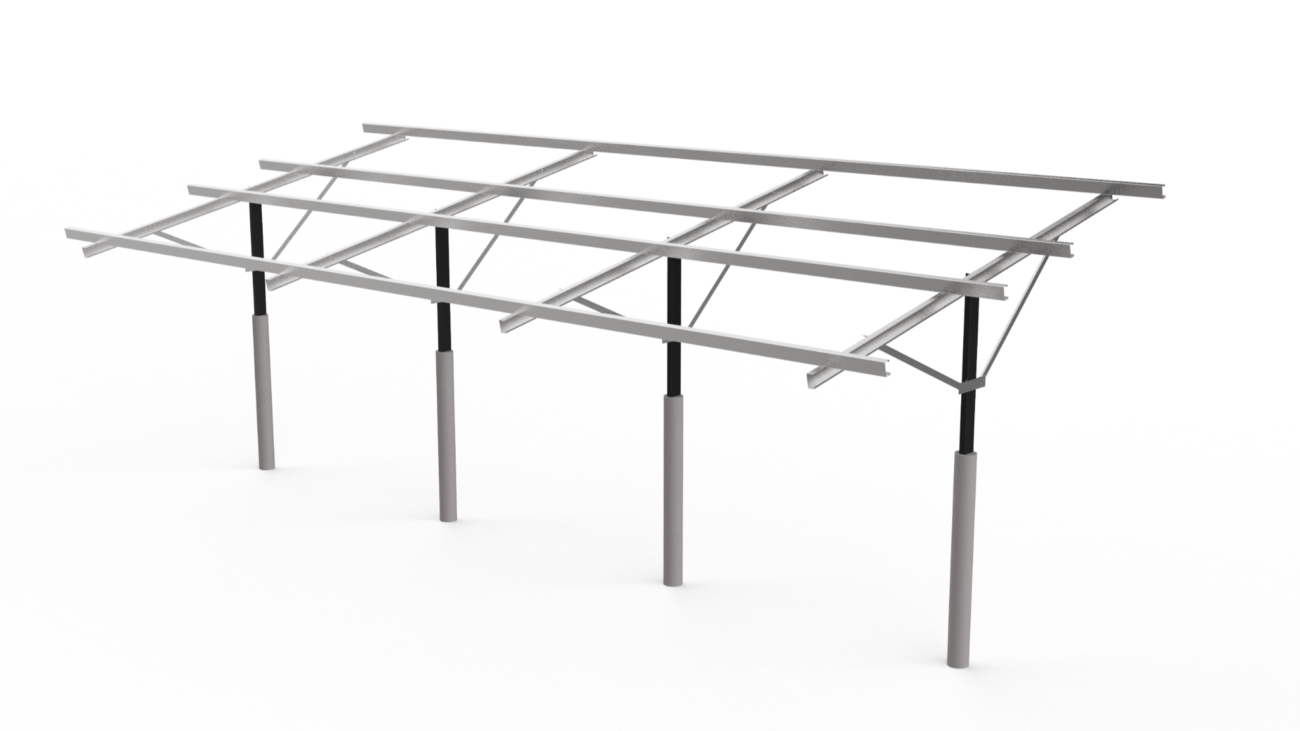
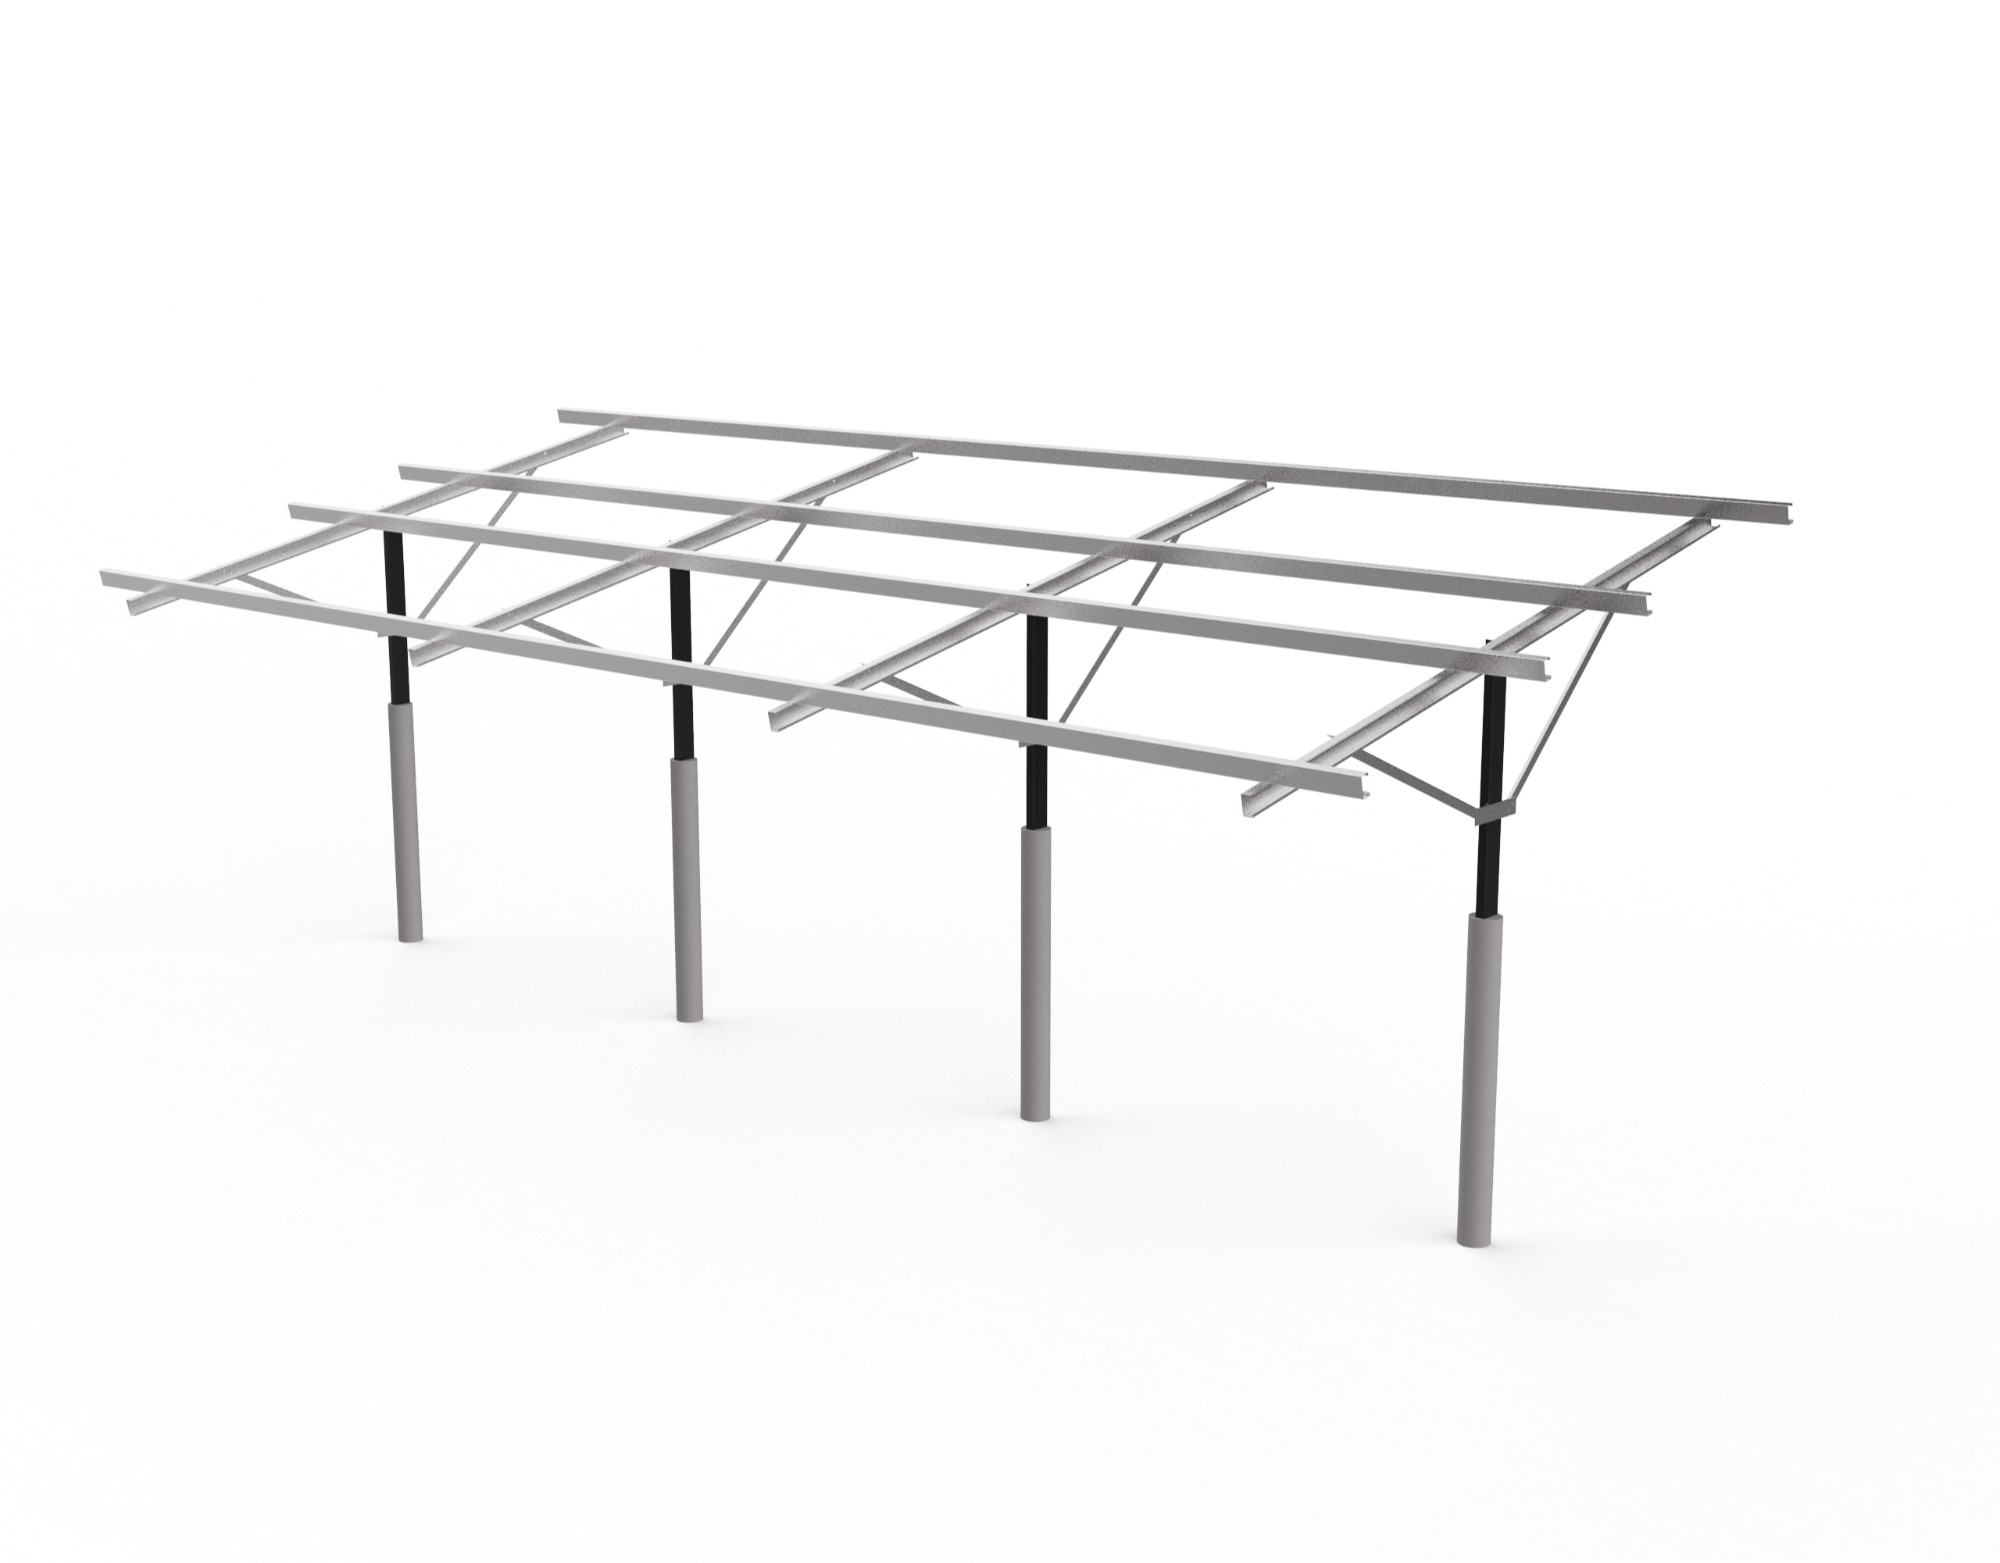
  • Pole Mount
  • Multi Pole Mount (Carports, Sheds)
  • Smart Flowers

Floating Mounts: Floating mounts are a relatively new type of solar mounting structure, and they are becoming increasingly popular in India. As their name suggests, these mounts are designed to float on water, making them ideal for installations on lakes and other bodies of water. Floating mounts are typically constructed of plastic or polymer, and they are designed to securely hold the solar array in place while also allowing for a certain amount of flexibility.

In summary, there are various types of solar mounting structures available in the Indian market, each with its own advantages and disadvantages. Ground-mounted structures are best for large-scale projects, roof-mounted structures are more suitable for small-scale projects, and floating structures offer an innovative solution for water bodies. It’s important to consider factors specific to your needs when choosing a solar mounting structure for a project.