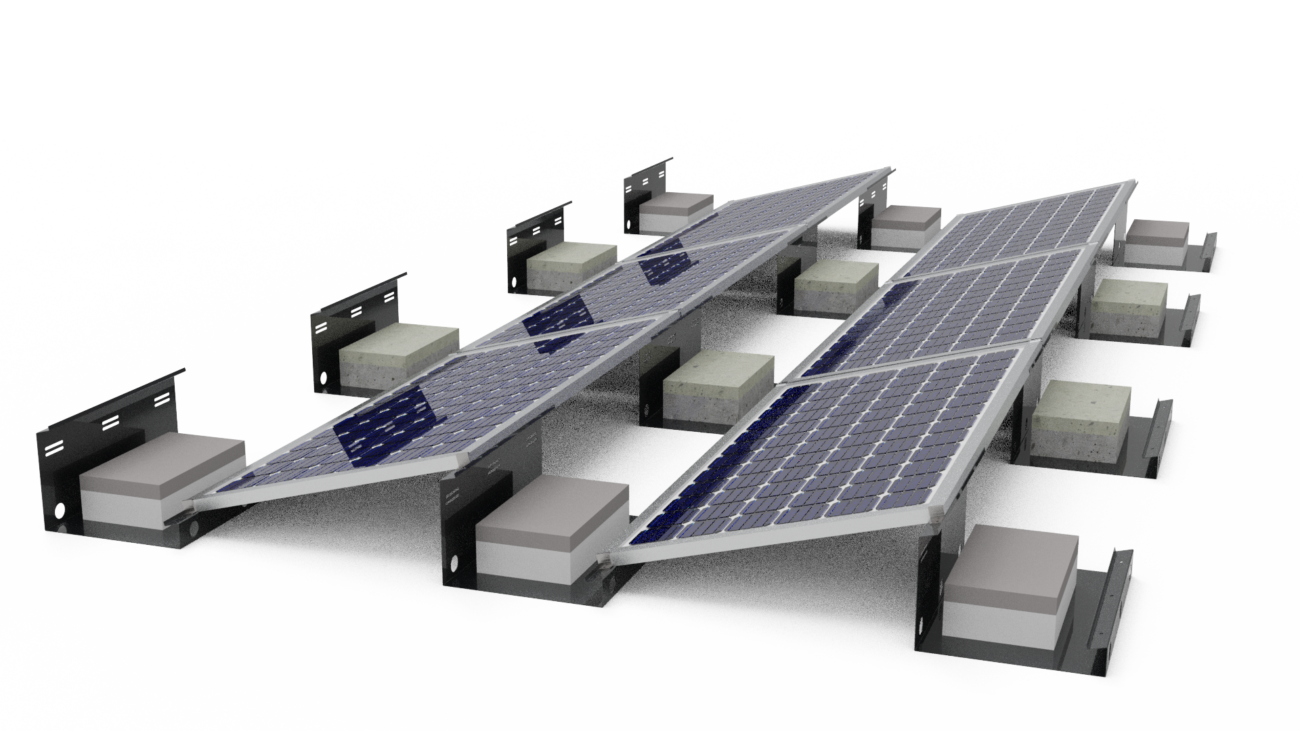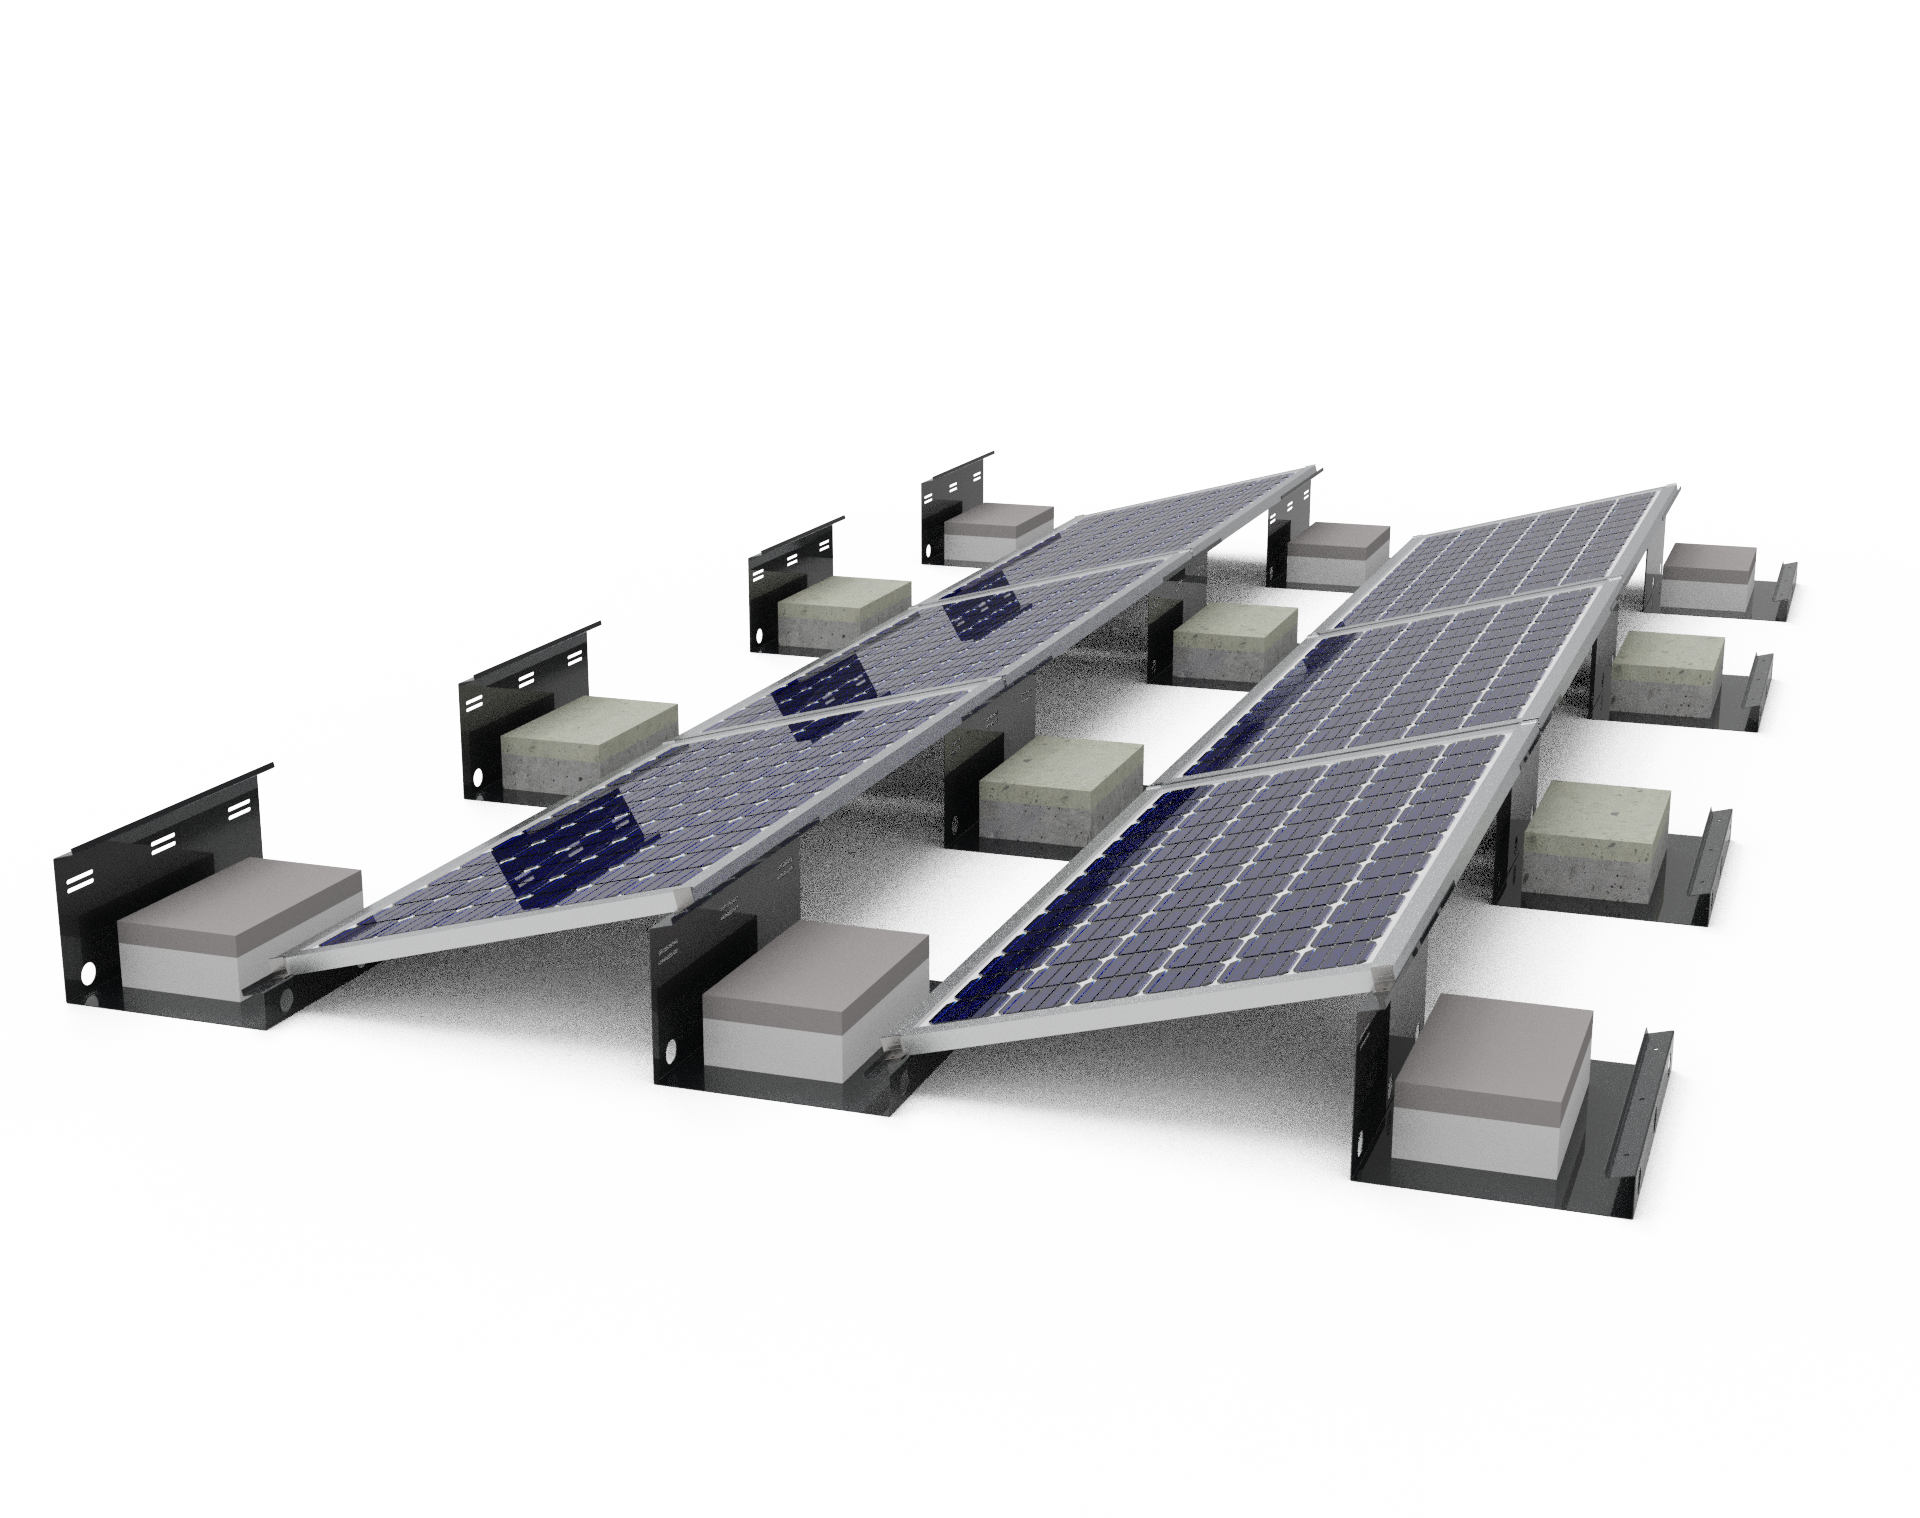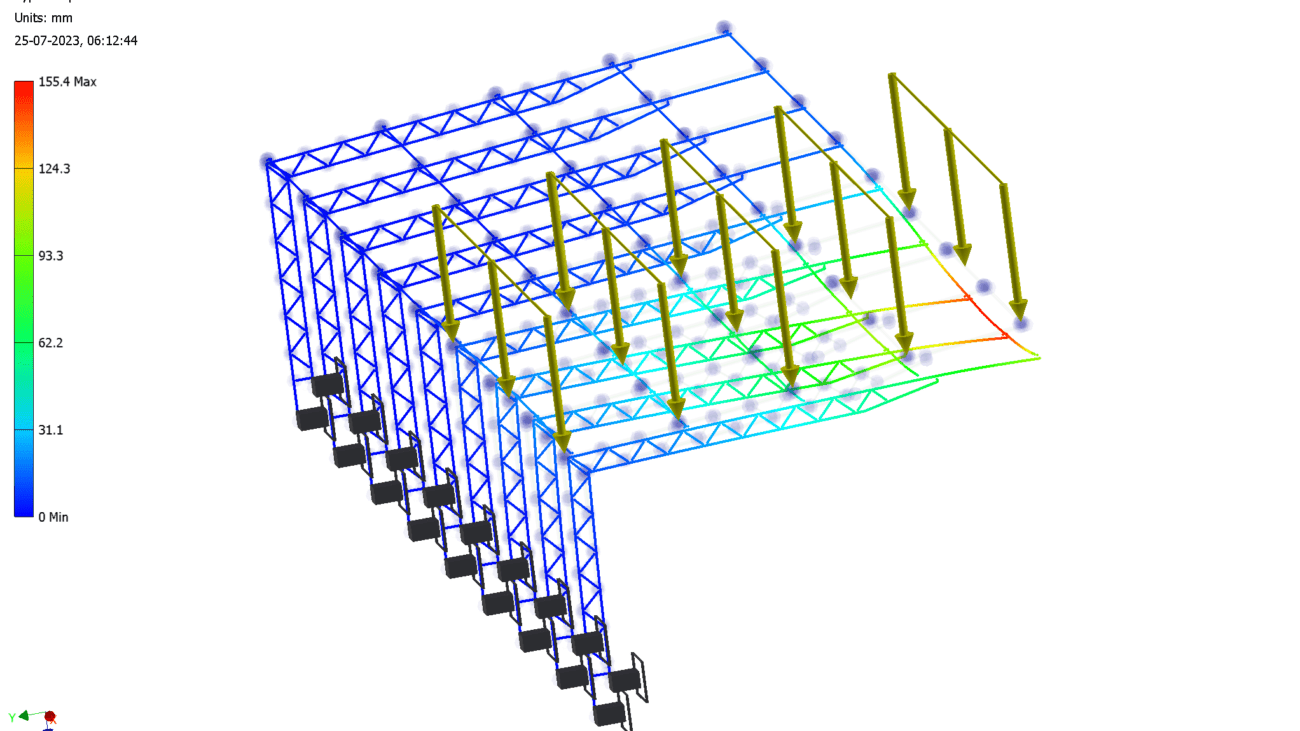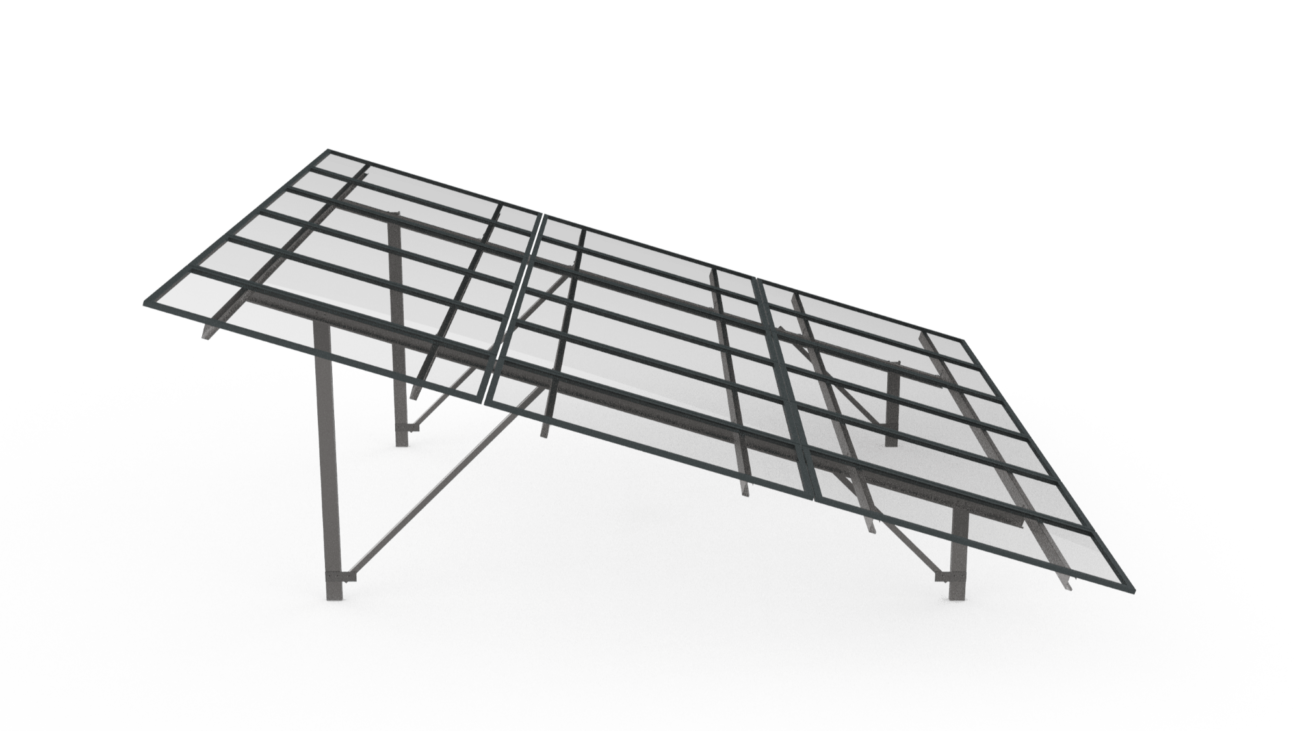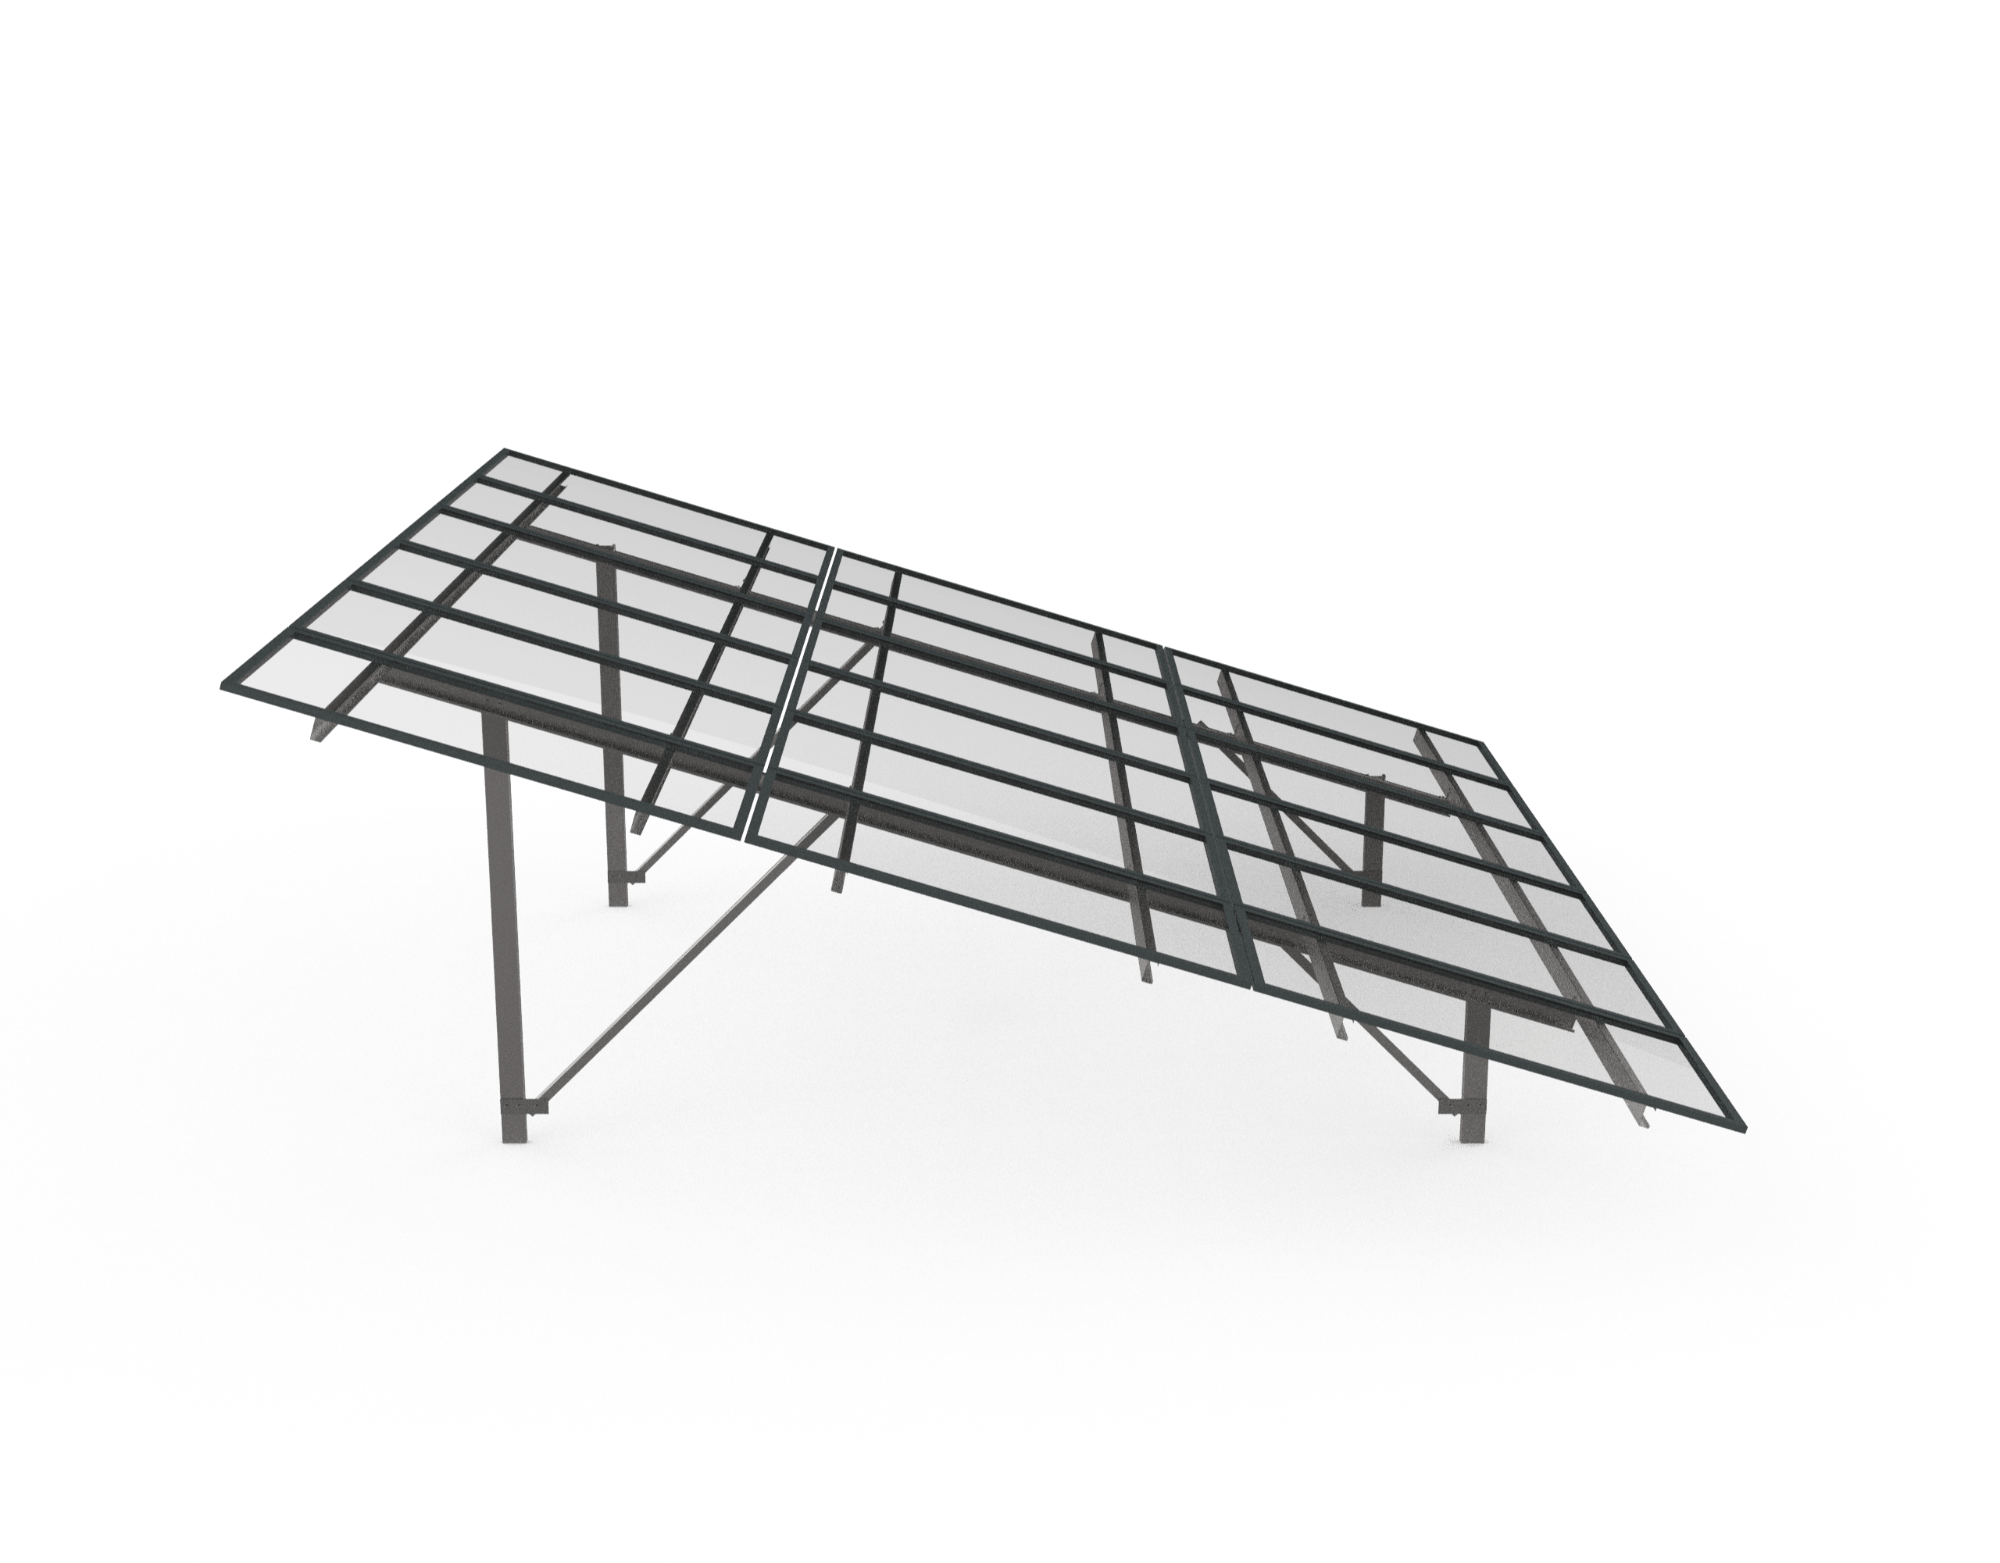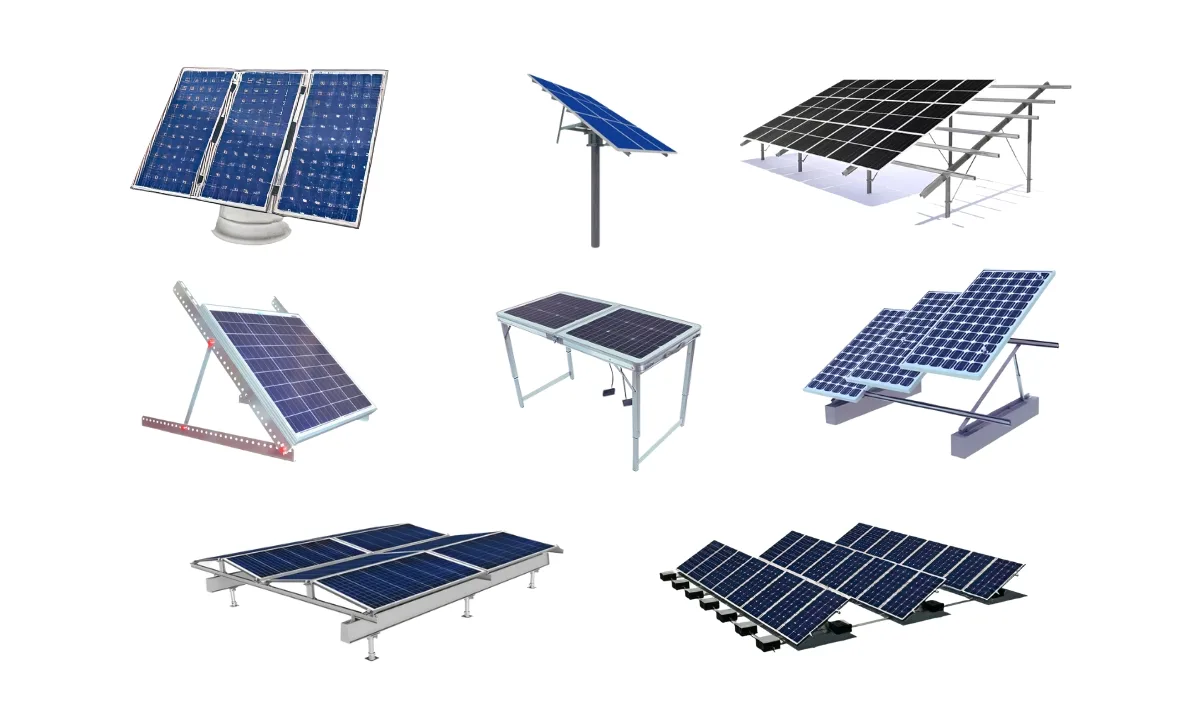
ground-mount-png

Is Aluminium Extrusion Profile Good For Solar Panels?

Aluminium Extrusion Profile

I. Introduction to Aluminium Extrusions and the Solar Industry

The solar industry has seen immense growth in the recent years as both companies and individuals look to harness renewable solar energy for the electricity needs in an eco-friendly manner. Solar panels play a crucial role in converting sunlight into usable electrical energy. The efficiency and longevity of these panels depend significantly on the quality of materials used to manufacture them.

Aluminium extrusions have emerged as an important material choice for the components in solar panels including framing structures and the mounting systems. Extruded aluminium refers to aluminium that has been formed with a fixed cross-sectional profile by forcing heated aluminium billets through a shaped die via an extrusion process.

Benefits of Extruded Aluminium:

  • Extremely lightweight yet strong metal with excellent conductivity
  • Resistant to corrosion and harsh weather conditions
  • Easy to fabricate into customized profiles and aluminium sheets
  • More affordable option compared to metals like stainless steel
  • Fully recyclable and sustainable material

As per the result the versatility and the durability of extruded aluminium make it worthwhile for the following the solar applications:

  • Lightweight frames and casing for the solar panels
  • Mounting systems to securely the fasten panels
  • Heat sinks and devices to dissipate heat
  • Reflective surfaces to maximize light absorption

The unique properties of aluminium extrusions cater efficiently to the needs of a rapidly evolving renewable energy domain like solar power. As demand grows for scaled solar implementations, aluminum alloy profiles offer an optimal and ecologically responsible solution. Specialist manufacturers of extruded profiles also enable customized solar-specific designs.

With enhanced collaboration across stakeholders spanning suppliers, engineers, architects, and sustainability experts – aluminium promises to be integral to the building of an efficient and circular solar industry.

II. Role of Aluminium in Solar Panel Components
Aluminium in Solar Panel Components

Aluminium plays a vital role in the multiple components that make up the solar panels including:

Frames and Structures

  • Provide rigid frames to encase and protect solar cells
  • Enable installation onto rooftops, vehicles and infrastructure
  • Custom extruded profiles for specific load requirements
  • Anodized for weather resistance and desired visual finishes

Energy Conduction

  • Excellent conductivity for electrons generated in cells
  • Transfers current to be available for external use
  • Reflective surface improves light capture to boost efficiency
  • Comparable conductor to materials like copper and silver

Mounting Systems

  • Essential for securing panels in outdoor environments
  • Anchor to various foundations – rails, poles, rooftops
  • Withstand wind, seismic and snow loads
  • Lightweight alloy vital for easy transport and assembly
  • Modular profiles to suit all kinds of installations

The versatility of aluminium alloy compositions combined with the extrusion flexibility enables it to be fabricated into parts that serve critical functions across solar power generation systems.

III. Comparison to Other Materials like Stainless Steel

Aluminium extrusions offer distinct advantages over other metal alternatives, especially stainless steel, when it comes to usage in the solar panels:

  • Cost – Aluminium is far more economical than stainless steel.
  • Weight – About 3 times lighter allowing easier transportation and roof loading.
  • Strength – Has requisite mechanical strength for frames and mounts.
  • Workability – Softer metal that is easier to fabricate and bend.
  • Conductivity – Excellent electrical and thermal conductor.
  • Corrosion Resistance – Withstands weathering better with protective finishes.
  • Sustainability – Highly recyclable material with low remelt energy.

Additionally, specialist aluminium alloy grades that have been designed to possess optimal properties for renewable energy applications. Availability of the diverse aluminium sheets, plates, rods and extruded profiles in a range of sizes facilitates scalable production of solar panel components.

Superior longevity ensures aluminium solar panel parts require lower maintenance over extended lifespan – offering better value compared to alternative metals. Standards for anodized coatings and testing procedures have also evolved to full fill quality expectations.

V. Applications of Aluminium Extrusions in Solar Industry

Aluminium extrusions find widespread implementation across the solar power domain:

Commercial Installations

  • Industrial parks, factories
  • Warehouses, airplane hangers
  • Highways and dedicated solar farms

Residential Infrastructure

  • Rooftop solar panels
  • Carports and garage roofing
  • RV and tiny homes

Off-Grid Power Systems

  • Telecom towers, rural electrification
  • Emergency power backup
  • Traffic signals, highway sound barriers
  • Spacecraft and satellites

The lightweight sturdiness along with design flexibility of extruded aluminium makes it suitable for small scale residential needs as well as large utility projects. Continued innovation of alloy grades and cost-effective manufacturing processes has enabled adoption across on-grid and off-grid solar applications.

VI. Aluminium Alloy and Extrusion for Affordable Solutions

The high upfront costs of solar photovoltaic systems pose adoption challenges. Aluminium alloy and extrusion offers a variable route to affordable solar power:

  • Compared to systems based on copper or steel, aluminium panels have lower costs for the same wattage.
  • Advanced alloying technique enhance electrical properties while retaining cost effectiveness.
  • As a commonly available metal worldwide, global aluminium prices are competitive.
  • Established manufacturing and recycling ecosystems make aluminium financially attractive.
  • Custom extruded profiles help optimize material usage minimizing wastage.
  • Lower weight results in reduced shipping and handling charges.
  • Creates local job opportunities expanding solar value chain.
  • Solar panel mounting structures fabricated from aluminium trim installation expenses.
  • Encourages more users especially in developing countries to choose solar energy.

Continued efforts to improve efficiency of aluminium solar components coinciding with higher adoption will be facilitate further cost reduction – enabling the dream of inclusive and affordable solar power access.

VII. Surface Treatments and Finishes

While untreated aluminium offers good corrosion resistance, in an appropriate surface treatments and finishes that can be enhance the durability and aesthetic appeal of solar panel parts:

Functional Coatings

  • Anodizing creates a harder insulating oxide layer improving the weather ability
  • Organic paint-like coatings provide insulation and minor corrosion for protection
  • Specialized solar glass coatings maximize light absorption and conductivity

Aesthetic Finishes

  • Anodized layers are available in various tints besides natural finish
  • Durable coloured paints and powder coated finishes suit custom themes
  • Improves visual appeal for the building-integrated installations
  • Screens can be mimic surround textures like brick walls or wood panelling

Specialized Testing

  • Qualification tests assess treatment effectiveness and adhesion
  • Accelerated corrosion testing verifies the noticeable enhancement of baseline aluminium corrosion resistance
  • Exposure trials in real atmospheric conditions

Surface treatments render aluminium uniquely suitable for the stringent performance and aesthetic needs of solar panel components.

Click here for more details

VIII. Future Circular Economy Considerations

The solar industry is expected to grow exponentially in the coming decades. Ensuring sustainable scaling requires circular economy thinking:

Reuse and Remanufacture

  • Design solar mounting systems for easy disassembly
  • Reuse intact aluminium profiles in the new installations
  • Repurpose for non-structural solar balance-of-systems

Recycle

  • Create buyback and takeback systems for old panels
  • Extract aluminium content for low-energy recycling
  • Process back into the raw material for new profiles

Ecological Impact

  • Lightweight aluminium and transport optimization cuts carbon footprint
  • Significant water savings using recycled aluminium versus primary metal
  • Integrate renewable energy in remelting and extrusion processes

Proactive adherence to circular economy principles will allow to the solar industry to grow in a sustainable manner and continue providing clean energy solutions without adversely straining the planet’s resources.

IX. Role of Technical Expertise in Design

Harnessing aluminium’s full potential for solar applications requires extensive technical know-how:

Simulation and Analysis

  • Software-aided modelling and the structural analysis
  • Predict thermal dissipation needs
  • Ensure wind loading capability

Customized Design

  • Expertise in translating concepts to the manufacturing extruded profiles
  • Suitability evaluation of the different alloy grades
  • Design optimization for material and energy efficiency

Prototyping and Testing

  • Evaluate form, fit and functionality
  • Carry out static and dynamic testing to meet norms
  • Iterate based on feedback from controlled trials

Multi-domain Collaboration

  • Partner with panel and other system manufacturers
  • Joint development of integrated solutions
  • Leverage emerging solar-specific advances in aluminium

Careful application of metalworking design skills, simulation tools and a collaborative approach is key to overcoming aluminium innovation barriers for solar structures.

X. Conclusion on Suitability of Aluminium Extrusion Profiles

The exponential growth and mainstreaming of solar technology in recent times requires eco-friendly, cost-effective and sustainable material solutions. Aluminium extrusion profiles serve as an optimal material choice in this context owing to:

  • Lightweight yet sturdy profiles enabling modular and adaptable structural designs
  • Alloy advancements tailoring electrical, mechanical and thermal properties
  • Nearly infinite recyclability and environmentally prudent life cycles
  • Custom manufacturability of the specialized cross-sections
  • Continued focus on process efficiency, yield and quality improvement
  • Increased adoption furthering innovation and cost optimization
  • High relevance to renewable energy domains demanding longevity and reliability

With abundant technical expertise and manufacturing capability, aluminium promises to be integral to unlocking mass solar adoption. Strategic collaboration among stakeholders and deliberate perpetuation of circular-economy centric business models will be facilitate responsible solar industry growth.

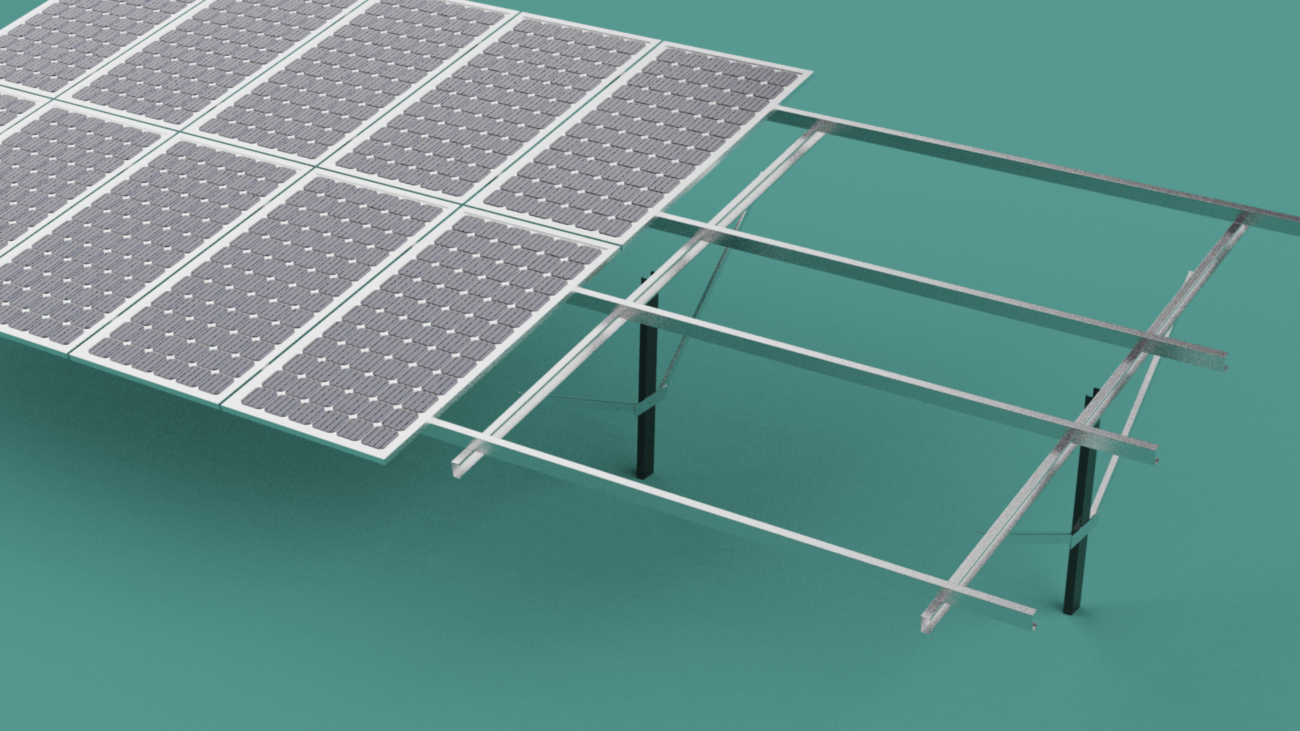
Aluminium’s merits make it undisputedly well-suited for extruding a sustainable solar future!


Solar Flat Roof Mounting Systems

Solar Flat Roof Mounting Systems

Solar Flat Roof Mounting Systems

I. Introduction to Flat Roof Solar Mounting Systems

The “Structura Metal” provide installing solar panels on flat roofs is becoming an increasingly popular option for both homes and businesses looking to be utilize renewable energy. Flat roofs provide ample vacant space for mounting solar PV systems and solar thermal panels. While pitched rooftops can also accommodate solar arrays, flat roofs offer some unique advantages.

1.     Benefits of Flat Roof Solar

  • More flexibility in panel orientation and tilt angle for optimal sunlight capture
  • Ability to install larger solar arrays more easily
  • Less visibility of panels from street level

2.     Types of Flat Roof Mounting Systems

There are two main types of solar mounting systems used on the flat roofs:

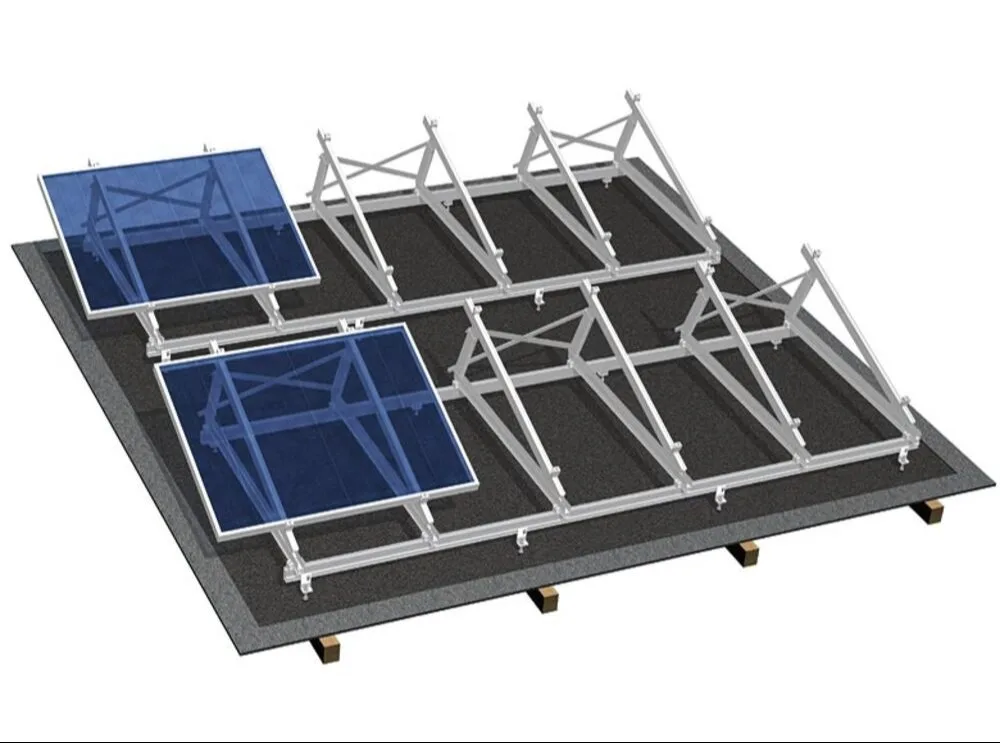
  • Free-standing/Ballasted: Panels are fixed onto frames and weighted down without penetrating the roof
  • Attached/Penetration: Panels are anchored to rails attached directly to the roof surface

Ballasted systems avoid compromising the integrity of the waterproof roof membrane. However, attached systems typically withstand higher wind loads.

3.     Flat Roof Solar Panel Options

System TypeDescriptionConsiderations
Solar PVConverts sunlight into electricityRequires wire connection to building
Solar thermalHeats water from sunlightIntegration with hot water system

“Structura Metal” gives a proper site evaluations and safety precautions by qualified solar professionals are crucial when installing panels on flat roofs. Key factors like roof strength, panel wind resistance, and placement optimization should be addressed during the planning process.

With smart design and strategic mounting selections tailored to the specific roof, flat spaces can be successfully transformed into the efficient solar hubs. Flat roof solar offers property owners a versatile platform to harness renewable energy.

II. Key Considerations for Flat Roof Solar

Installing a solar system on a flat roof requires careful planning and preparation to ensure optimal performance and safety. Here are some of the most important factors to consider:

A. Roof Structure and Condition

  • A structural assessment is vital to verify the roof can handle the additional weight of solar panels and mounting systems
  • The roofing material and age impacts the choice of mounting method
  • Reinforcing the structure may be necessary for older or weaker roofs

B. Orientation and Panel Tilt

  • Optimal tilt angle depends on the latitude and climate
  • Angled mounts typically used to maximize solar gain
  • Adequate spacing prevents inter-row shading

C. Weather Resistance

  • Wind resistance varies by mounting type:
SystemWithstands
BallastedUp to 100 mph
AttachedOver 110 mph
  • Snow load capacity also factors into structural requirements

D. Accessibility and Maintenance

  • Walkways facilitate safe access
  • Sufficient clearance eases system upkeep and repair
  • Cabling should be neatly managed

Careful flat roof solar design to optimize the energy generation and safeguards the roof’s integrity. Consult closely with qualified solar professionals during the process.

III. Residential Flat Roof Solar Solutions

 Residential Flat Roof Solar Solutions

Homeowners with flat roofs made of materials like concrete, membrane, tar and gravel, or torch down have several good solar mounting options. Residential flat roof solar systems allow households to generate their own clean energy through photovoltaic panels or solar water heating.

A. Solar Panel Mounting Methods

SystemDescription
Non-penetratingNo roof holes, relies on ballast weight
PenetratingAttached with roof fasteners

B. Non-Penetrating Ballasted Mounts

  • Ballast mounts secure panels without penetrating roof
  • No risk of leaks or voids in roof warranty
  • Concrete blocks or gravel often used as ballast

This is the fastest and simplest residential flat roof solar installation method. However, snow load capacity and wind resistance is lower than a penetrating system.

C. Concrete and Membrane Roofs

For poured concrete roofs or membrane waterproofing:

  • Attached penetration mounts may be preferred
  • Ensure proper flashing & seals around anchors

Proper structural support and weatherproofing is the key for roof health.
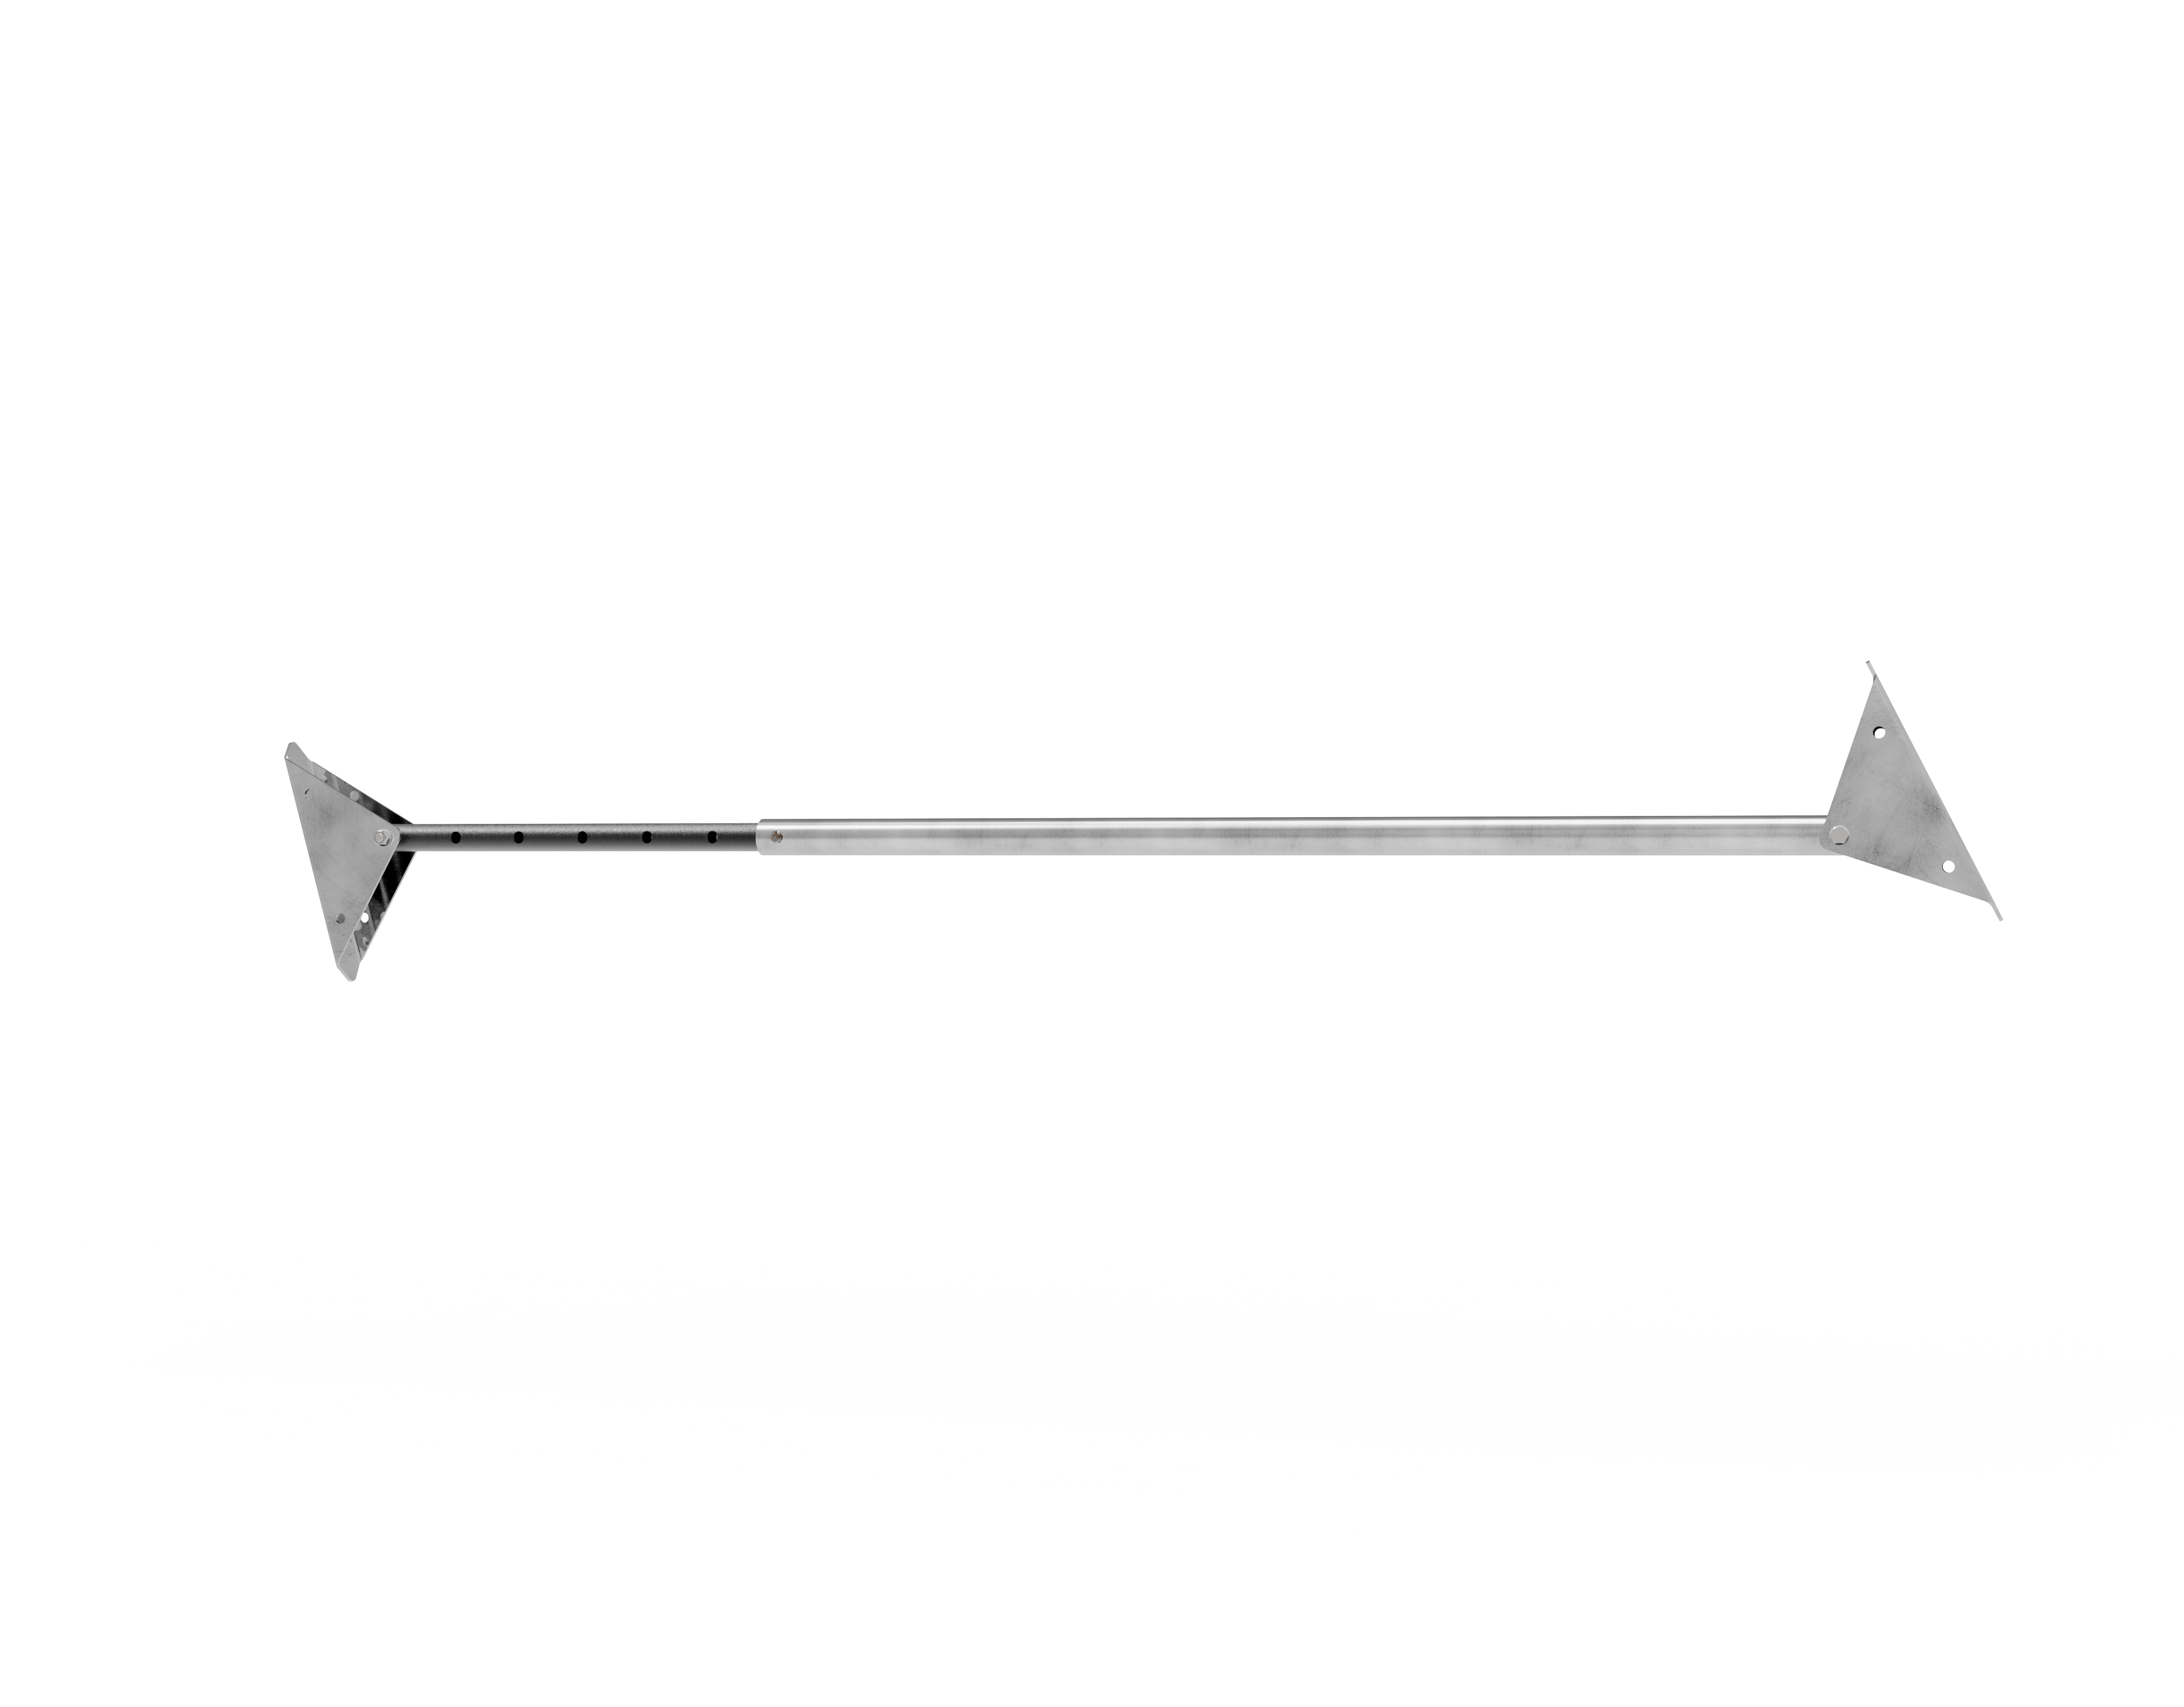
We consult a qualified solar pro to determine the optimal mounting solutions for your flat roof type and conditions. Careful design tailored to your roof ensures reliable, efficient solar array performance.

IV. Commercial Flat Roof Solar Solutions

Businesses with ample flat roof space are ideal candidates for large-scale solar arrays. Commercial sites allow for solar installations that can offset a significant portion of the building’s electricity usage.

A. Benefits of Commercial Scale Flat Roof Solar

  • Cost-saving through reduced utility bills
  • Enhanced sustainability profile
  • Increase property value
  • Easier emergency power integration

B. Types of Systems for Large Commercial Roofs

  • Expansive fields of angled solar PV panels
  • Solar thermal arrays for water heating needs
  • Options for attached and ballasted mounting

C. Specially Designed for Heavy-Duty Applications

Solar mounting systems made for commercial projects feature:

  • Capability to handle the large-format modern solar panels
  • Robust structural components
  • Withstand intense wind, snow etc.
  • Streamlined installation process

Maximizing sunlight exposure is the key through strategic panel placement and tilt optimization.

V. Local Regulations and Policies

In “Structura Metal” the installation of  solar panels on a flat roof is subject to various building codes, regulations, and construction policies depending on your jurisdiction. Navigating the relevant rules is key for smooth project execution.

A. Building Codes

  • Local statutory codes dictate structural, fire safety, wiring and the other requirements
  • Qualified solar professionals handle integration of code-compliant components

B. Planning Permissions

  • Planning permissions needed for:
  • Conservation or historic areas
  • Development approvals
  • Grid connection policies
  • Streamlined approval processes available in some areas

C. Homeowner Associations

  • HOA aesthetics rules may apply
  • Rooftop equipment restrictions to be consider

D. Incentives and Rebates

Many municipalities offer programs like:

  • Solar feed-in tariffs
  • Renewable energy rebates
  • Property tax exemptions

Confirm eligibility criteria before designing system.

Thorough research into local ordinances, utility policies, community rules, and incentive programs is strongly advised prior to installing. This ensures your flat roof solar project proceeds smoothly while conforming to all applicable regulations.

VI. Installation of Solar Systems on Flat Roofs

 Installation of Solar Systems on Flat Roofs
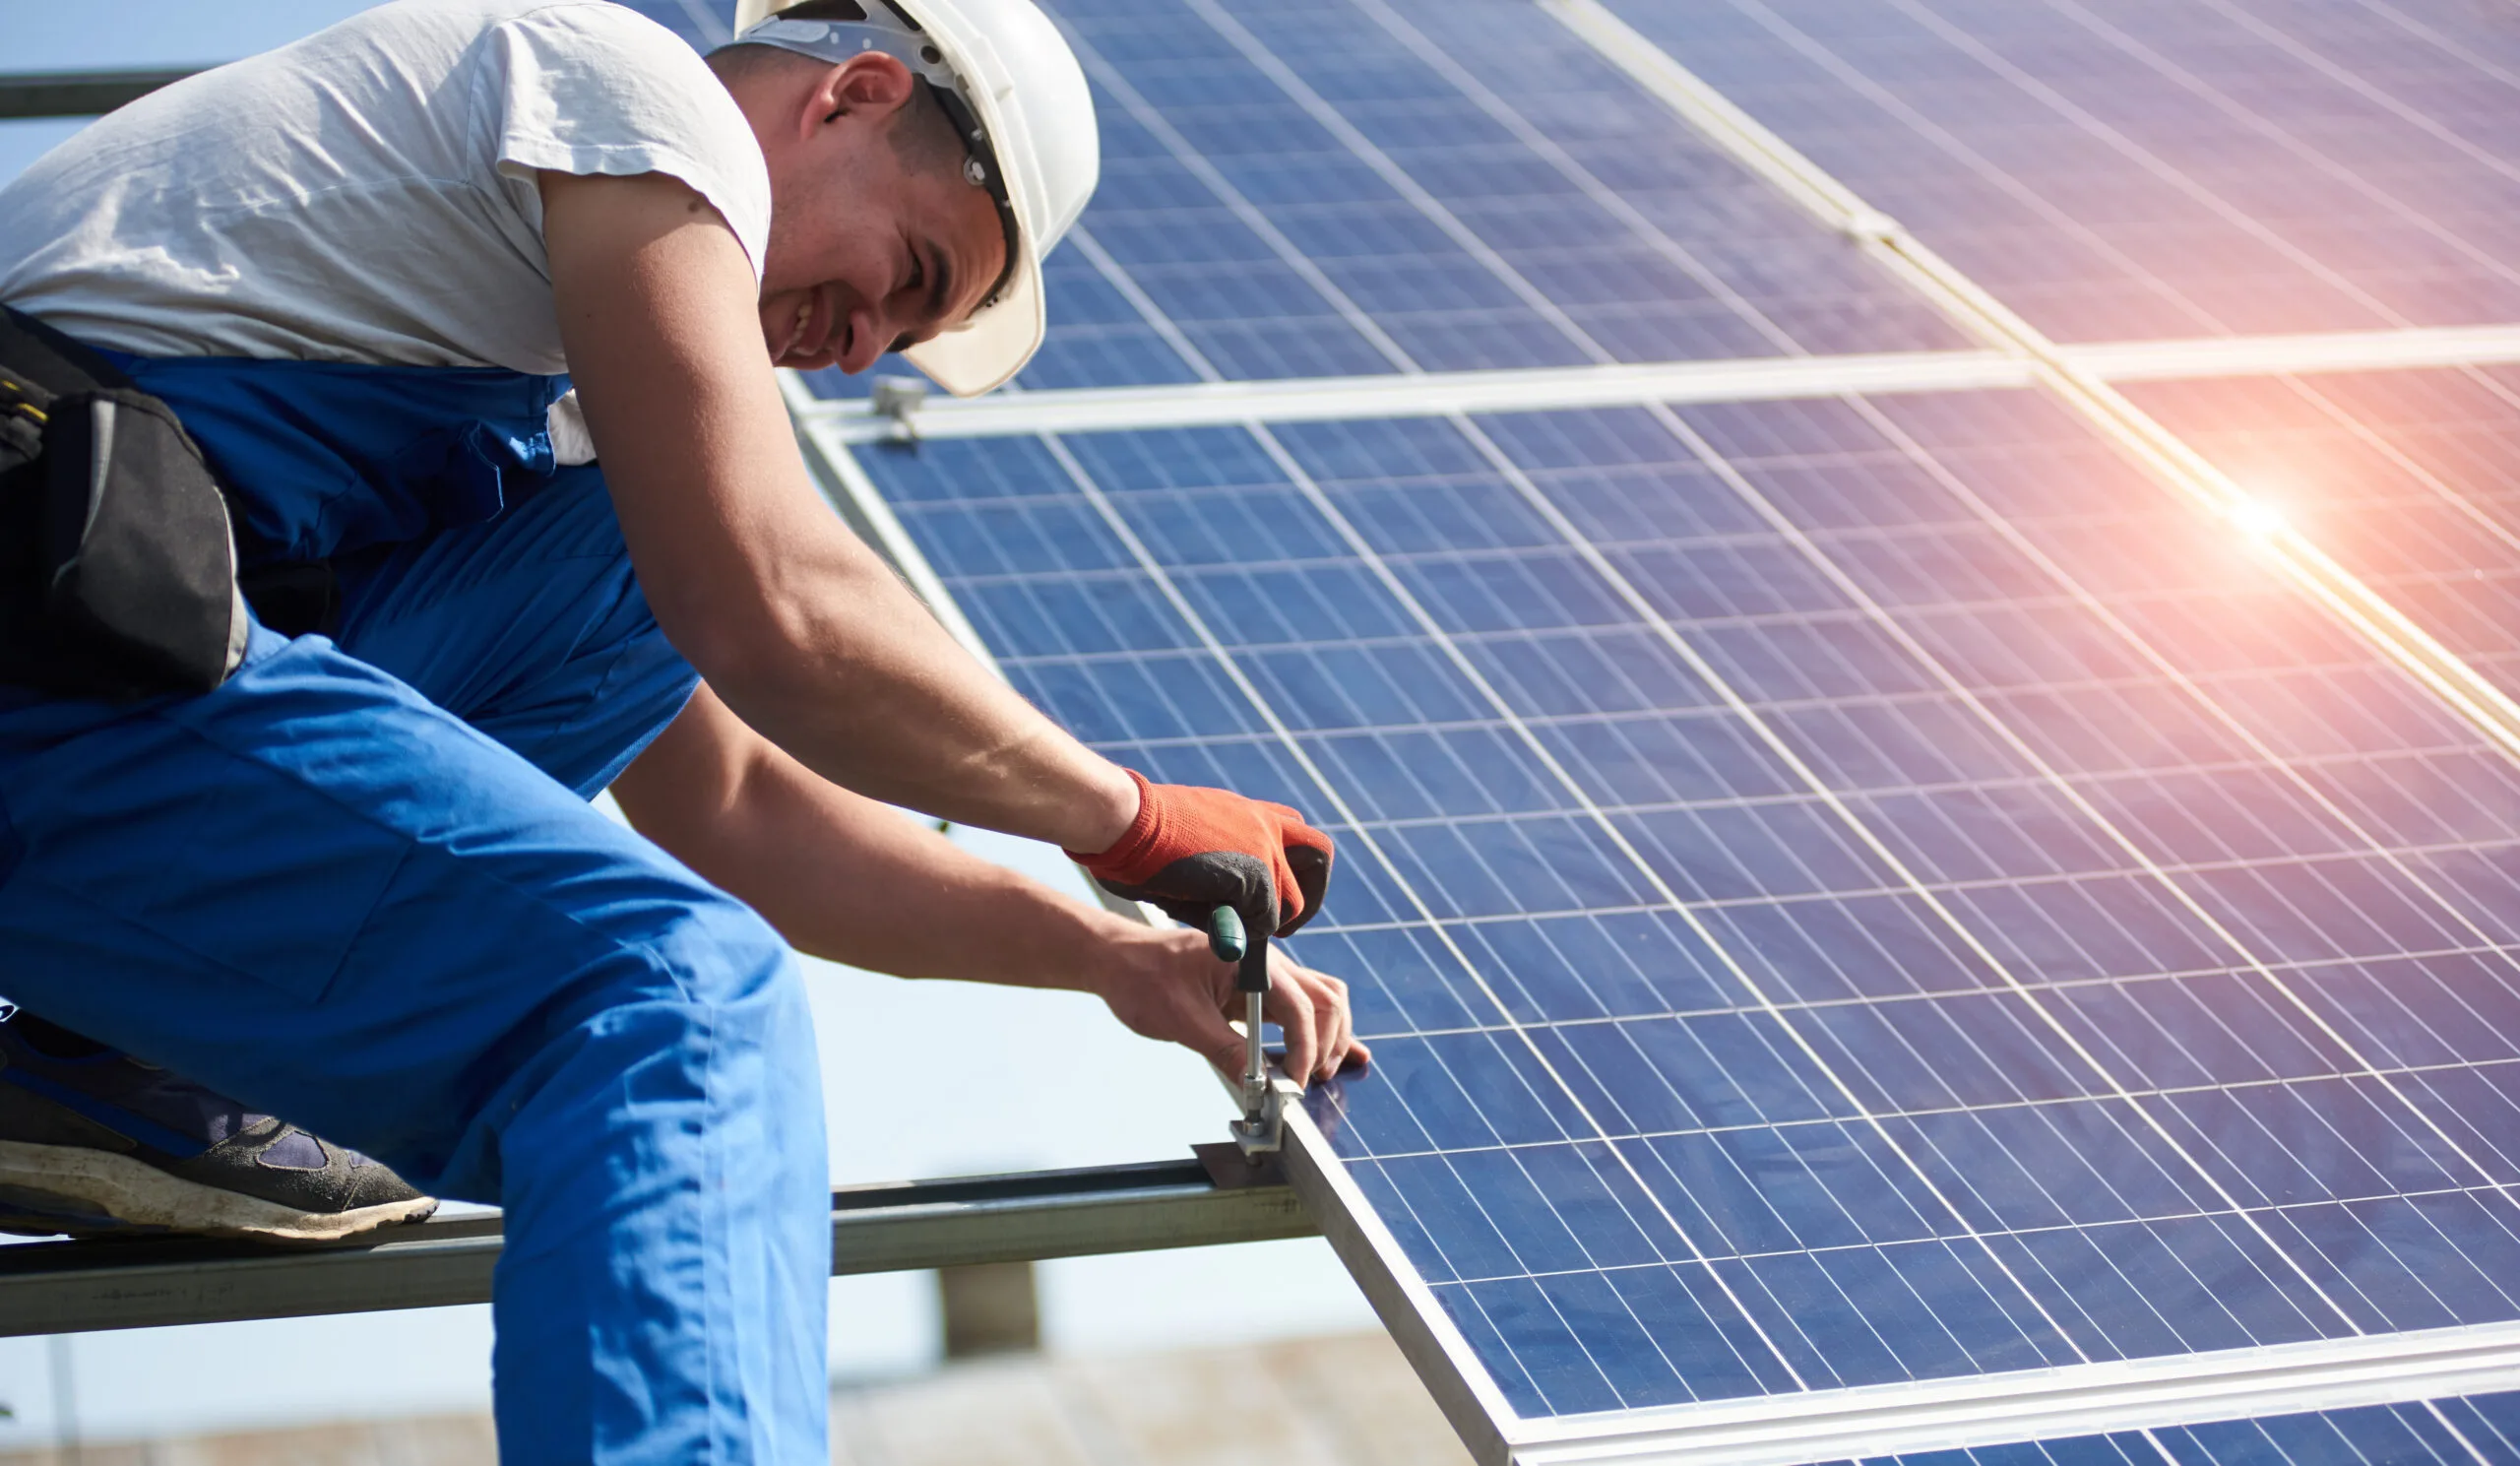
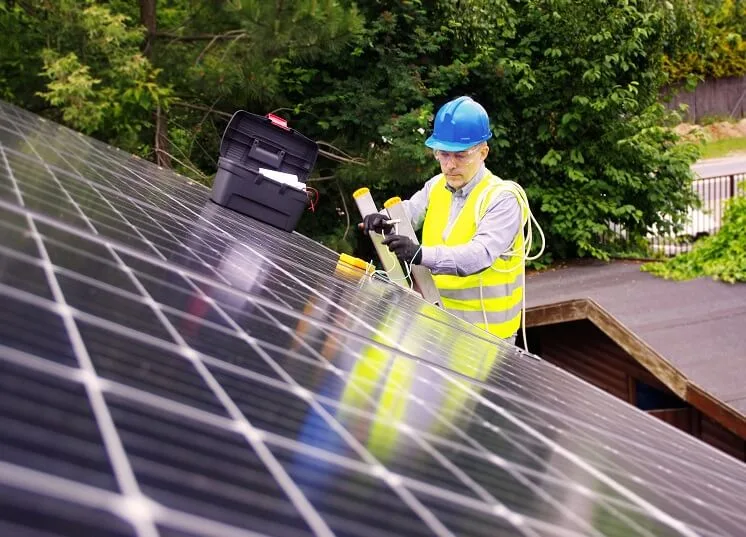
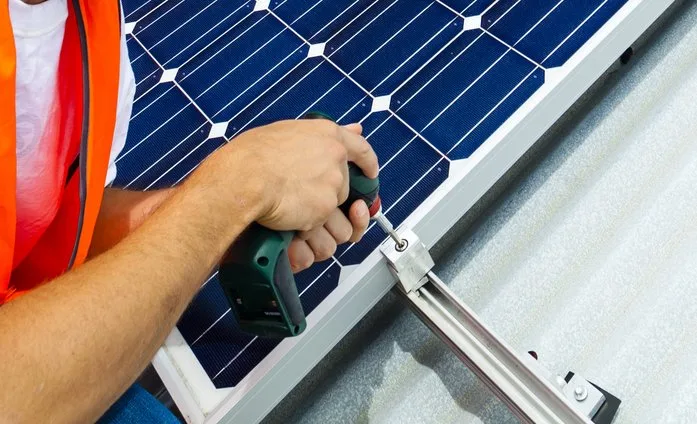
Professional technician installing solar photo voltaic panel to metal platform using screwdriver. Stand-alone solar panel system installation, efficiency and professionalism concept.

Installing the solar panels on a flat roof requires careful planning and execution to ensure optimal performance and safety. There are key considerations when mounting solar systems on flat roofs:

  • Structural integrity
  • Waterproofing
  • Panel orientation
  • Mounting system

A. Structural Integrity

The existing flat roof structure must be assessed to verify it can handle the additional weight of the solar array and mounting system. An engineer should conduct load calculations to determine:

  • Number of solar panels the roof can support
  • Weight of mounting system
  • Wind and snow load capacity

If needed, the roof can be reinforced to increase its structural capacity for the solar setup.

B. Waterproofing

With ballasted systems, waterproofing is less of a concern since they do not penetrate the roof membrane. However, non-penetrating mounts may still require flashing or seals around the attachment points to prevent the moisture issues. It’s vital not to be compromise the roof’s water resistance.

C. Orientation and Tilt

Optimal panel tilt for maximum energy yield:

RegionTilt Angle
Lower latitude10-20°
Mid-latitude15-25°
Higher latitude25-35°

Azimuth angle will vary by location.

Read More

D. Mounting System

Flat roof mounting system options:

  • Ballasted: Concrete blocks secure structure
  • Non-penetrating: Attached without the roof membranes penetration
  • Mechanically attached: Secured with the roof membrane penetration

An installer will be determine the ideal mounting based on climate, loads, and roof type. Proper installation is key for a long-lasting solar system.

Residential flat roof solar setups have unique needs versus large commercial projects. Always consult with qualified solar professionals.

VII. Electrical Components for Flat Roof Solar

 Electrical components for flat roof solar

Properly designing and installing the electrical system is critical for a functional and safeflat roof solar array. Key electrical components include:

  • Solar panels
  • DC wiring
  • Flat roof mounting system
  • Inverter
  • AC wiring

A. Solar Panels

  • Silicon photovoltaic cells generate DC electricity
  • Connected in series into strings

B. DC Wiring

  • Connects solar panels into strings
  • Plug-and-play MC4 connectors
  • Copper wiring sized for voltage drop

C. Inverter

  • Converts DC to AC power
  • Required for grid connection
  • Properly sized for your system’s total wattage

D. AC Wiring and Breakers

Safely delivers power:

  • From inverter to electrical panel
  • Through appropriate conduit
  • With adequately sized breakers

Considerations for flat roof solar:

  • Wire management for safety and neatness
  • Accessibility for maintenance
  • Protection from weather and pests

Consult an experienced solar installer to ensure proper electrical setup.


IX. Maintenance Needs for Flat Roof Systems

Regular maintenance is essential for the optimal performance and longevity of a flat roof solar system. Key maintenance tasks include:

A. Inspections

  • Annual check of all components
  • Check electrical connections are tight
  • Ensure no damage from weather/pests

B. Panel Cleaning

  • Dirt and dust reduce efficiency
  • Clean 1-4 times per year
  • Use soft brush and mild cleaner

C. Vegetation Management

  • Trim back nearby trees
  • Prevent excessive shading

D. Mounting Bolts

  • Check mounting bolts are tight
  • Tighten as needed

E. Waterproofing

  • Inspect water barriers around mounts
  • Repair flashing if damaged

F. Wiring

  • Replace cracked wire conduits
  • Flat roof mounting systems make panels accessible. Best practice is to create walkways between panel rows for easy maintenance.
  • For commercial roofs, regular maintenance improves system performance over a 20-30 year lifetime. Consider a maintenance contract when installing solar.

X. Cost Savings From Flat Roof Solar

Installing a flat roof solar system represents a significant upfront investment, but the long-term savings can make it financially worthwhile:

  • Solar panels have a useable lifespan of 25-30 years
  • Savings from reduced electricity bills continue over system lifetime
  • Payback period typically 4-8 years

Other cost savings:

  • State/federal tax credits and solar incentives
  • Low maintenance costs
  • Increased property value

ROI is maximized with high system efficiency through:

  • Optimal flat roof mounting
  • Proper panel orientation
  • Quality components
  • Regular maintenance

For proper guidance Structura Metal provide a solar professional to evaluate potential energy cost savings from a flat roof solar system specific to your property.

Solar Mounting System on Standing Seam Roofs

Solar Mounting System on Standing Seam Roofs

Solar Mounting System on Standing Seam Roofs

I. Introduction to Standing Seam Metal Roofs

A. Popularity and Benefits

Standing seam metal roofs (also known as seam roofs) have increased in popularity for pitched roofs, especially in the educational and leisure sector. Seam roofs are commonly made from steel, aluminium, and zinc. Key benefits include:

  • Aesthetically pleasing look
  • Robustness and weatherproof qualities
  • Cooling effect from reflective coating, reducing energy use by up to 20%

These benefits complement solar PV mounting systems extremely well.

There are several major standing seam manufacturers, producing various seam types:

  • Straight or round folds
  • Single or double folded
Seam TypeDescription
StraightEvenly spaced flat seams
RoundCurved seams
SingleOne fold
DoubleTwo folds

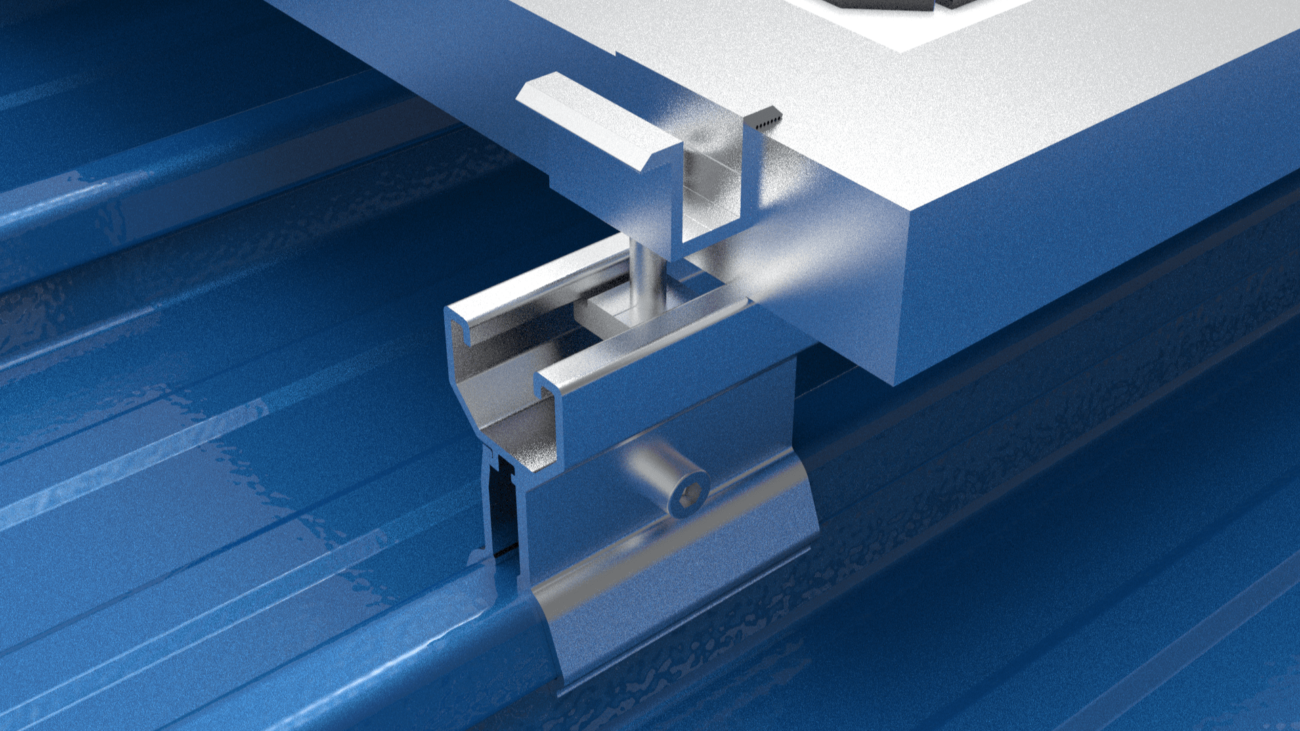
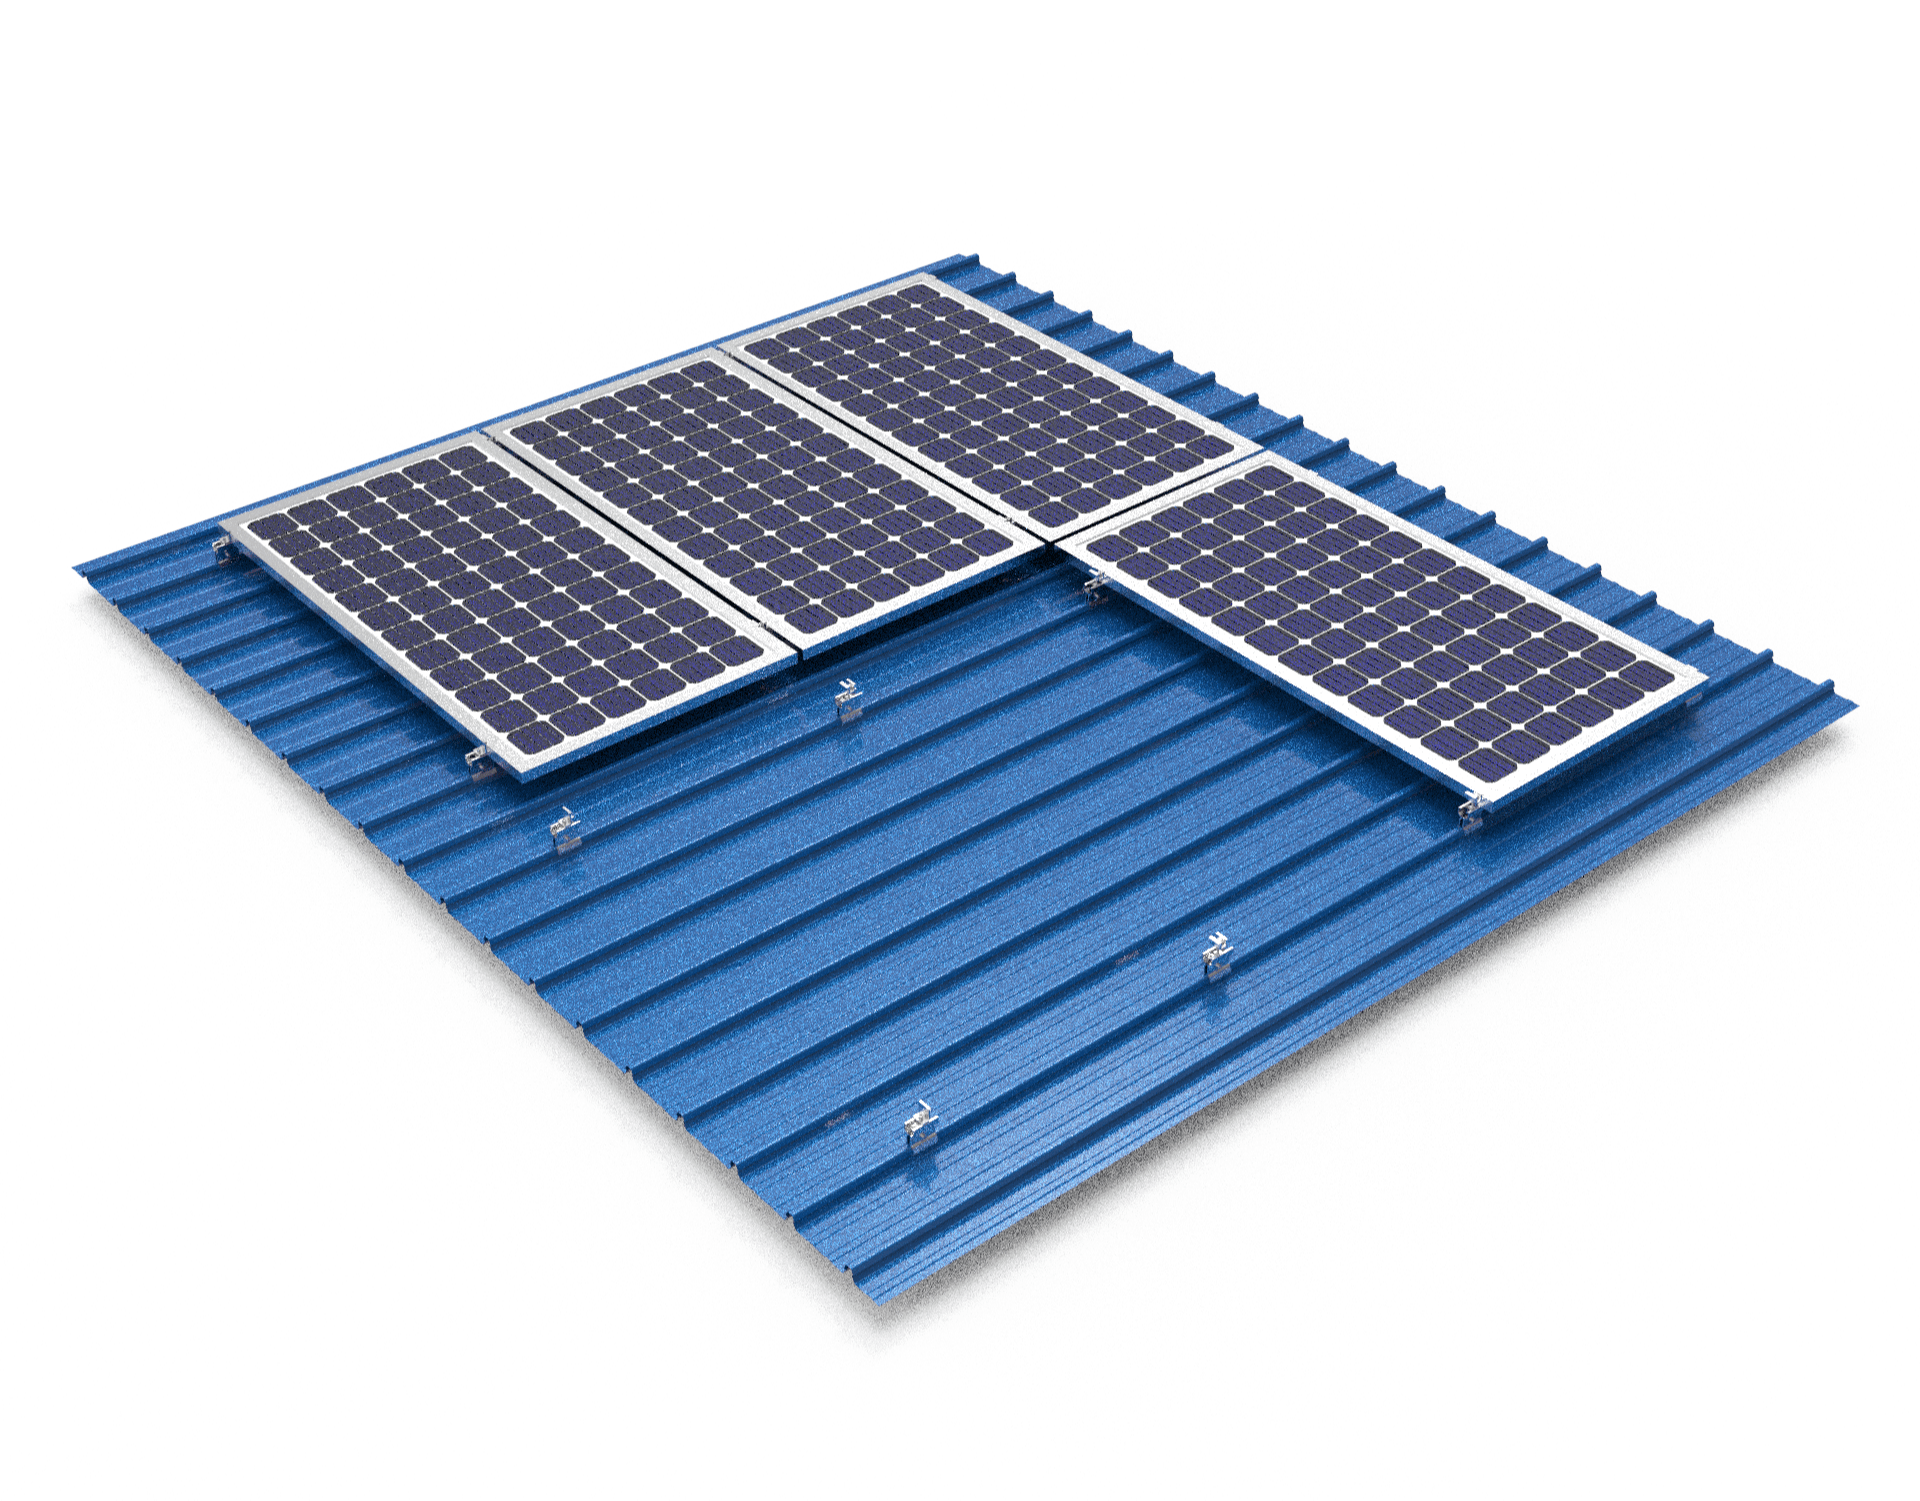
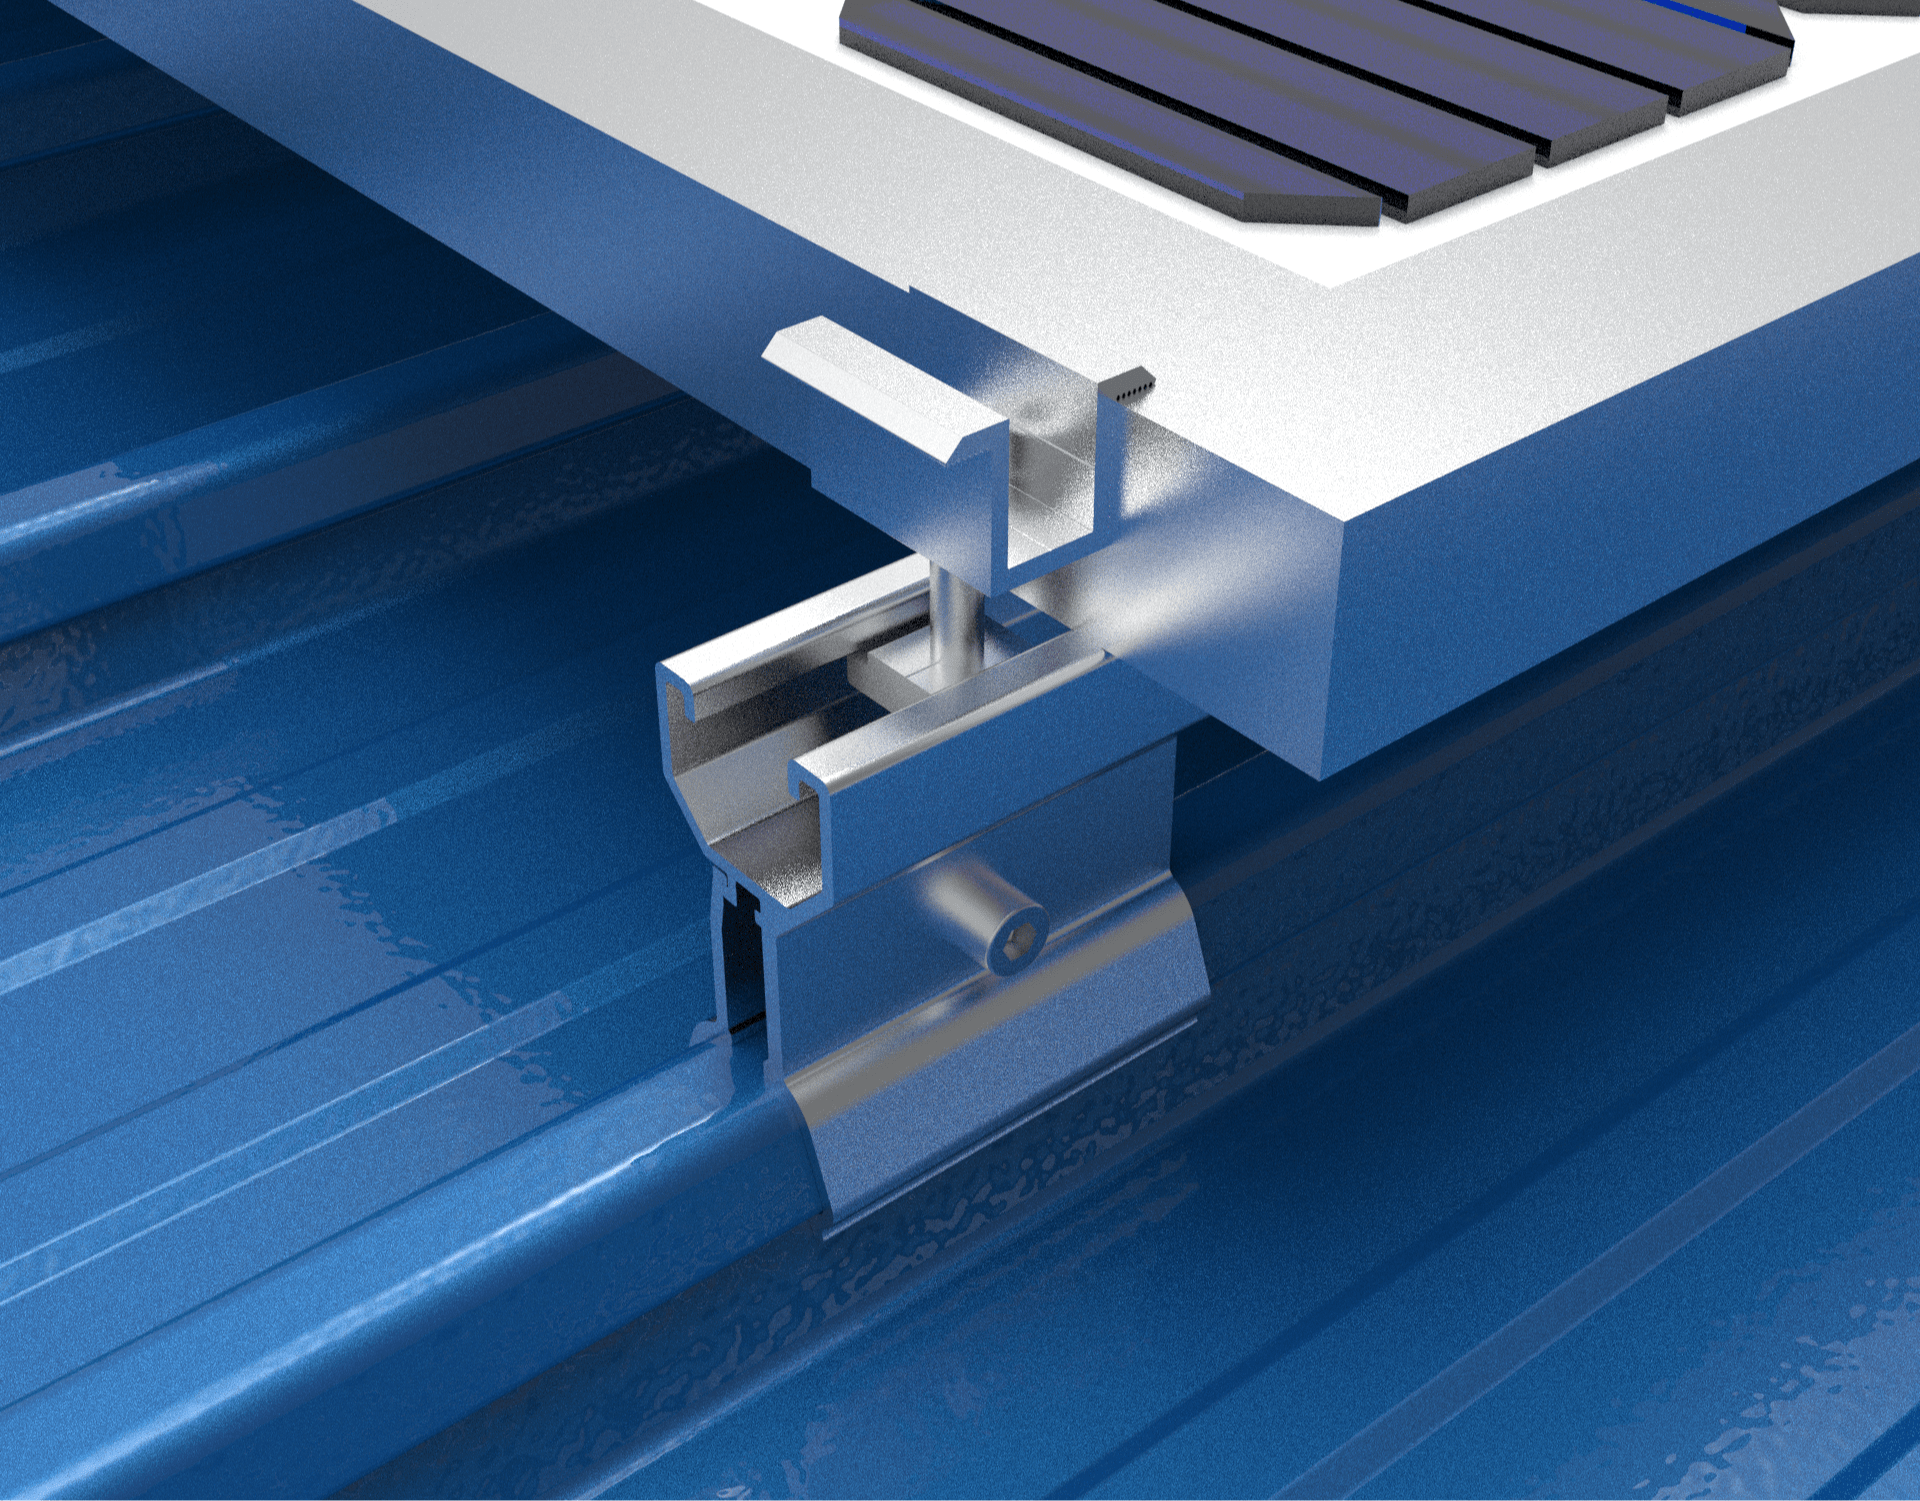
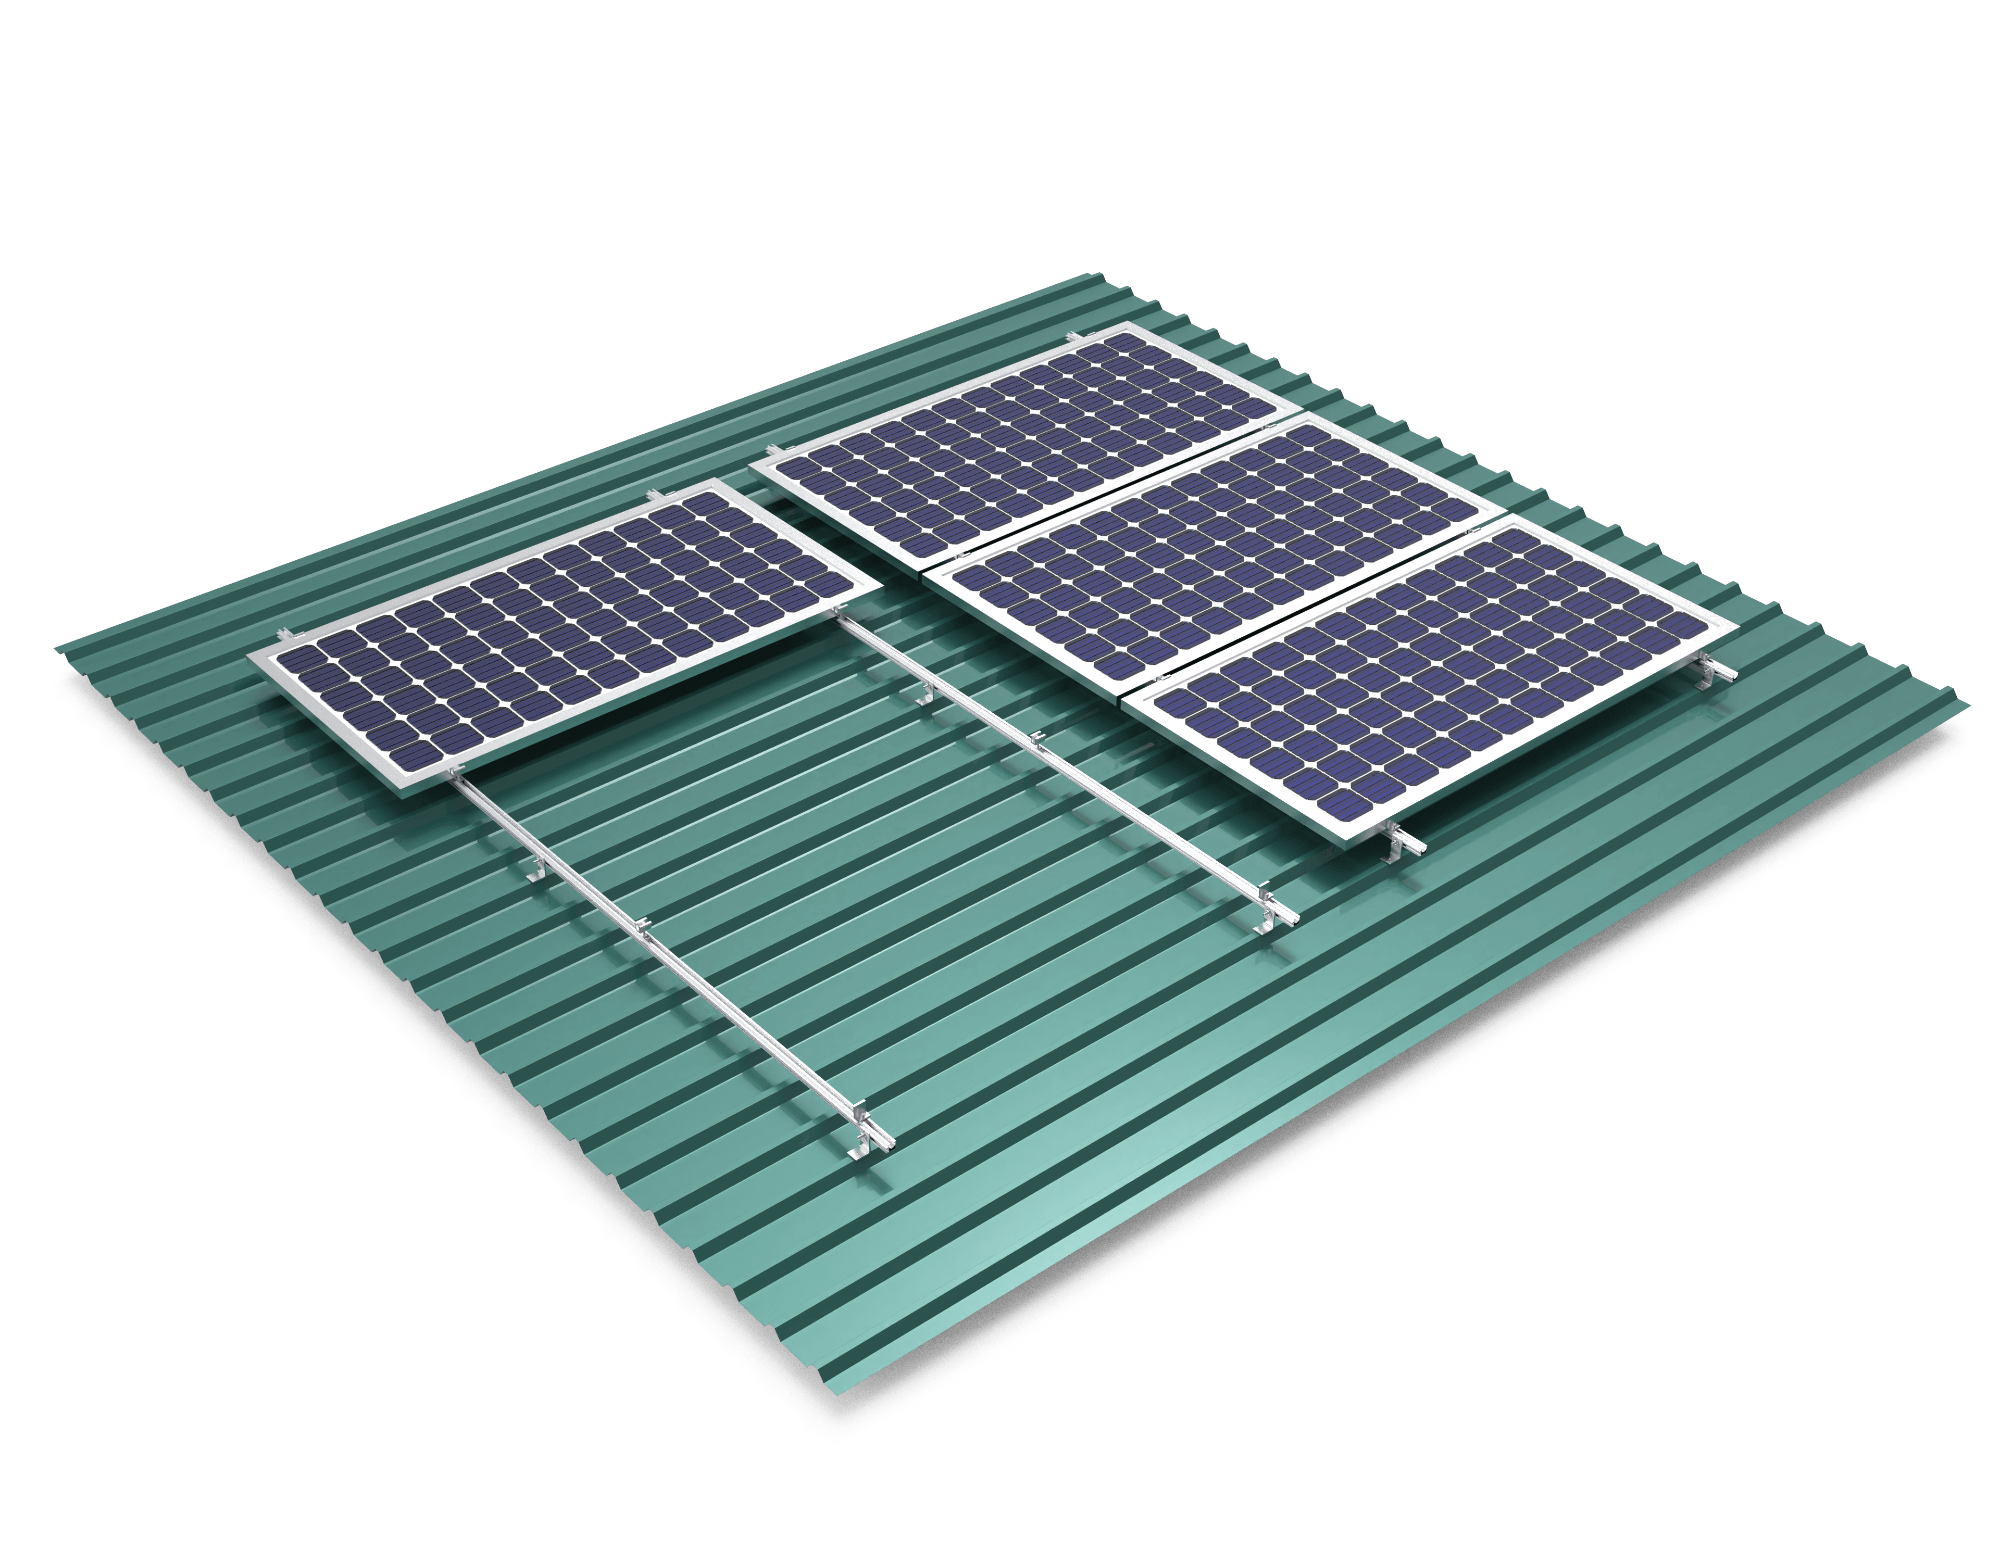
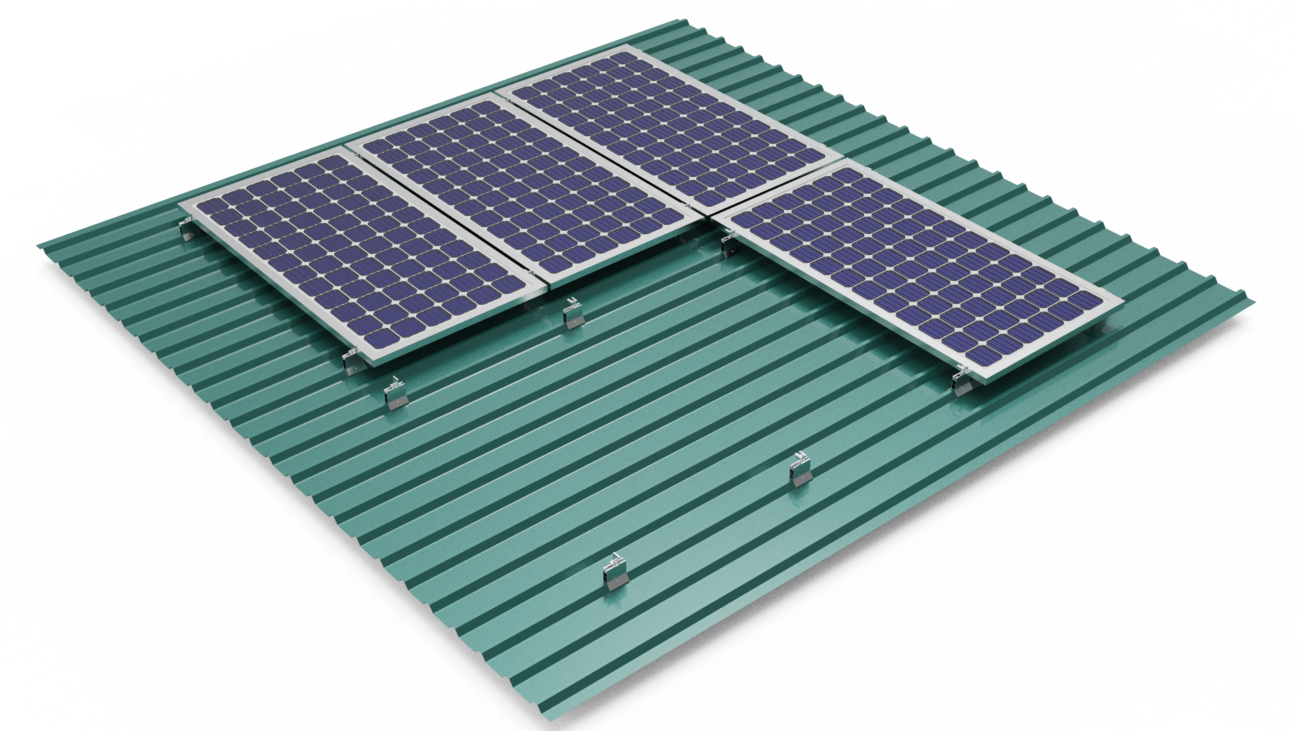
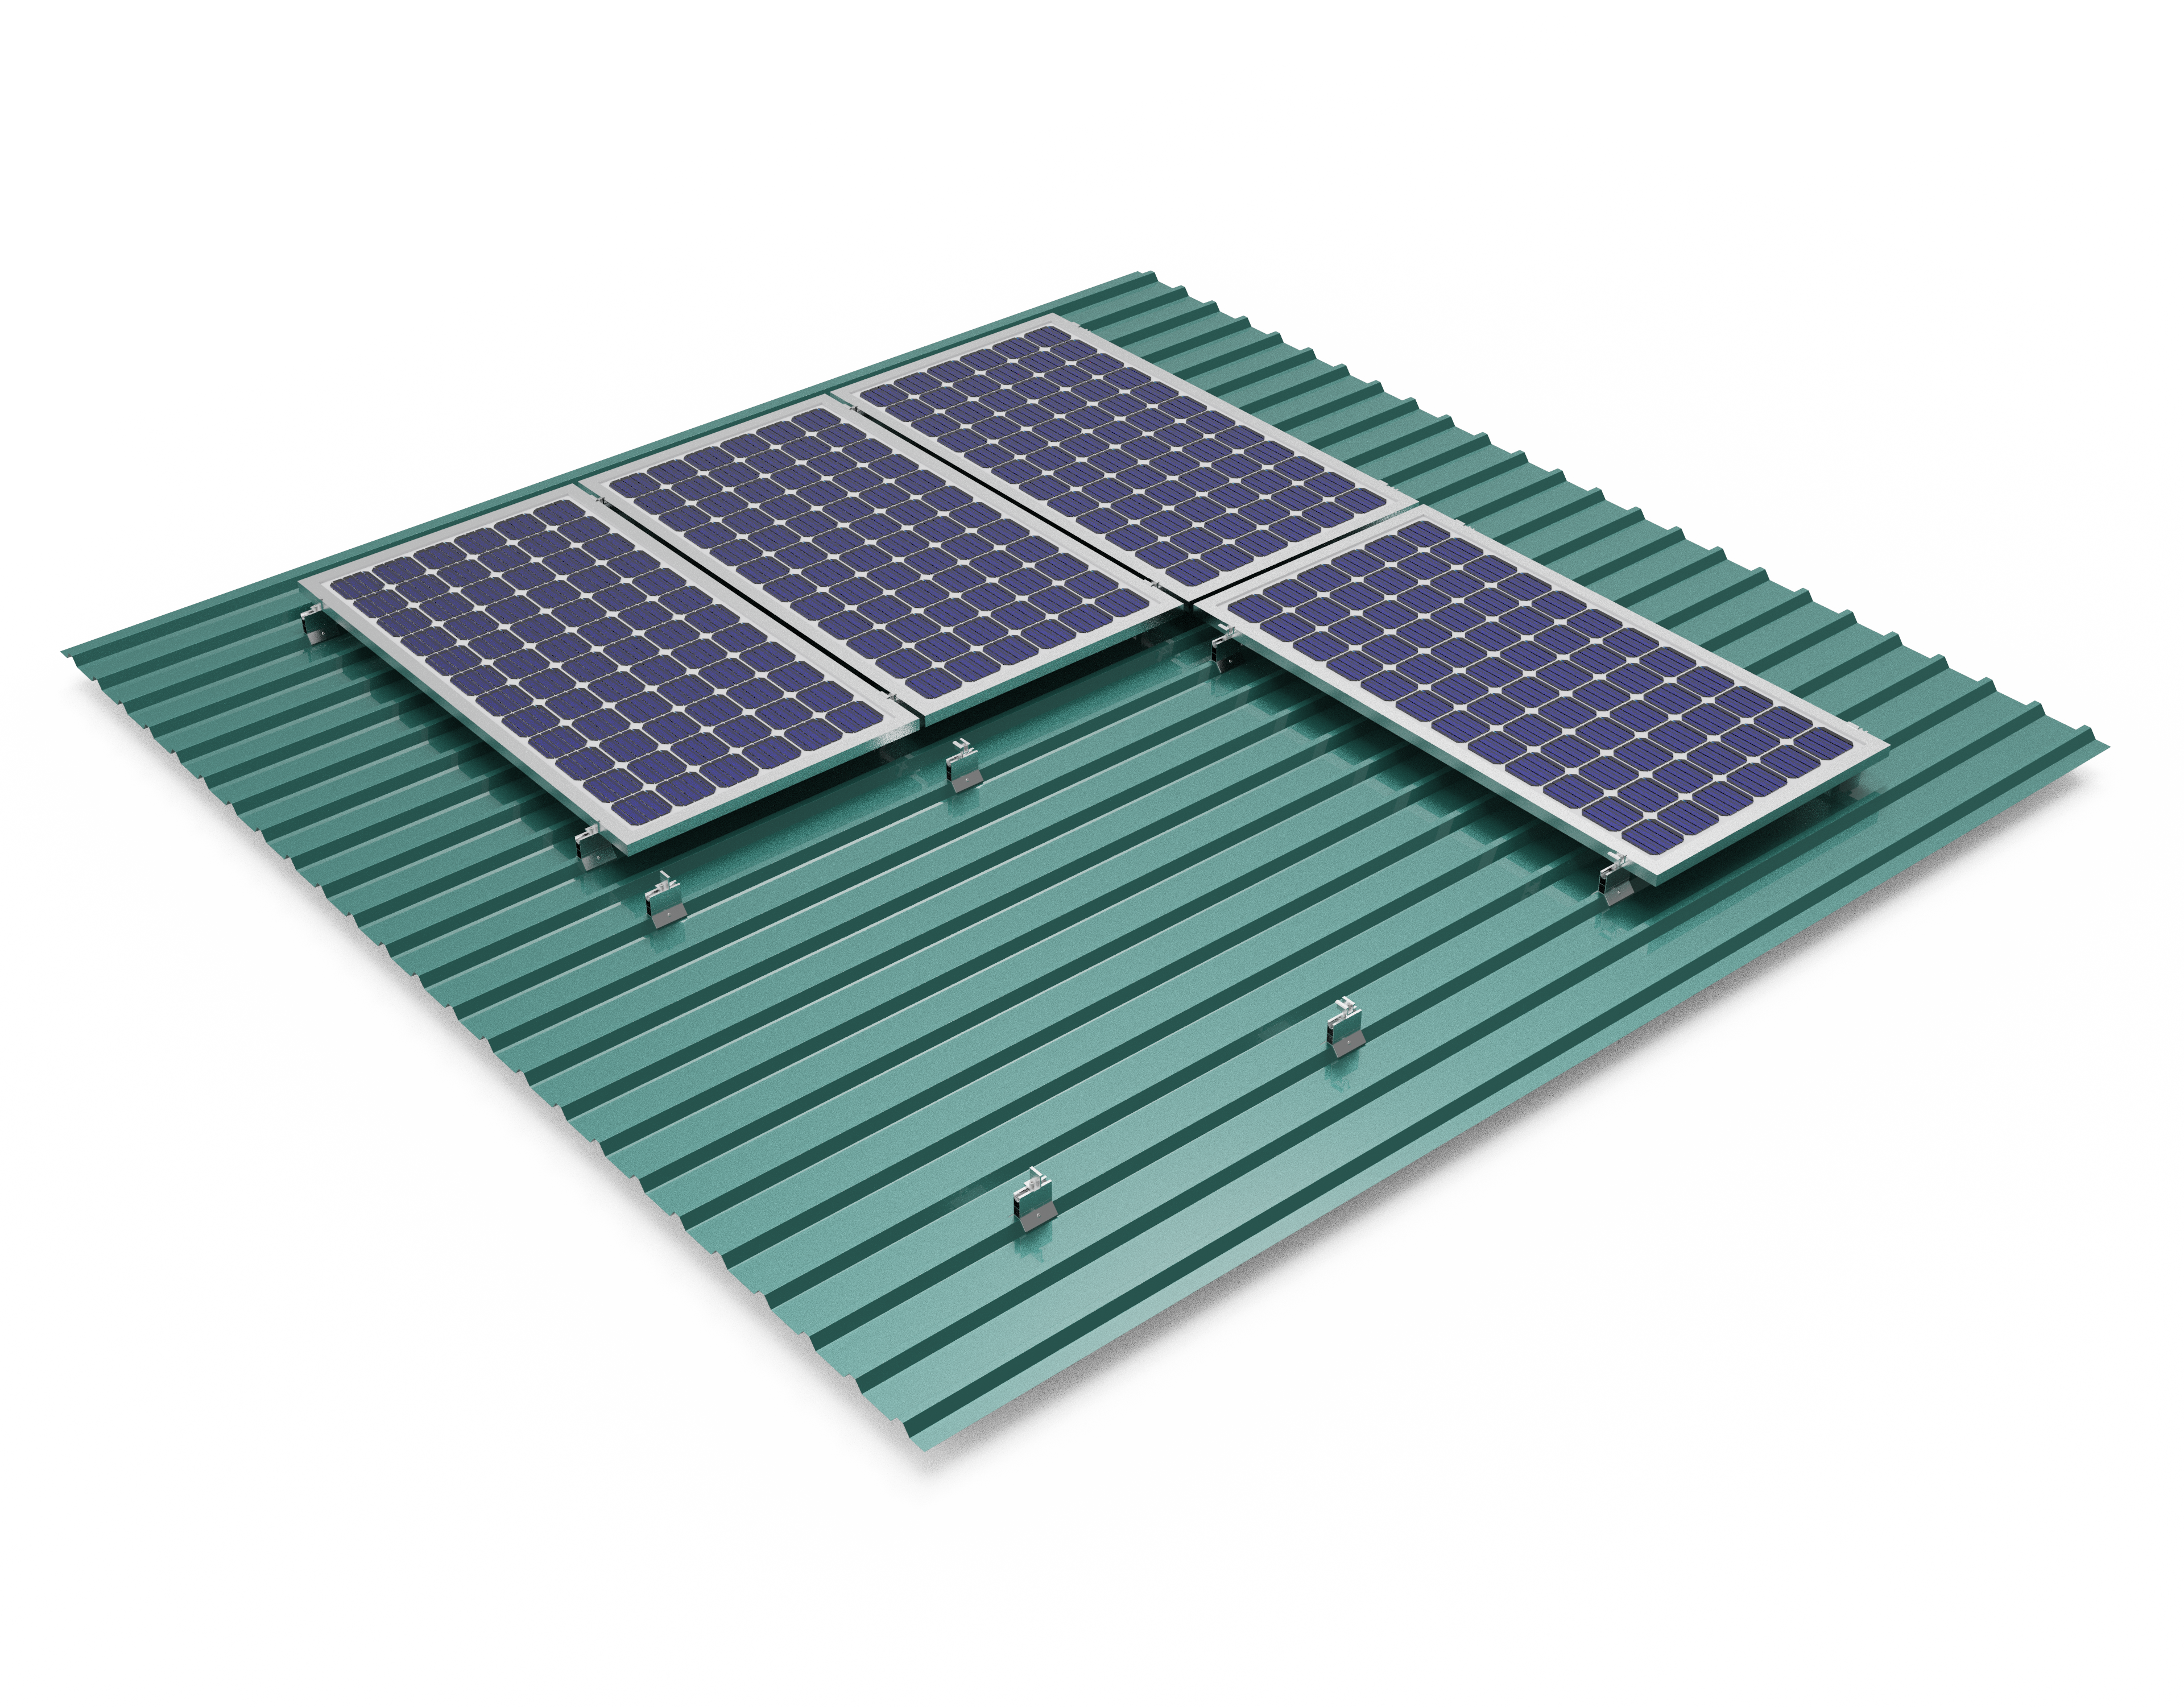
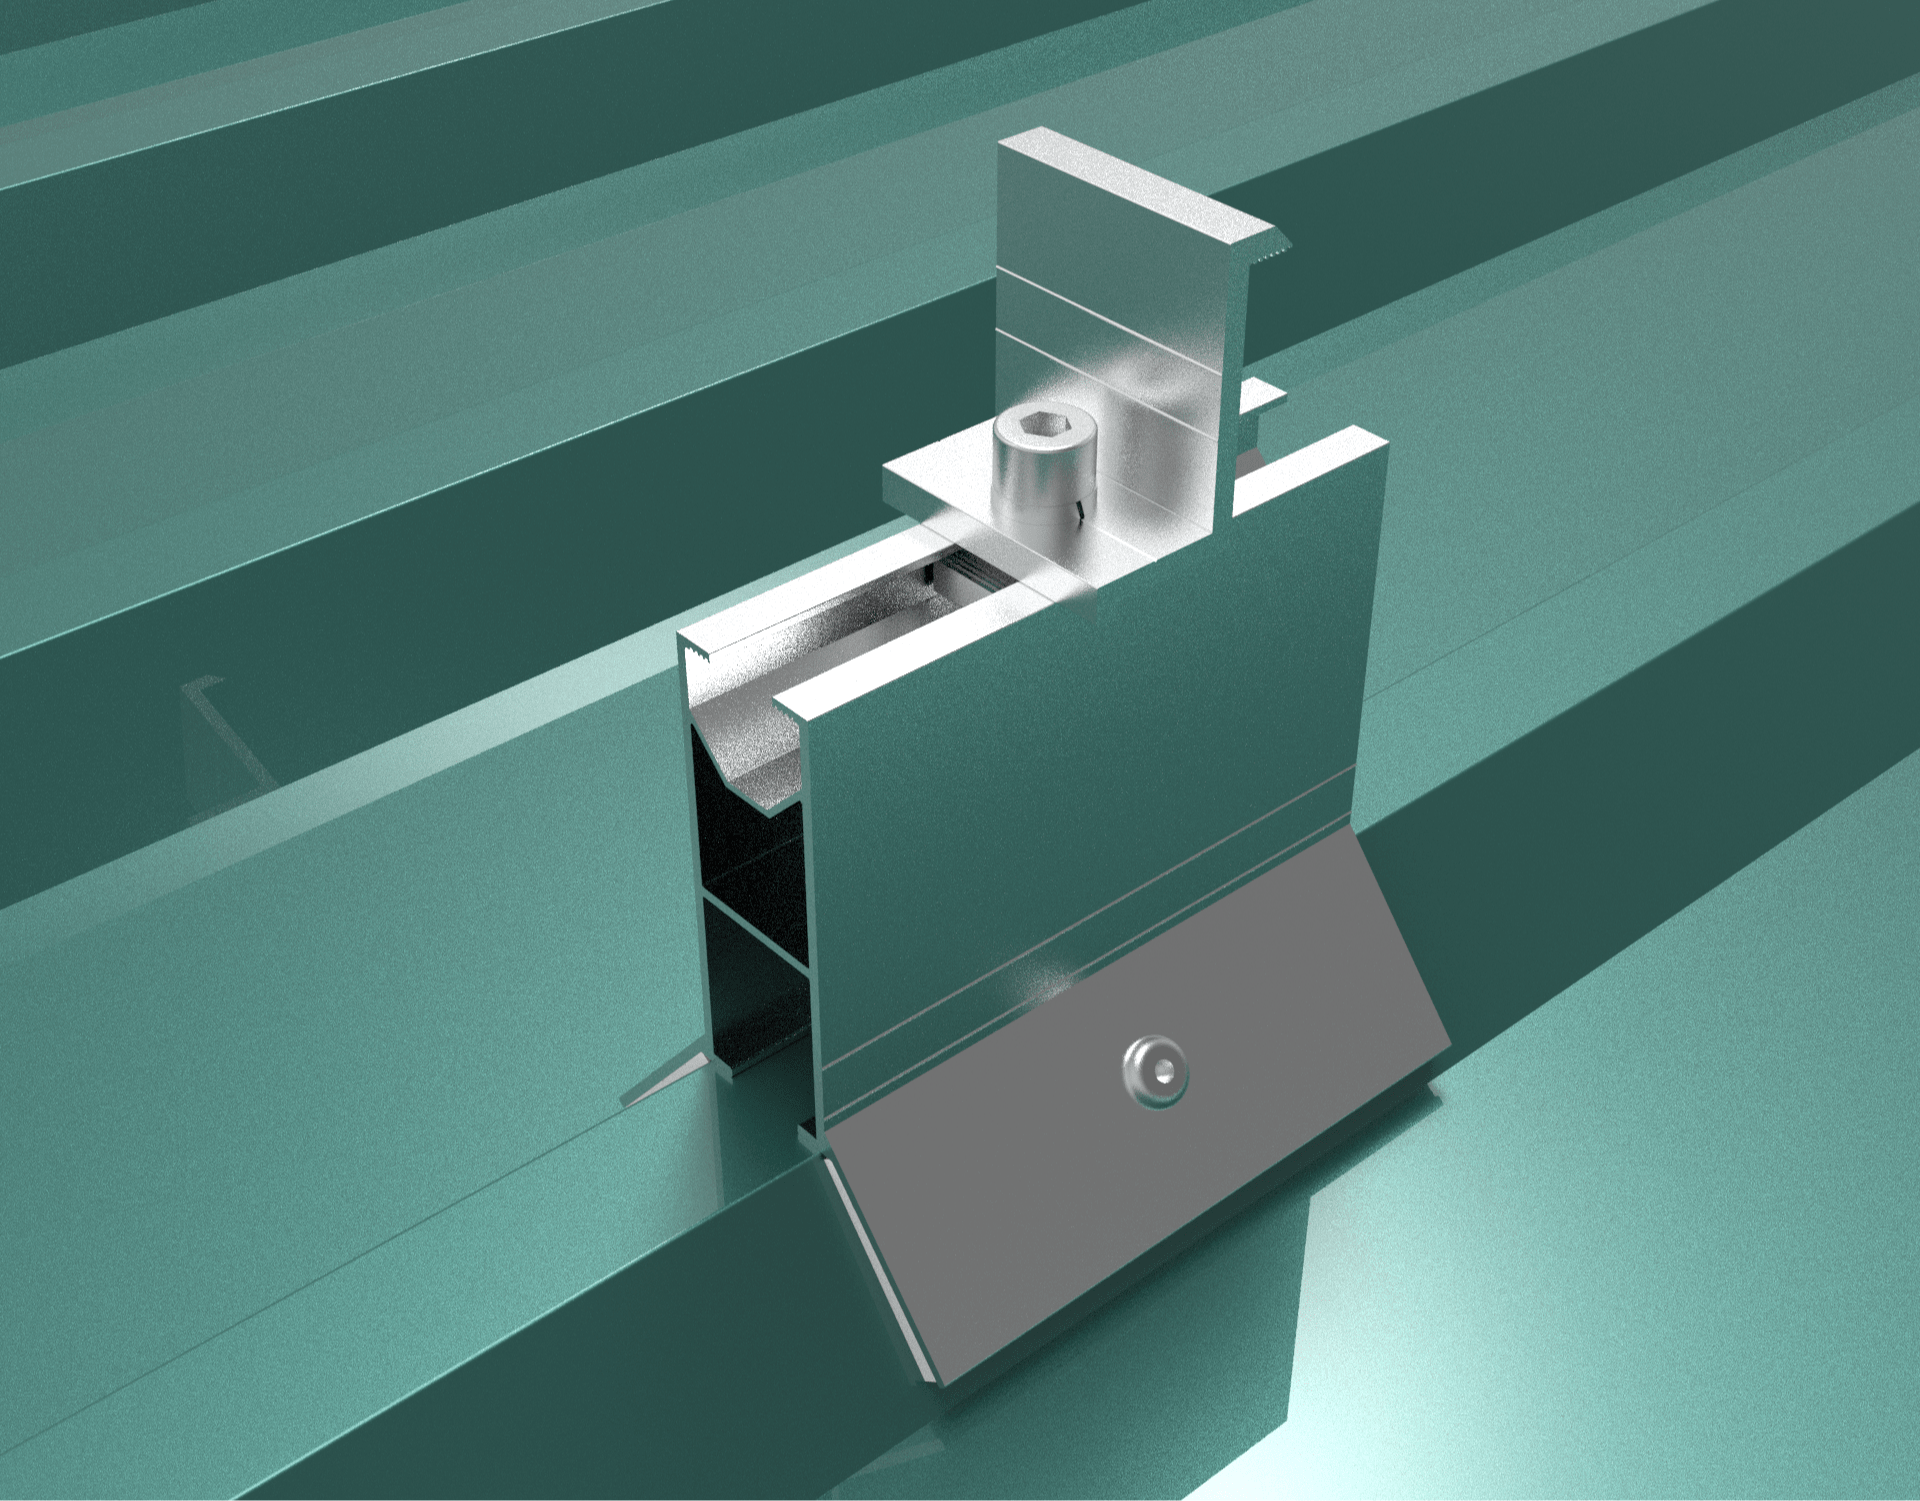
The seams are secured to the purlins using clips, allowing the panels to move freely as temperature changes. Solar mounting systems use clamps attached directly over the seams without penetrating the roof membrane.


B. Types and Manufacturer

Standing Seam Clamp

Common standing seam materials:

  • Steel (painted/unpainted, galvanized, Galvalume)
  • Aluminum
  • Zinc
  • Copper (rarely)

Major seam roof manufacturers:

  • Kalzip
  • Zinc
  • Domitec
  • GBS
  • Klip-Lok

There are many profiles and dimensional variances. It’s important to match the manufacturer and panel details to the appropriate seam clamp system.

II. Mounting Methods

There are two main methods to mount solar PV systems onto standing seam metal roofs:

A. Seam Clamps:

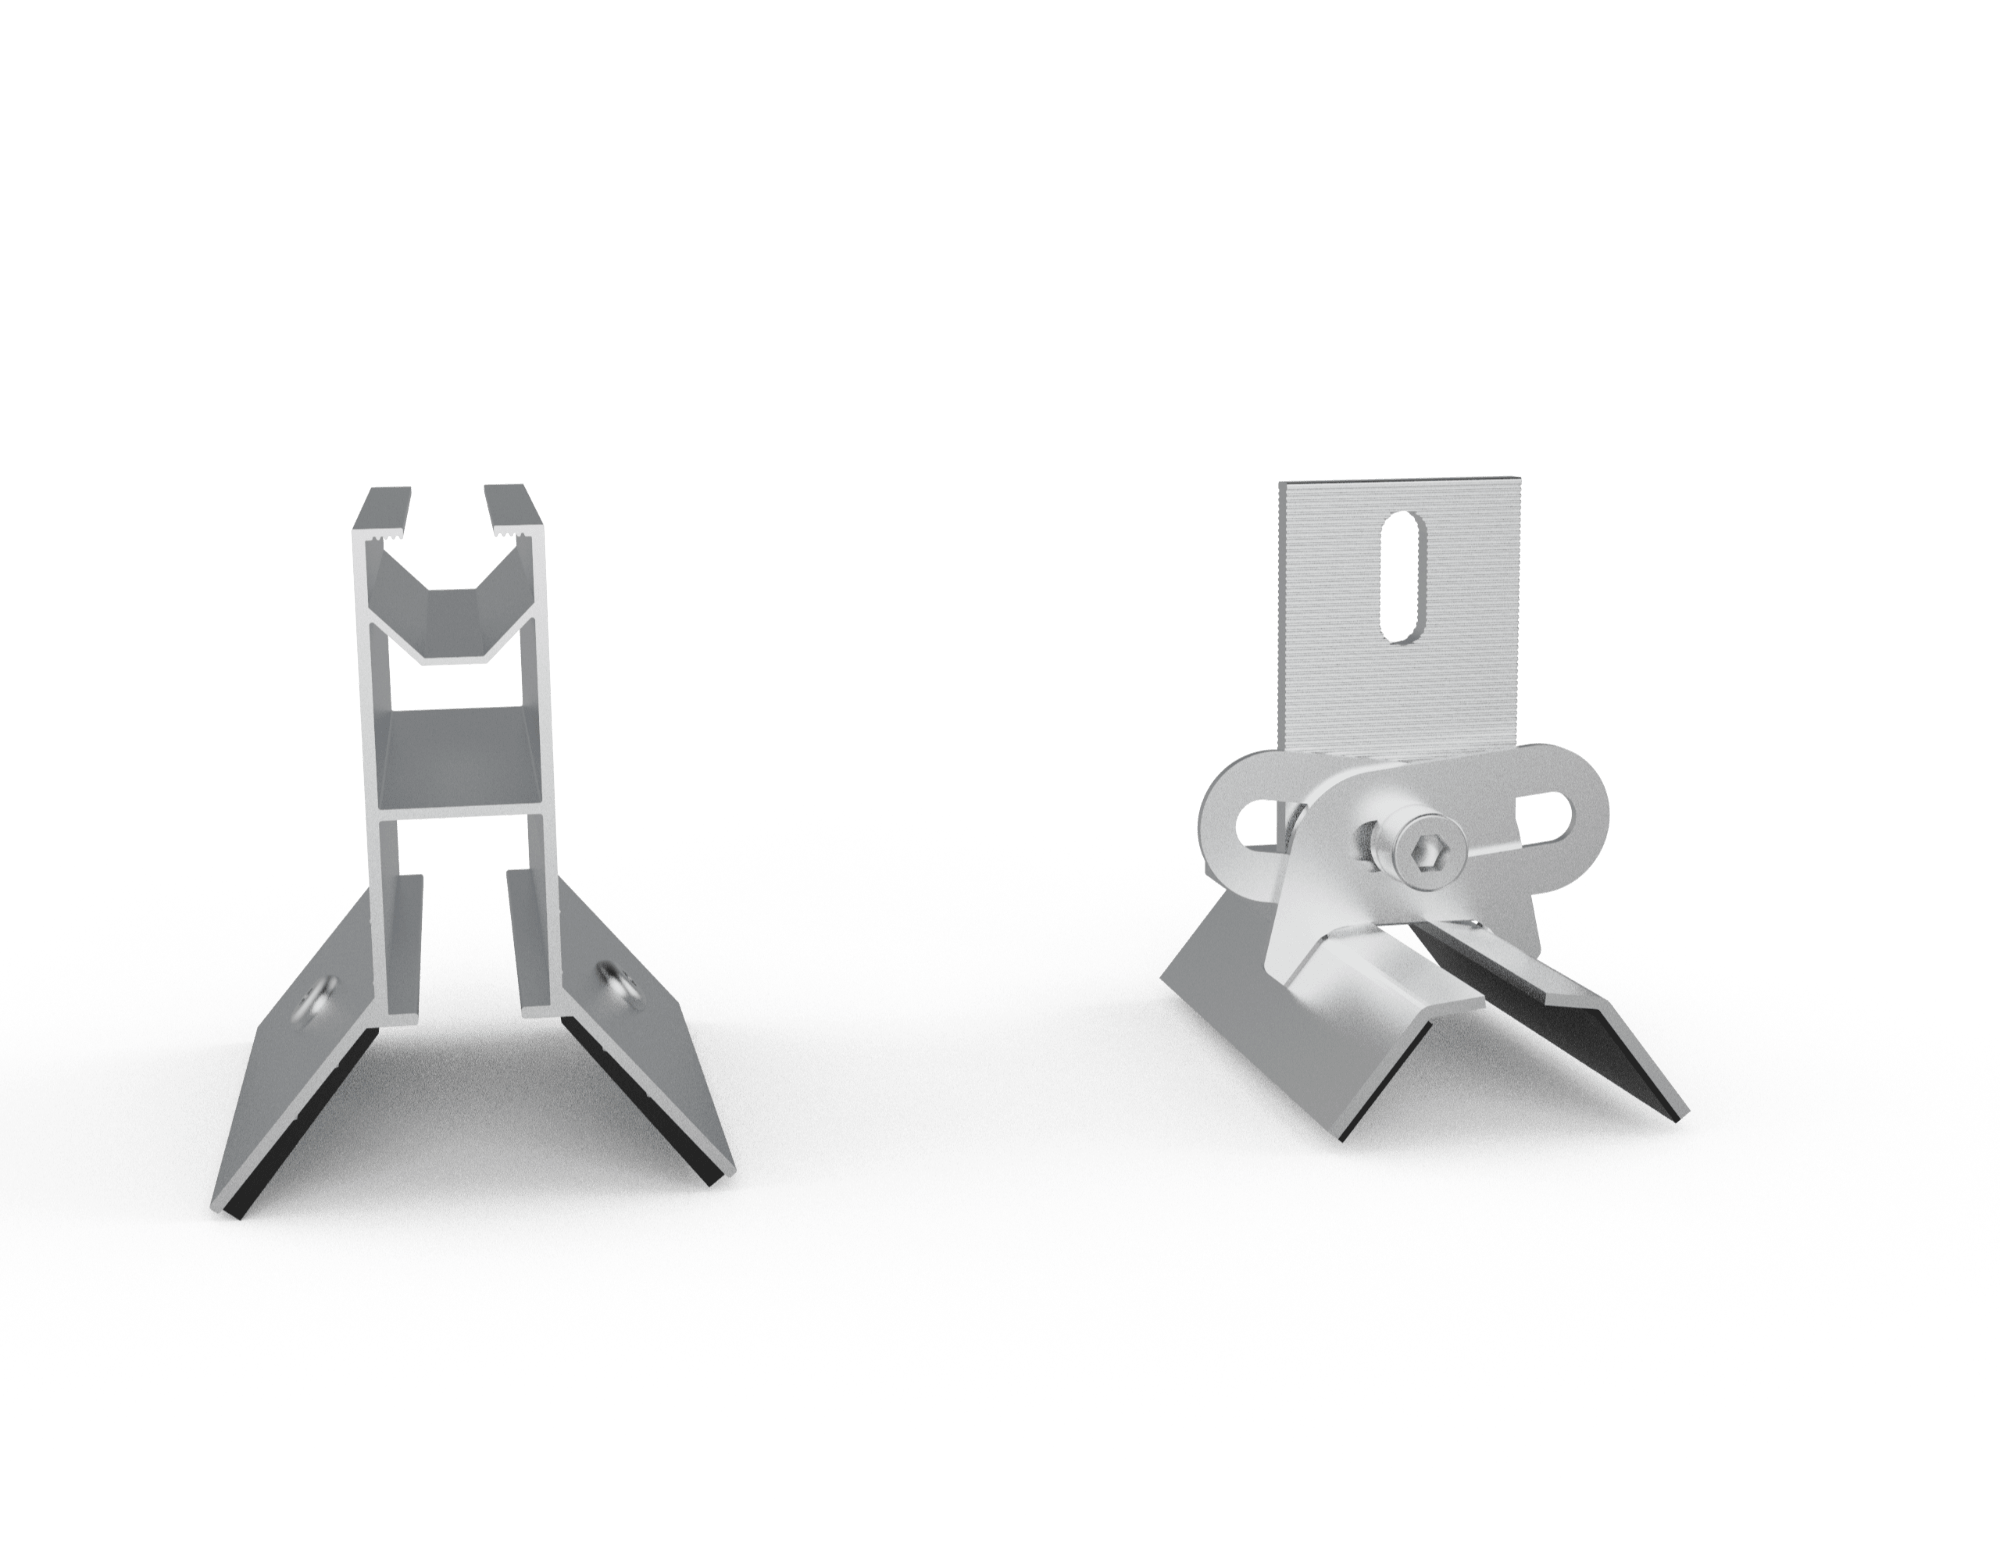
Seam Clamp

Attachment hardware (rails/direct mounting)

Seam clamps

Seam clamps secure onto the raised seams mechanically, without penetrating the roof membrane. This avoids risk of leaks.

1.     Securing Method:

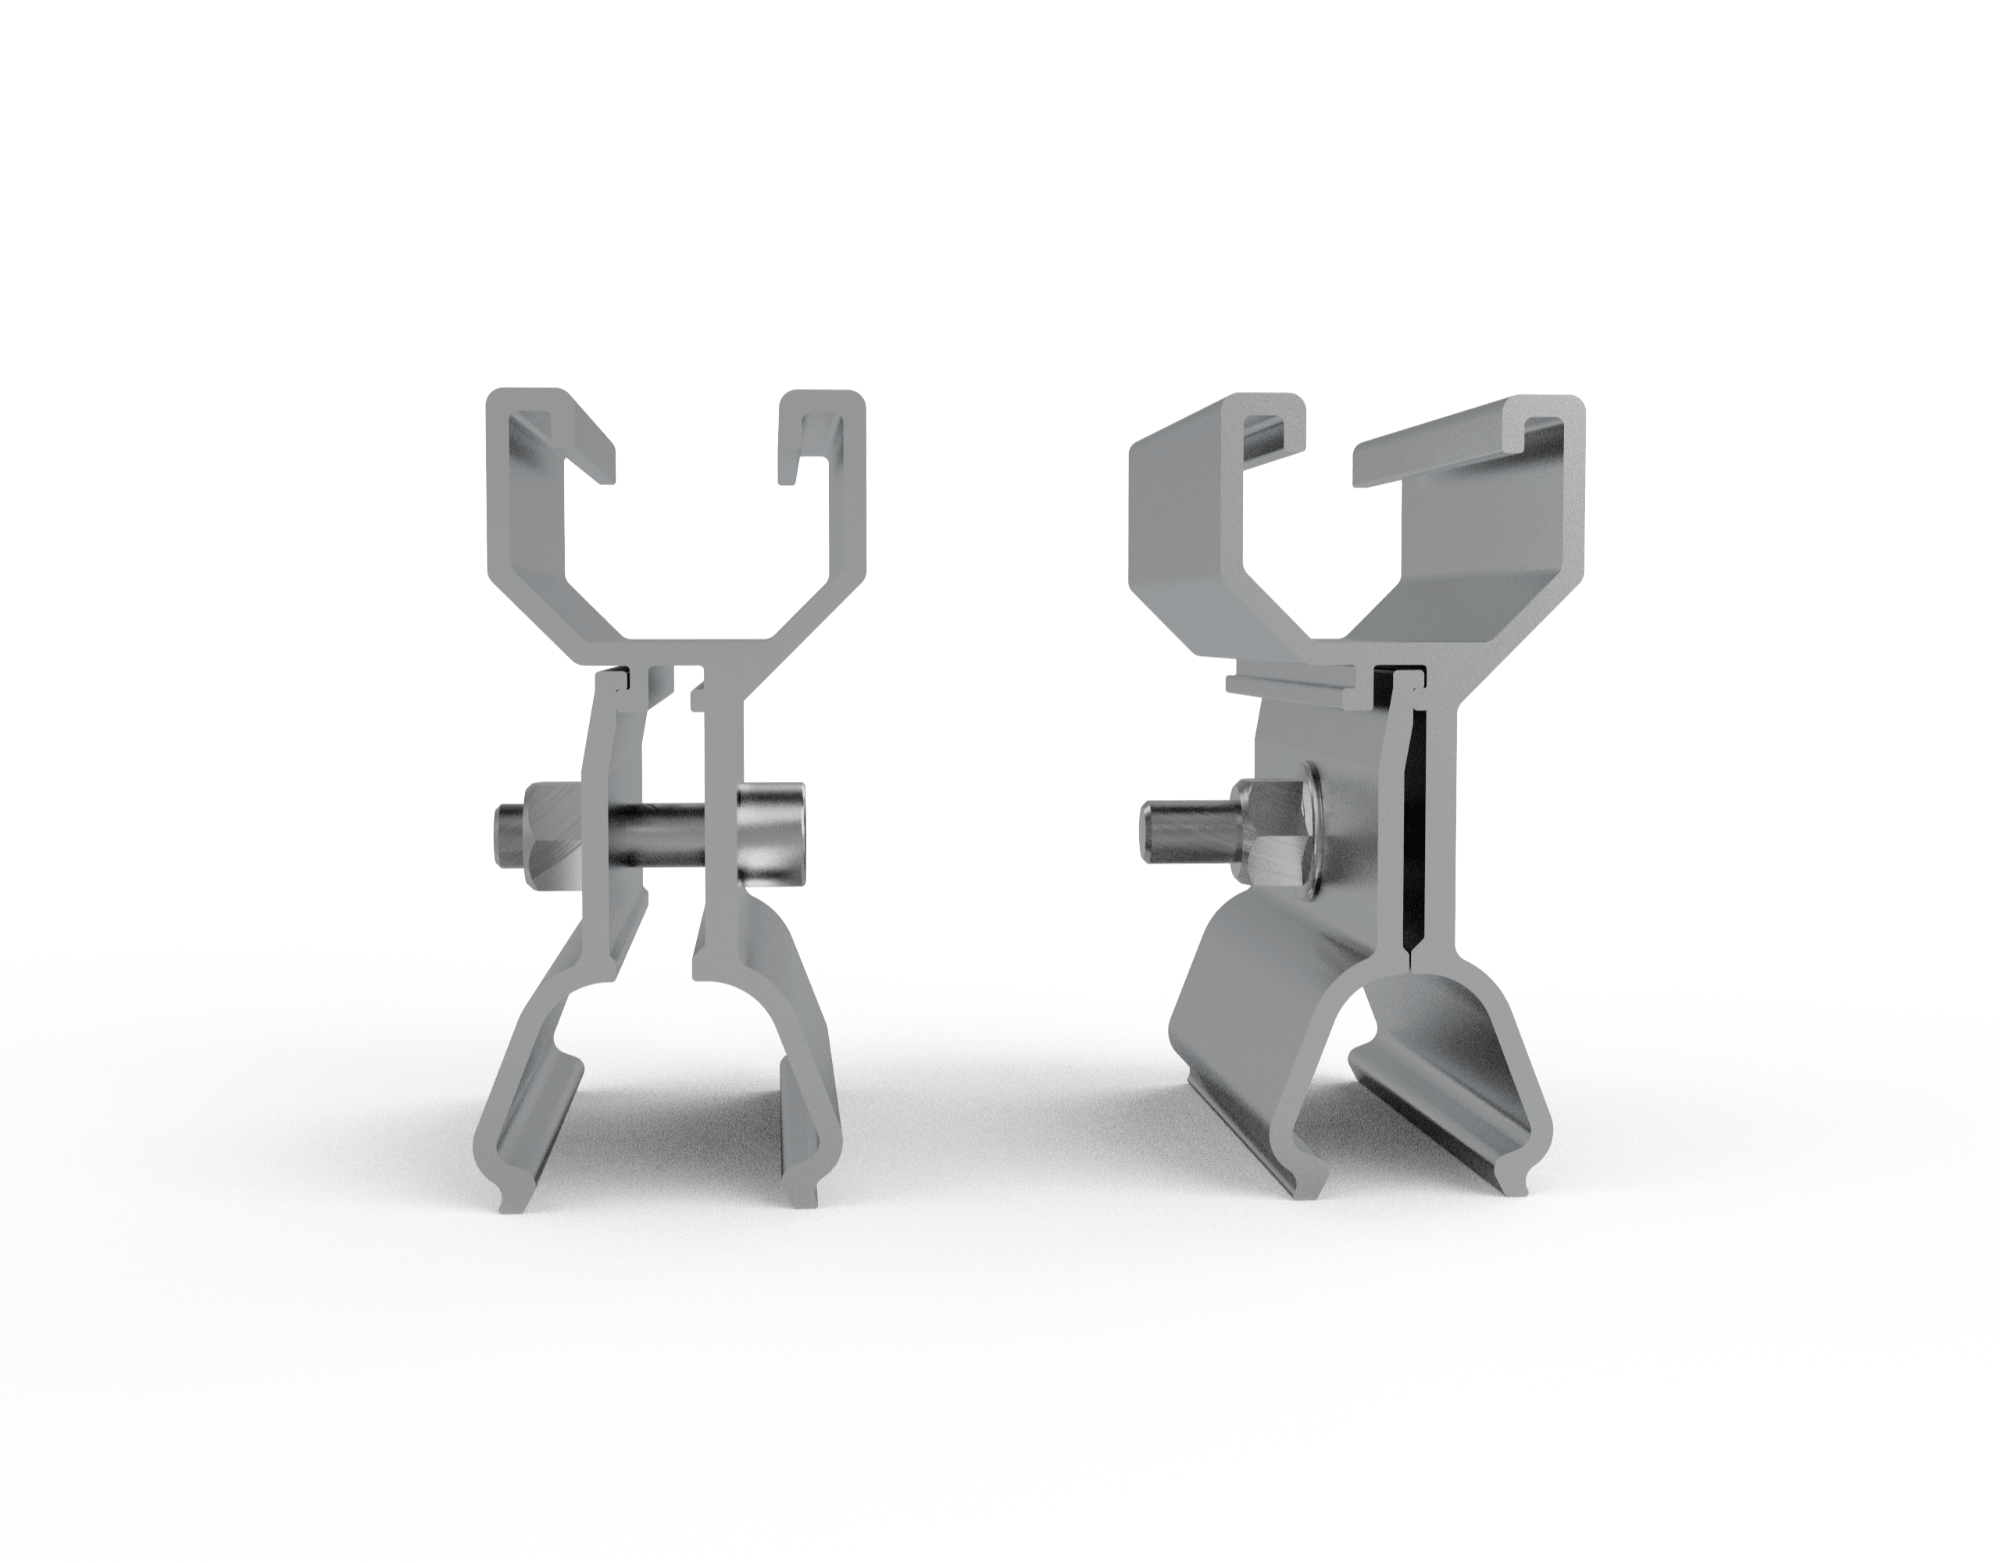
The clamps pinch the seam using round point set screws to create a strong mechanical interlock. The clamps grab onto the full beam-like structure of the seam.

2.     Location Considerations:

  • Avoid mounting over panel clips allowing expansion/contraction
  • Follow manufacturer guidance on seam clamp placement
  • Spread clamps evenly based on load calculations
Clamp TypeDescription
End clampsAnchor start/end of row
Mid clampsSecure middle of panels
Specialty clampsFor corners or transitions

Learn More

B. Attachment Hardware:

1. Rails:

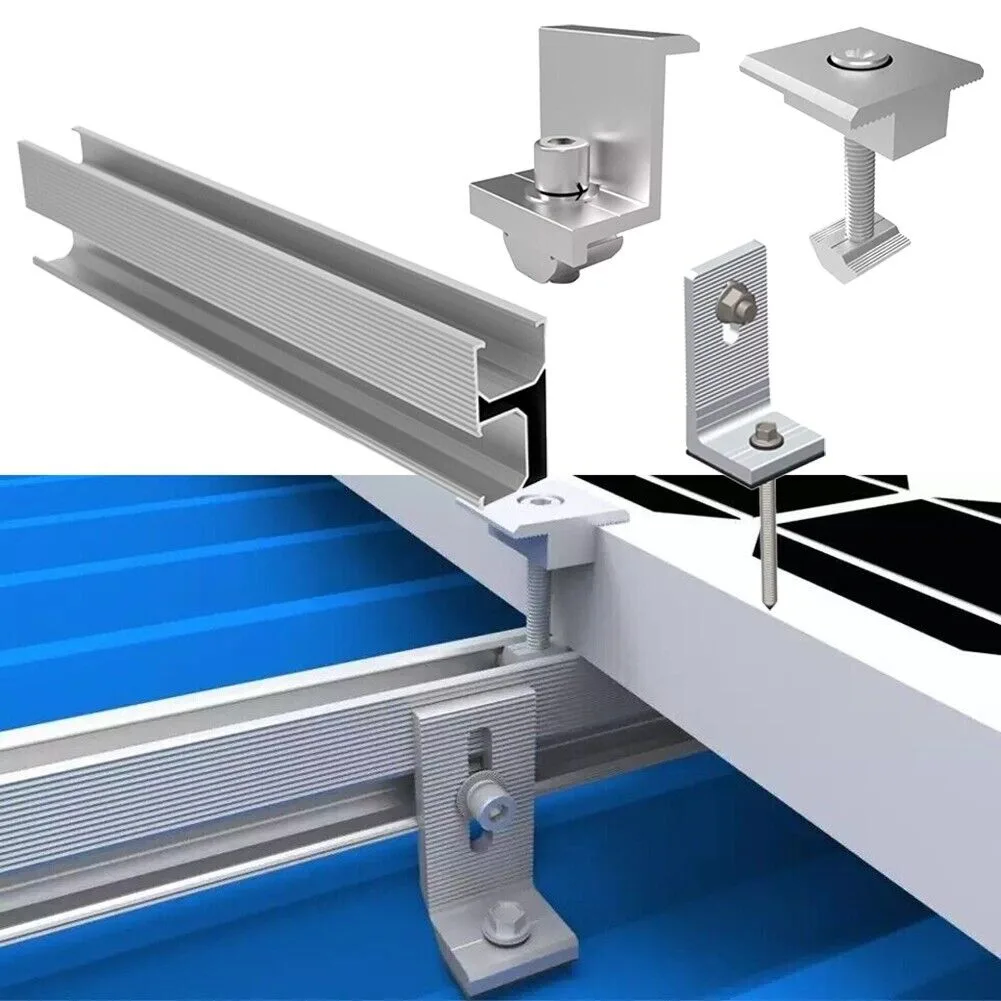
Aluminium rails bolt onto the seam clamps, spanning multiple seams. Modules mount to rails. More parts but better space utilization.

2. Direct Mounting:

Module clamps attach directly to seam clamps without rails. Fewer parts, lower cost and weight. But less adjustment flexibility.

For proper structural integrity:

  • Use tested, high-quality components.
  • Follow manufacturer specifications.
  • Consult a structural engineer.

III. Key Considerations

There are several important factors to consider when installing solar PV systems onto standing seam metal roofs.

A. Roof Warranty and Regulations:

  • Verify with the roof manufacturer that seam clamps will not void warranties
  • Some manufacturers specify their own clamps to use
  • Follow all local building codes and solar regulations

B. Seam Compatibility:

  • The clamp must match the exact seam profile and dimensions
  • Select gauges tested with specific panel profiles and materials
  • Avoid mismatching metals (e.g. copper)

C. Strength Testing:

  • Use published strength ratings from accredited labs
  • Account for SSMR material, gauge, coating, and profile
  • Recognize tests exceed panel/building strength limits
Strength ConsiderationsDescription
Clamp-to-seamUltimate interlock strength
Panel flexuralPanel bending capacity
Roof attachmentPull-out resistance
BucklingRoof beam buckling mode

D. Attachment Frequency:

  • Clamp strength ≠ entire system strength
  • Spread attachments based on load analysis
  • Avoid concentrated loading through beams

E. Costs

SystemCost per Watt
LargeAs Per Watt
SmallAs Per Watt

Consider rails vs direct mounting. Evaluate parts, shipping, labour.

IV. Additional Resources

There are industry associations and manufacturer guides available with further guidance on solar mounting best practices for standing seam metal roofs.

1. Industry Guidelines:

Metal Construction Association – Technical bulletins on:

  • Seam clamp compatibility
  • Fastener usage with metal panels
  • Metallurgy of aluminium, galvanized steel, etc.

Solar Energy Industries Association – PV system siting and mounting considerations

2. Manufacturer Information:

A. Roofing Manufacturers:

  • Review warranty info regarding attachments
  • Follow manufacturer mounting guidelines
  • Utilize approved clamps

B. Clamp Manufacturers:

  • Published strength test results
  • Seam measurements and matched clamps
  • Design recommendations

C. Mounting Hardware Manufacturers:

  • Follow specifications on components
  • Design guidance and engineering support
Resource TypeWhat They Provide
RoofingWarranty info, mounting guidelines, approved clamps
ClampsTest results, seam details, design guidance
MountingSpecifications, engineering support

D. Qualified Professionals:

Consult qualified solar integrators, roofers, and structural engineers trained in saddle seam roofing. Get project-specific advice accounting for all variables.

Leverage multiple resources to ensure attachments preserve roof integrity and system longevity.

V. Conclusion

In summary, standing seam metal roofs provide an ideal mounting surface for solar PV systems when proper methods are used.

A. Summary of Advantages:

Key benefits of pairing seam roofs and PV:

  • Aesthetic appeal
  • Enhanced energy efficiency
  • Convenient structural attachment points
  • Non-penetrating seam clamps avoid leaks
  • Long-term durability using quality components

By following best practices for design and installation, you can achieve an integrated, high-performing system.

B. Role of Professionals:

Work with qualified experts in:

  • Solar integration
  • Structural engineering
  • Metal roofing and attachments

Experts should:

  • Accurately assess needs
  • Guide appropriate mounting method selections
  • Conduct project-specific calculations
  • Oversee safe, high-quality execution

This ensures roof integrity, system longevity, and code compliance.

C. Ongoing Developments:

As technology improves, expect advancements in:

  • Efficient panel and inverter components
  • Cost-effective rail less mounting
  • Robust attachment clamps
  • Streamlined design tools

Stay up-to-date on innovations allowing faster, lower-cost PV mounting on seam roofs with maximum ROI.

Adhering to best practices, leveraging professional expertise, and utilizing cutting-edge mounting technology facilitates optimal solar installations on these ideal metal roofing surfaces.

Ground Mounting Structures

Solar Ground Mount Structure – Top Things to Know About

I. Introduction to Ground Mounting Structures

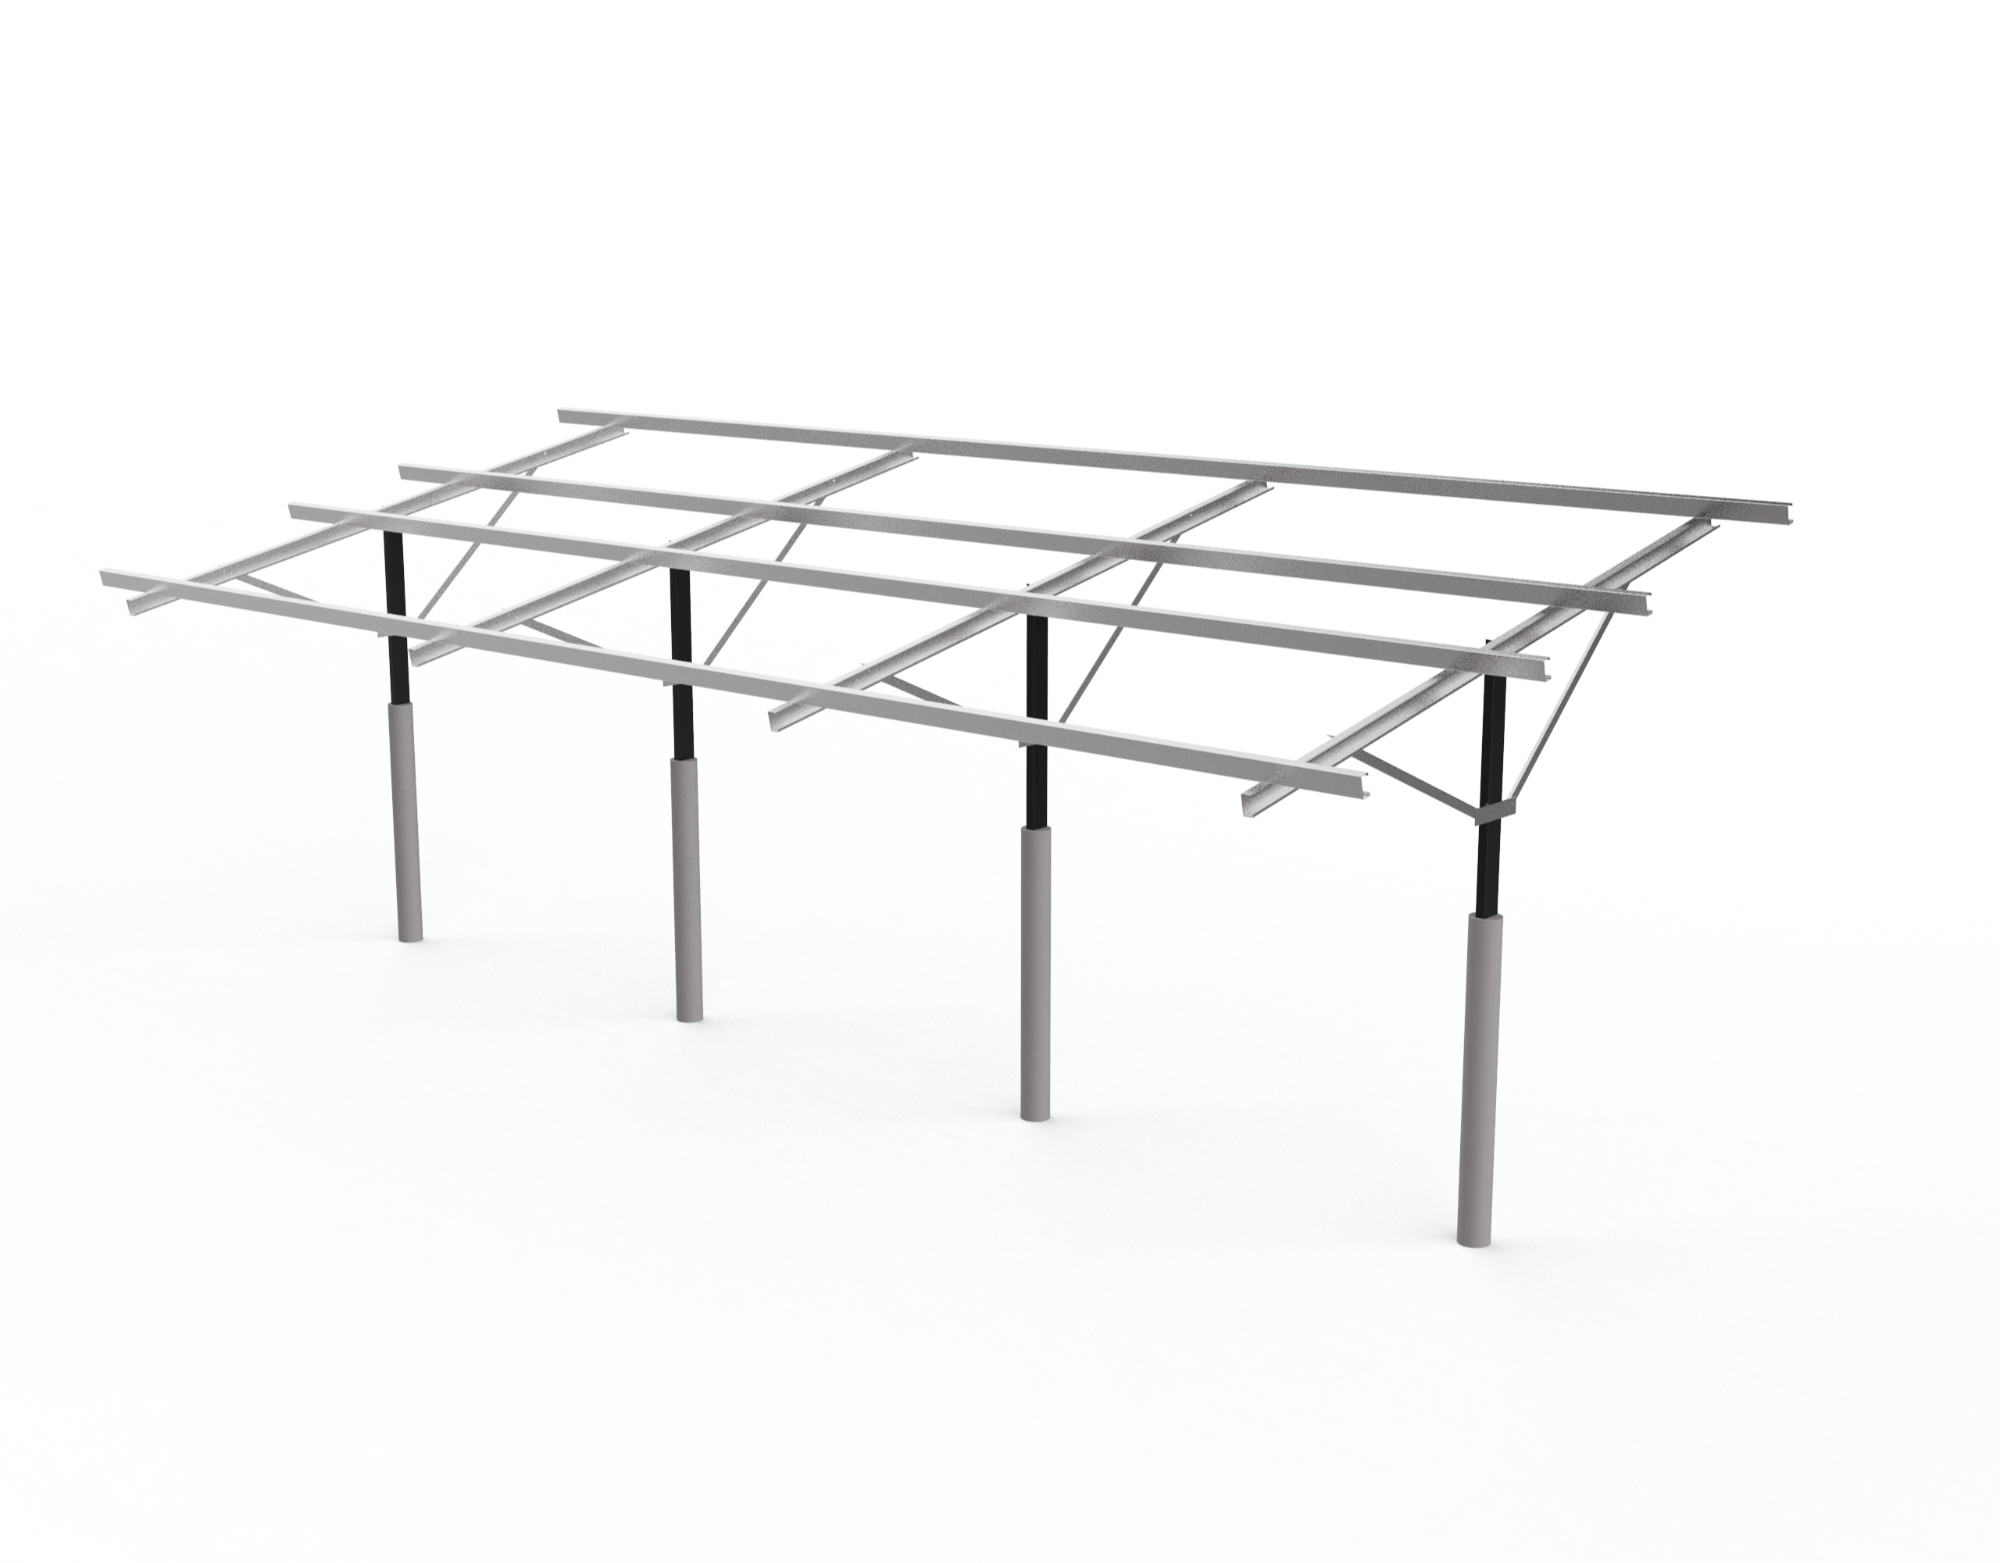
Solar Ground Mounting Structures

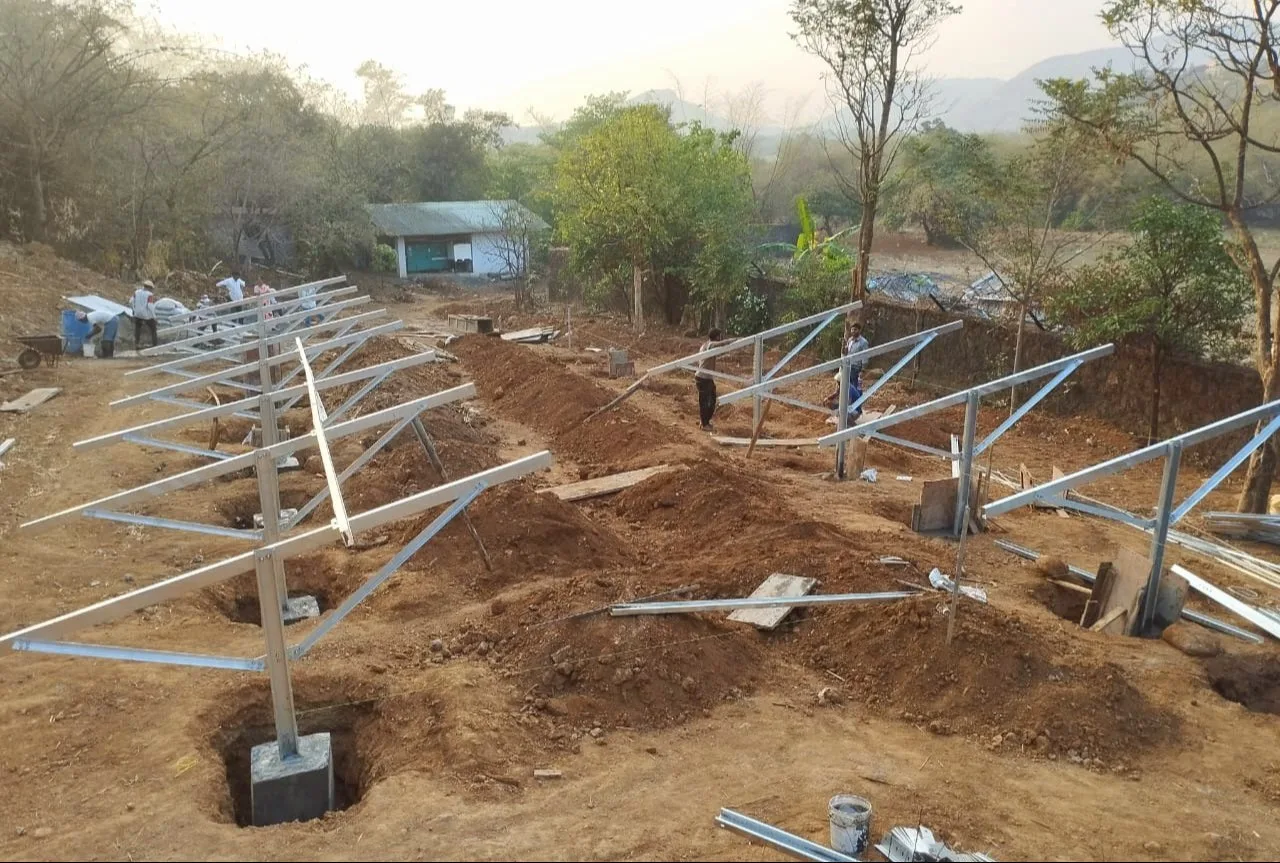
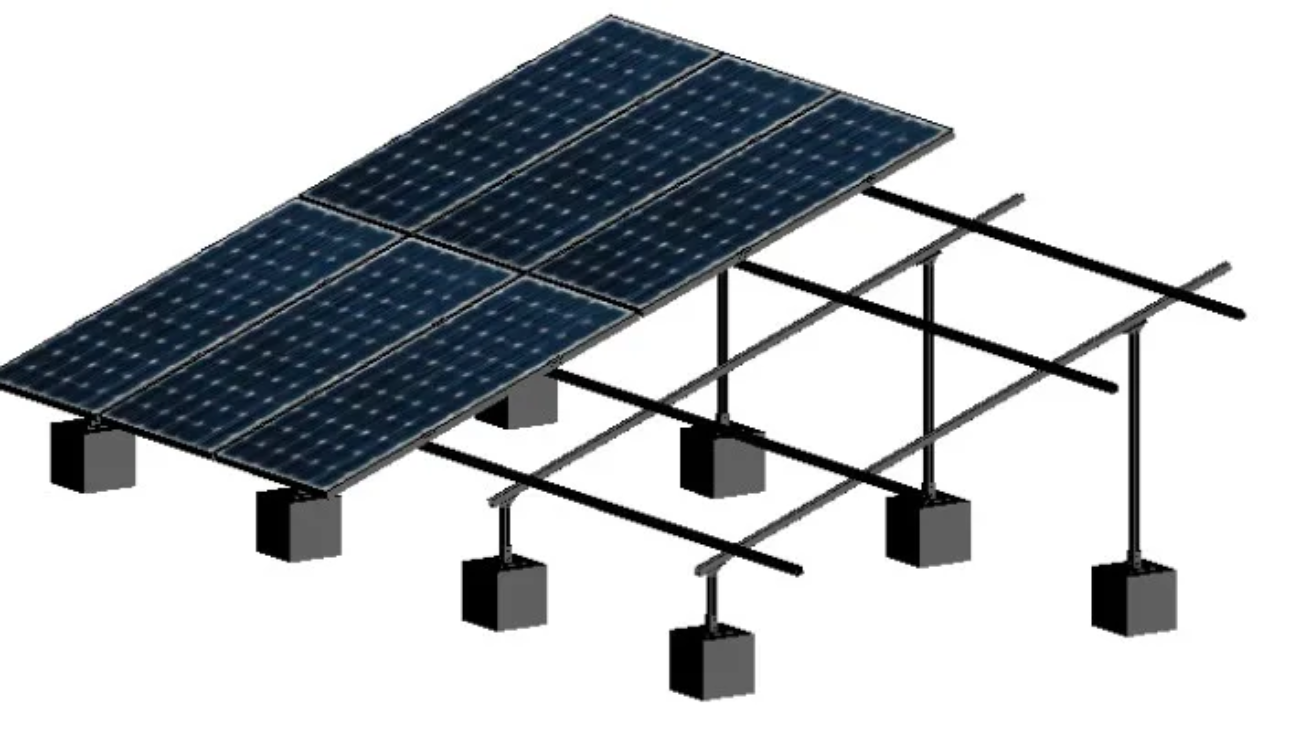
In Structura Metal a ground mounted setup refers to a solar panel system that is installed directly into the ground rather than on a roof. Ground installations have become increasingly popular for both residential and commercial solar projects. There are several key benefits that the ground mounts provides over rooftop solar systems:

  • More flexibility in panel placement.
  • Increased energy production.
  • Easier maintenance.
  • Avoid roof obstacles and structural issues.

At Structura Metal Ground Mounted Solar offers much more flexibility in where you can place panels to optimize sun exposure. With a rooftop system, you are also having limitations for the shape and directions of the areas available. Ground mounts allow placement in the wide open spaces without blocking the sunlight.

In addition, we also having the open airflow beneath ground mounted panels helps to keep the temperatures lower. This allows for more efficient energy conversion and increased energy production compared to rooftop systems. Studies show ground mounted solar can produce 10-45% more energy than the fixed rooftop setups.

BenefitsGround Mounted SolarRooftop Solar
Flexible placement
Increased production
Lower temperatures
Easy maintenance

Furthermore, a ground mounting system avoids any roof structural issues or the obstacles like vents, chimneys etc. And since panels are more accessible on the ground, overall maintenance is simpler without working from heights or ladders.

With all these advantages, it’s no wonder ground mounting structures are becoming the preferred mounting solution for many solar projects. Keep reading to learn more about the different types of ground mounted options available.

II. Strengths of Ground Mounted Setups

Ground Mounting Structures Setup

Installing a solar panel system on the ground rather than the roof offers some unique advantages. Here are the main strengths of ground mounted setups:

  • Orientation and Angle Flexibility – With ground mounts, we are having the panels that can be positioned at the optimal angle and directions to maximize sunlight exposure. You are not limited by the shape or direction of the areas on your roof.
  • Higher Energy Production – The open airflow underneath helps keep temperatures lower. This allows ground mounted panels to convert sunlight to energy more efficiently, generating 10-45% more power.
  • Easy Maintenance – Accessing rooftop solar panels typically requires climbing ladders or using special equipment. Ground mounts are closer to the ground, making regular inspection and cleaning much simpler.
  • No Rooftop Restrictions – Rooftop solar projects may be limited by structural issues, vents/chimneys, or lack of space. Ground mounts avoid all the rooftop restrictions.
  • Land Restrictions – While rare, some neighbourhoods have rules against installing visible solar panels. Ground mounts may need to be hidden behind the fences or vegetation.

III. Weaknesses of Ground Mounts

While ground mounted solar offers significant advantages, there are some potential downsides to consider as well:

  • Higher Installation Cost – In general, a ground mounting system has a higher upfront price tag than an equal sized rooftop system. The racking and foundation materials, digging/trenching, and labour make it more expenive.
  • Land Restrictions – Although rare, some neighbourhoods prohibit visible renewable energy systems or restrict their placement. Ground mounts may need creative vegetation or fencing.
  • Safety Concerns – Since panels are accessible, a ground mounting structure poses a minor risk for kids or pets walking into them. Proper fencing helps mitigate this.
  • Damage Risks – Rooftop solar is largely protected from incidental damage. However, ground mounted panels may be exposed to vehicles, animals, weather events, vandalism etc.
  • Aesthetic Impact – Low profile ground mounts usually blend into landscapes well. But some systems stand out and homeowners may prefer to keep their yard/lawn view unchanged.
WeaknessRisk LevelHow to Mitigate
CostHighGet multiple installer bids to reduce price
Land rulesLowPetition for renewable energy exceptions
SafetyLowAdd fencing around solar system
DamageLowAdd protective barriers as needed
AestheticsLowUse vegetation to hide/blend system

IV. Types of Ground Installations

Ground Mounting Installation

If you decide to install the ground mounted solar system, you have several options when it comes to the specific type of mounting structure. The three main types of ground installations are:

  • Traditional ground-mount
  • Tracking systems
  • Carports and canopies

Traditional ground-mount systems use to anchors and robust structural racking to fix panels in an optimal position. This is the most common type of ground mounted system.

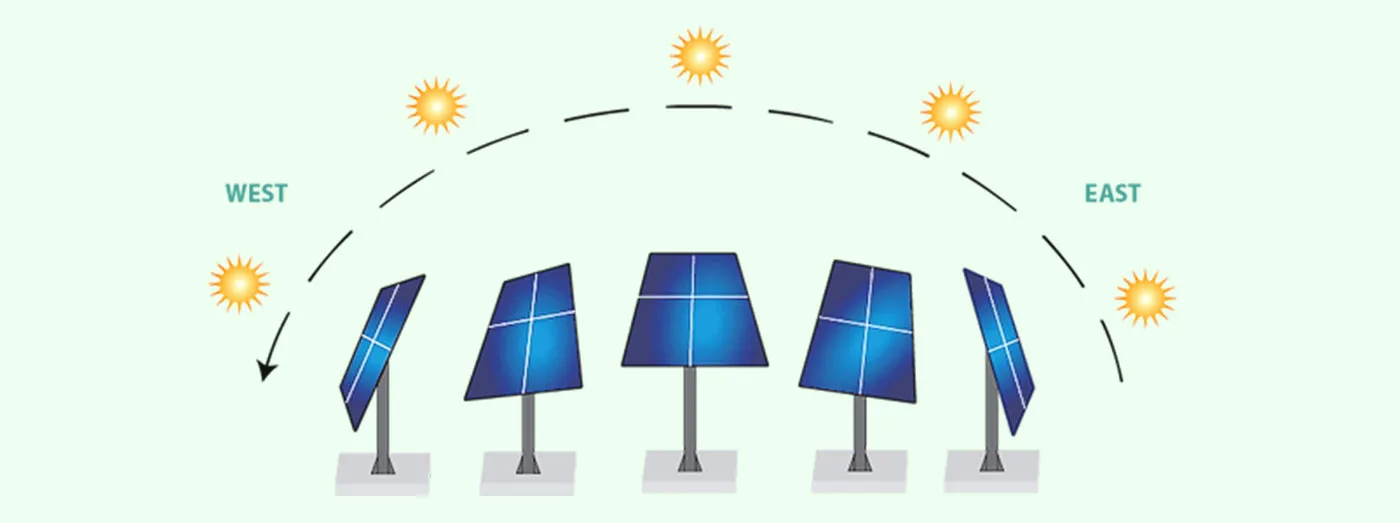
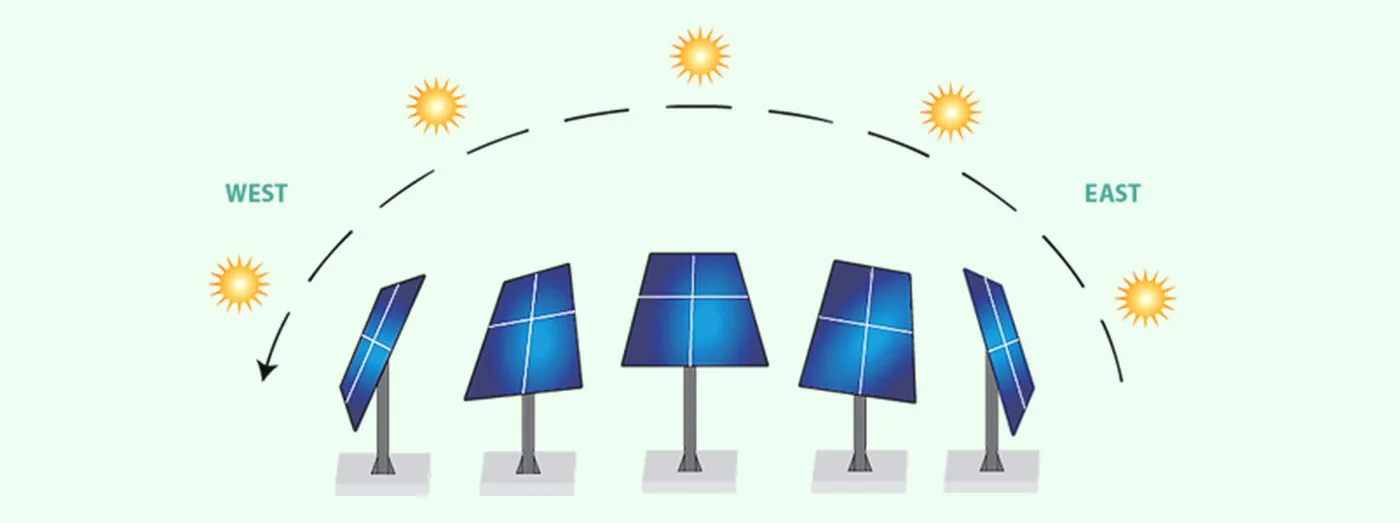
Tracking Systems go by step further by using automated hardware to move panels and follow the sun’s path during the day. This further maximizes energy production but has a higher cost. Single-axis trackers shift panels east-west or north-south to capture more sunlight. More advanced dual-axis trackers can shift in multiple directions to keep panels perpendicular to the sun’s rays.

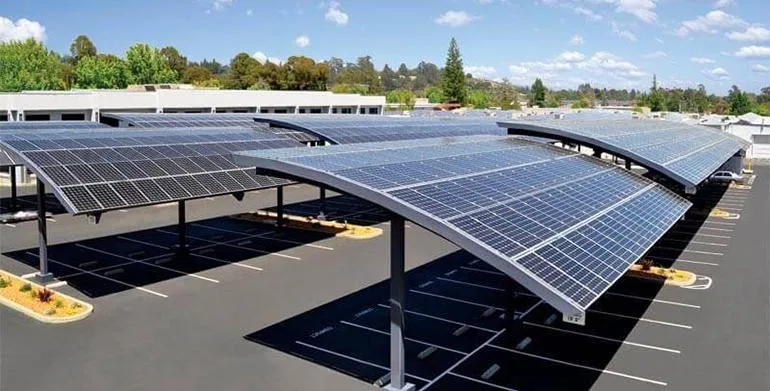
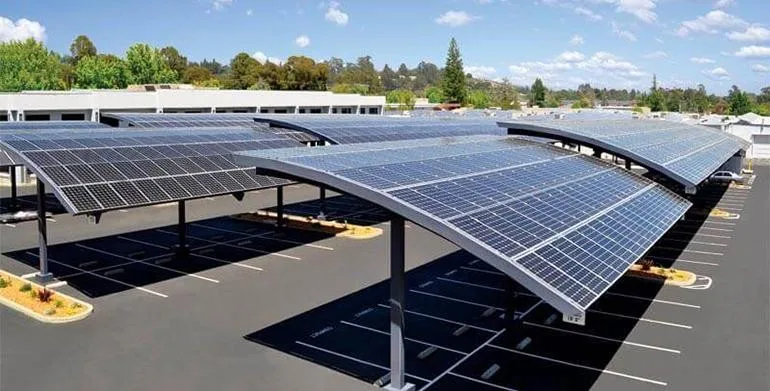
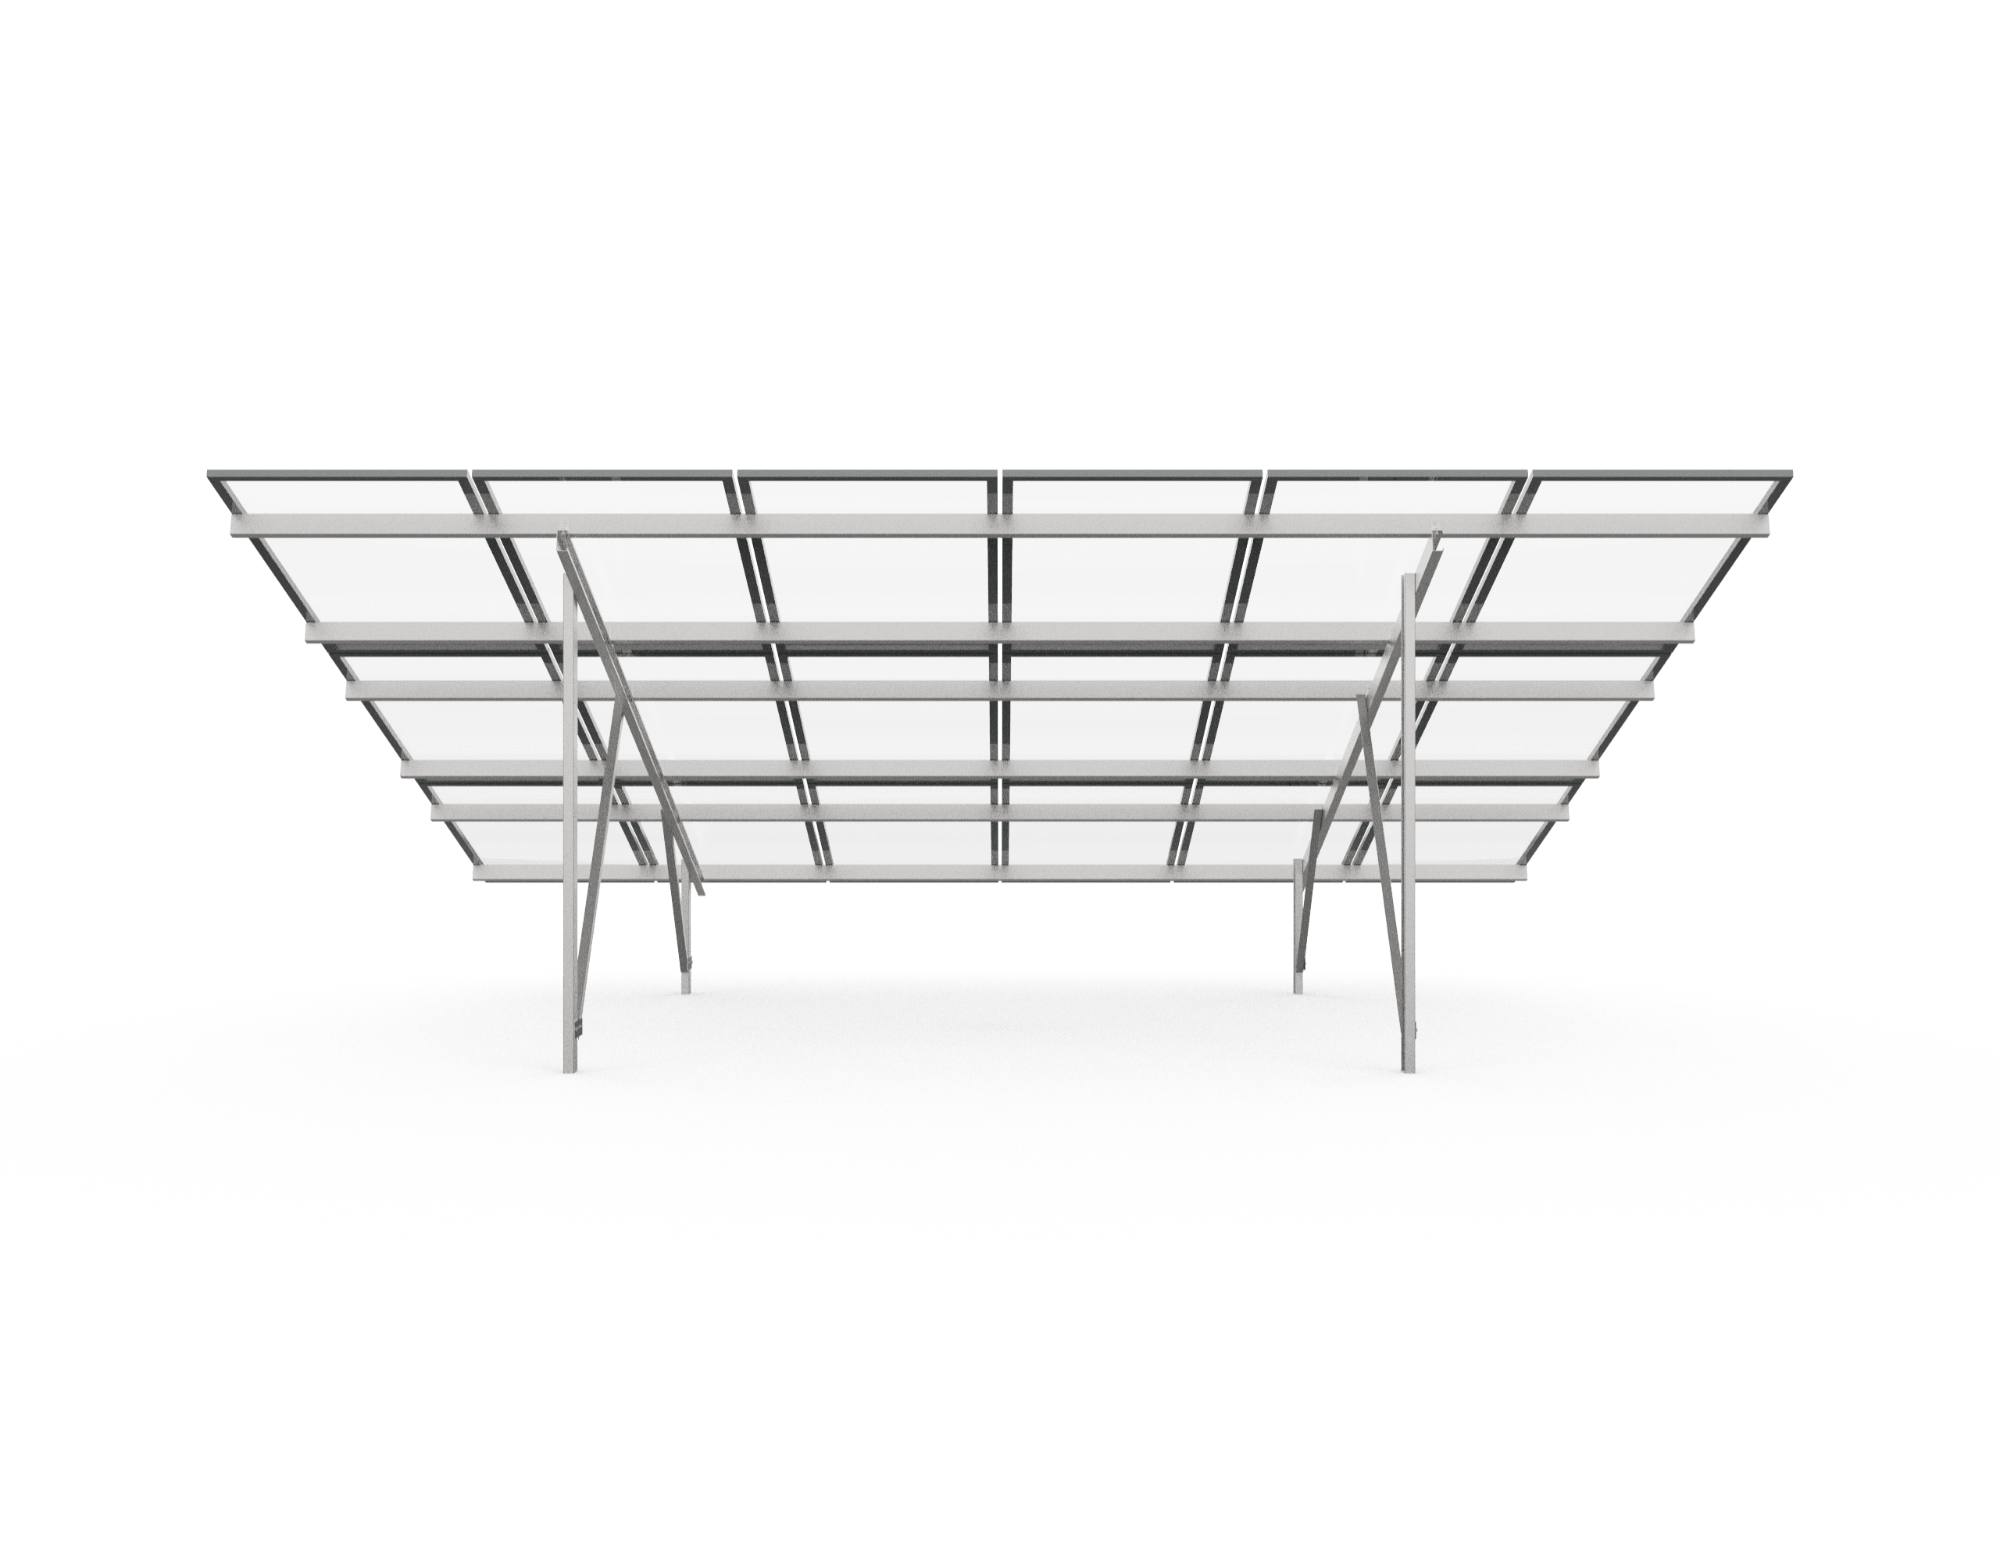
Carports and Canopies utilize very large Ground Mounted Structures as coverage for vehicles in parking lots or other uses. For example, a solar carport can provide shade for cars while generating clean power.

System TypeCost LevelMaintenanceIdeal For
TraditionalLowLowMost installs
TrackingHighMediumLarge installs
CarportsHighLowCommercial

Determine the scale of your solar needs and budget to decide which type of ground installation makes the most sense. Tracking systems produce a good amount of extra energy but carry a cost premium over traditional fixed racking.

V. Traditional Ground-Mount Systems

The most common and cost-effective type of ground mounted solar setup is the traditional fixed racking system.

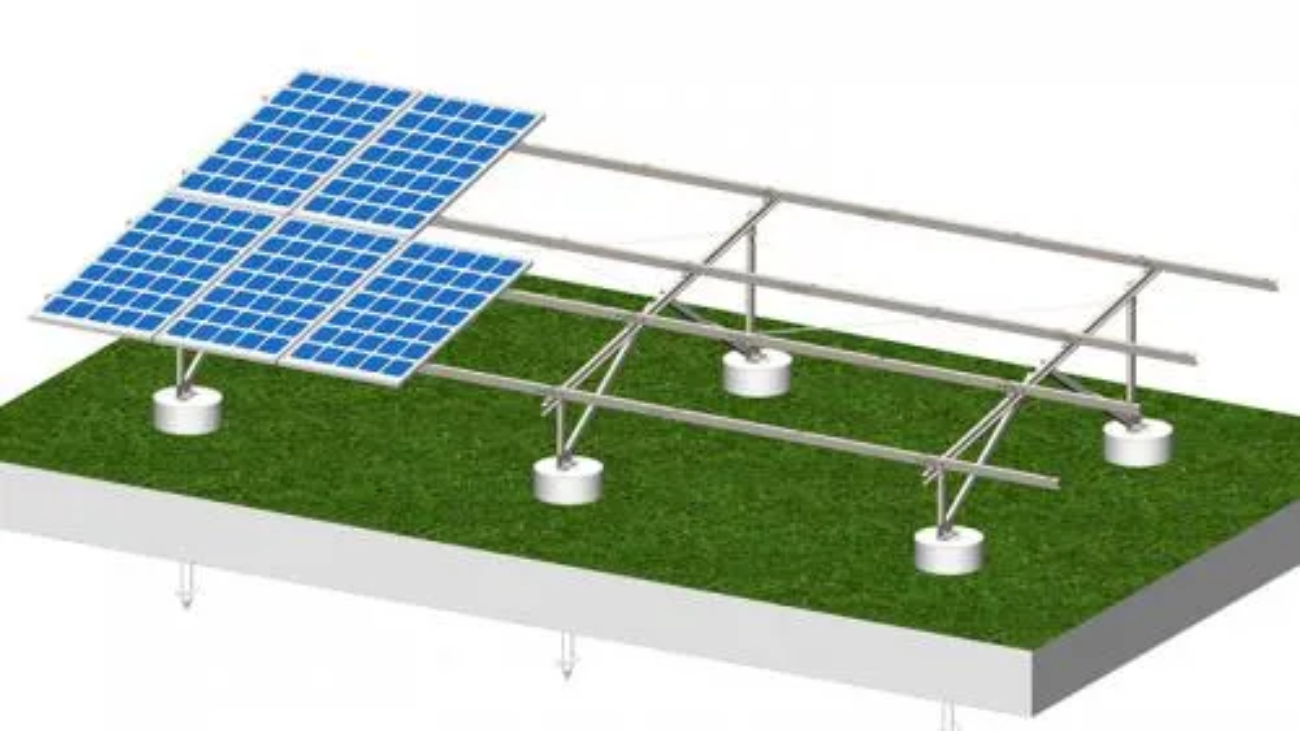
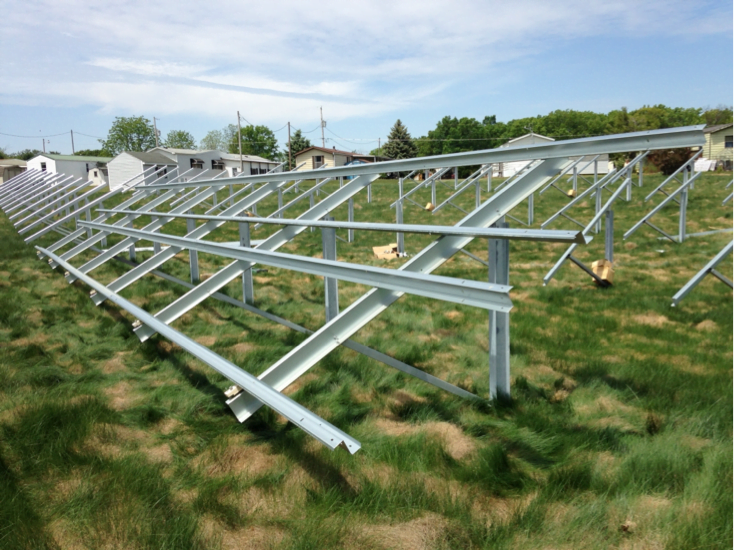
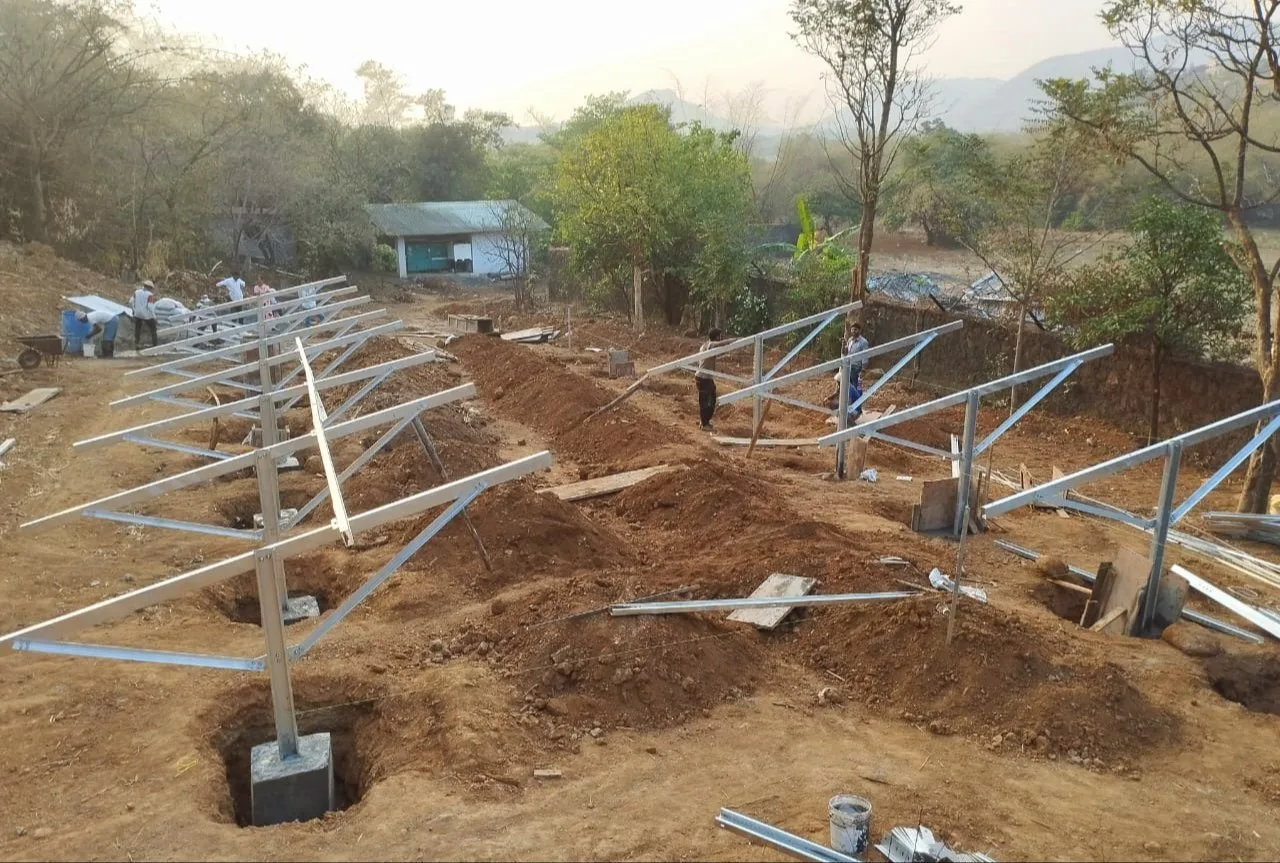
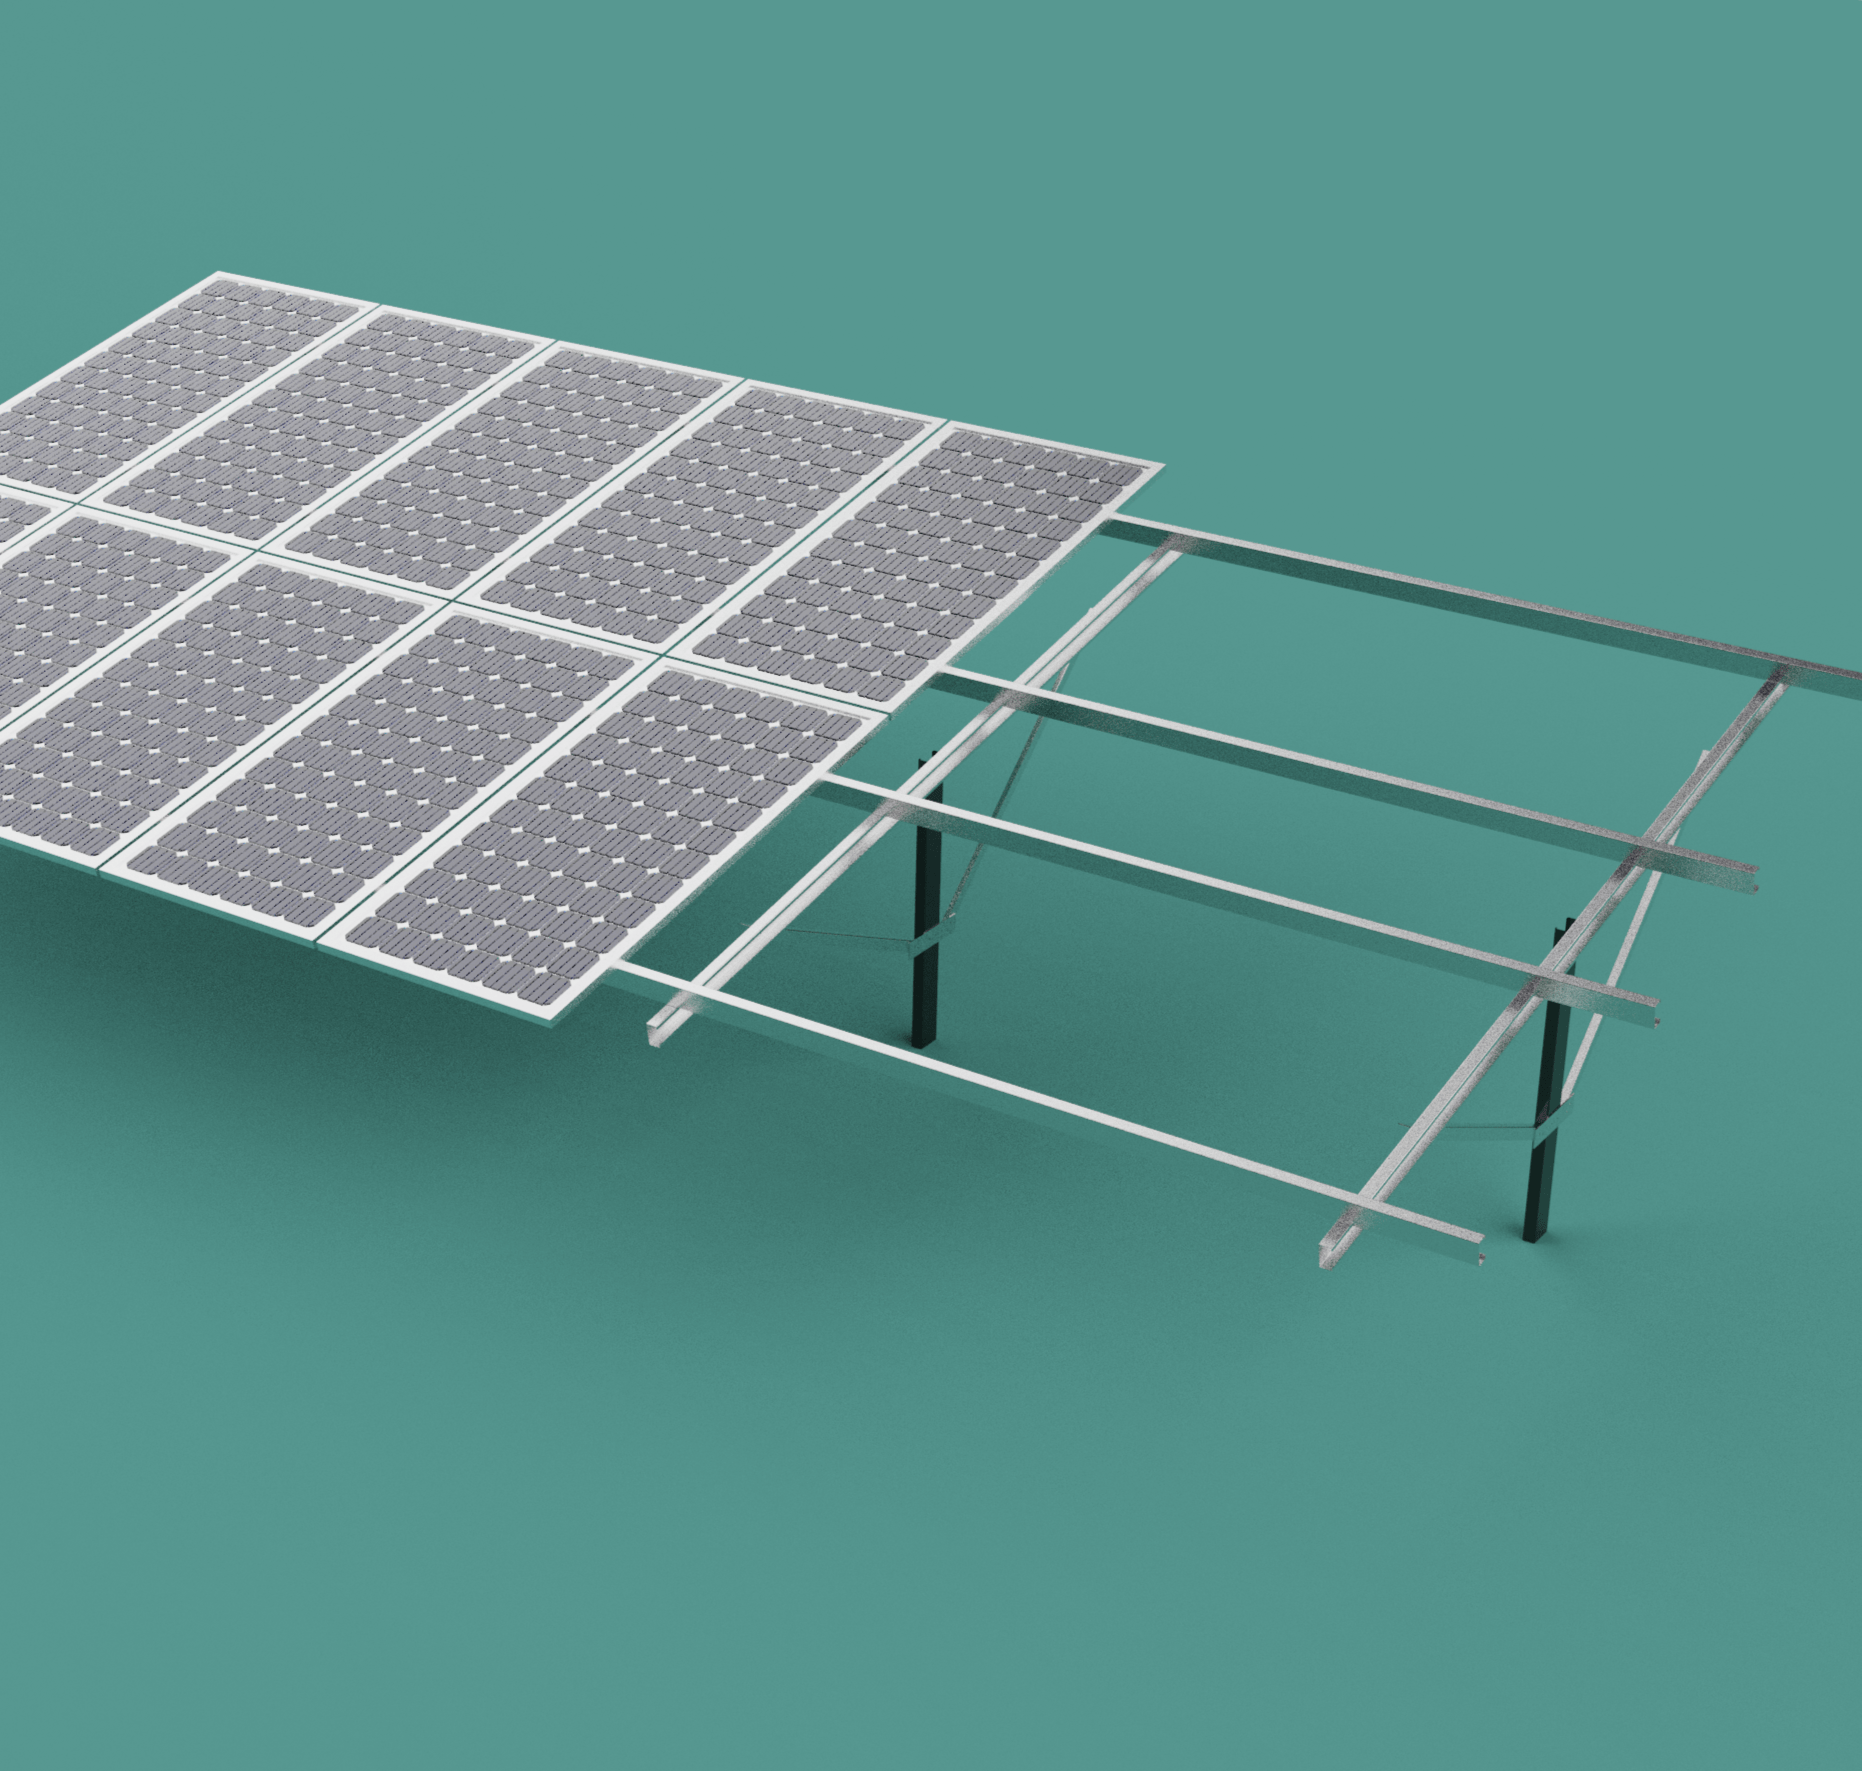
Traditional ground-mount systems work similarly to rooftop mounts. Panels get attached with the strong metal frame and angled to optimize sun exposure. Instead of being installed on singles though, the racking frame mounts directly into the ground with the pier or anchor supports.

Benefits of traditional fixed ground mounting:

  • Low Cost – Traditional mounts have the lowest hardware and installation the costs per watt over other ground systems. This makes it affordable for most homeowners.
  • Easy to Install – For most residential sites, traditional fixed mounts can be fully installed in 1-3 days with a small crew minimizing labour expenses.
  • Low Maintenance – With no moving parts or motors, traditional systems require very little ongoing maintenance besides occasional panel cleaning.
  • Expandable – Additional panels can be easily added later on to increase your system size. The fixed mounting structure is designed for modular expansions.

The simplicity, affordability, and reliability of fixed position ground mounting structures make them a top choice. The only downside is they lack the sun tracking advantage of more complex systems. But the better return on investment keeps traditional mounts popular for residential installs.

VI. Tracking Systems

Tracking System

Tracking systems take ground mounted solar technology to the next level for maximum sunlight capture and energy production. These systems utilize motors, sensors, and controlers to automatically move solar panels over the course of a day. By keeping panels aligned perpendicular to the sun’s rays, they generate up to 45% more power annually.

There are two main types of solar trackers used with ground mounts:

  • Single-Axis Trackers: Rotate panels along one axis to follow the sun east to west.
  • Dual-Axis Trackers: Rotate panels along two axes enabling full 360 degree range of motion to precisely face the sun all day.

Benefits provided by tracker ground mounting:

  • Greatly increased energy yield per panel
  • Optimized spacing between rows of panels
  • Better performance in winter months
  • Reduced shade impact

The main disadvantages of using solar trackers are higher hardware costs, more complex installation, and increased maintenance requirements. Trackers utilizes motors, controllers, wiring, and gears that may eventually need replacement. Proper installation is also key for reliability.

Overall, the pros of solar tracking capabilities often outweigh the extra costs for larger commercial ground mounting projects. The significantly higher energy production provides better and faster return on investment. But trackers may be excessive for smaller residential ground installs where fixed mounts sufficient.

Click Here to Know More

VII. Carports and Canopies

Carports and Canopies

Carports and canopies utilize very large ground mounting structures that serve dual purposes. They provide shade or shelter, while also hosting solar panels to generate significant amounts of the electricity.

The most iconic example is the solar carport. As the name suggests, solar panels get installed on the roof structure of a carport. This keeps vehicles underneath shaded from the elements, while the panels above soak up the sunlight. The collected energy can then power buildings, electric vehicle charging stations, or get fed back into the grid.

Solar canopies function similarly, by mounting panels on top of a steel structure designed specifically for shade. You often see these utilized in parks, schools, and playgrounds to produce renewable power in addition to shielding what’s underneath.
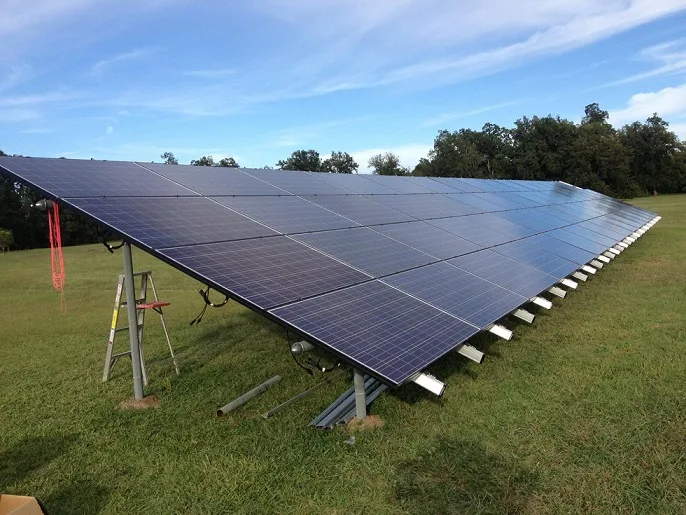
Benefits of solar carports and canopies:

  • Large open spaces for mounting many panels.
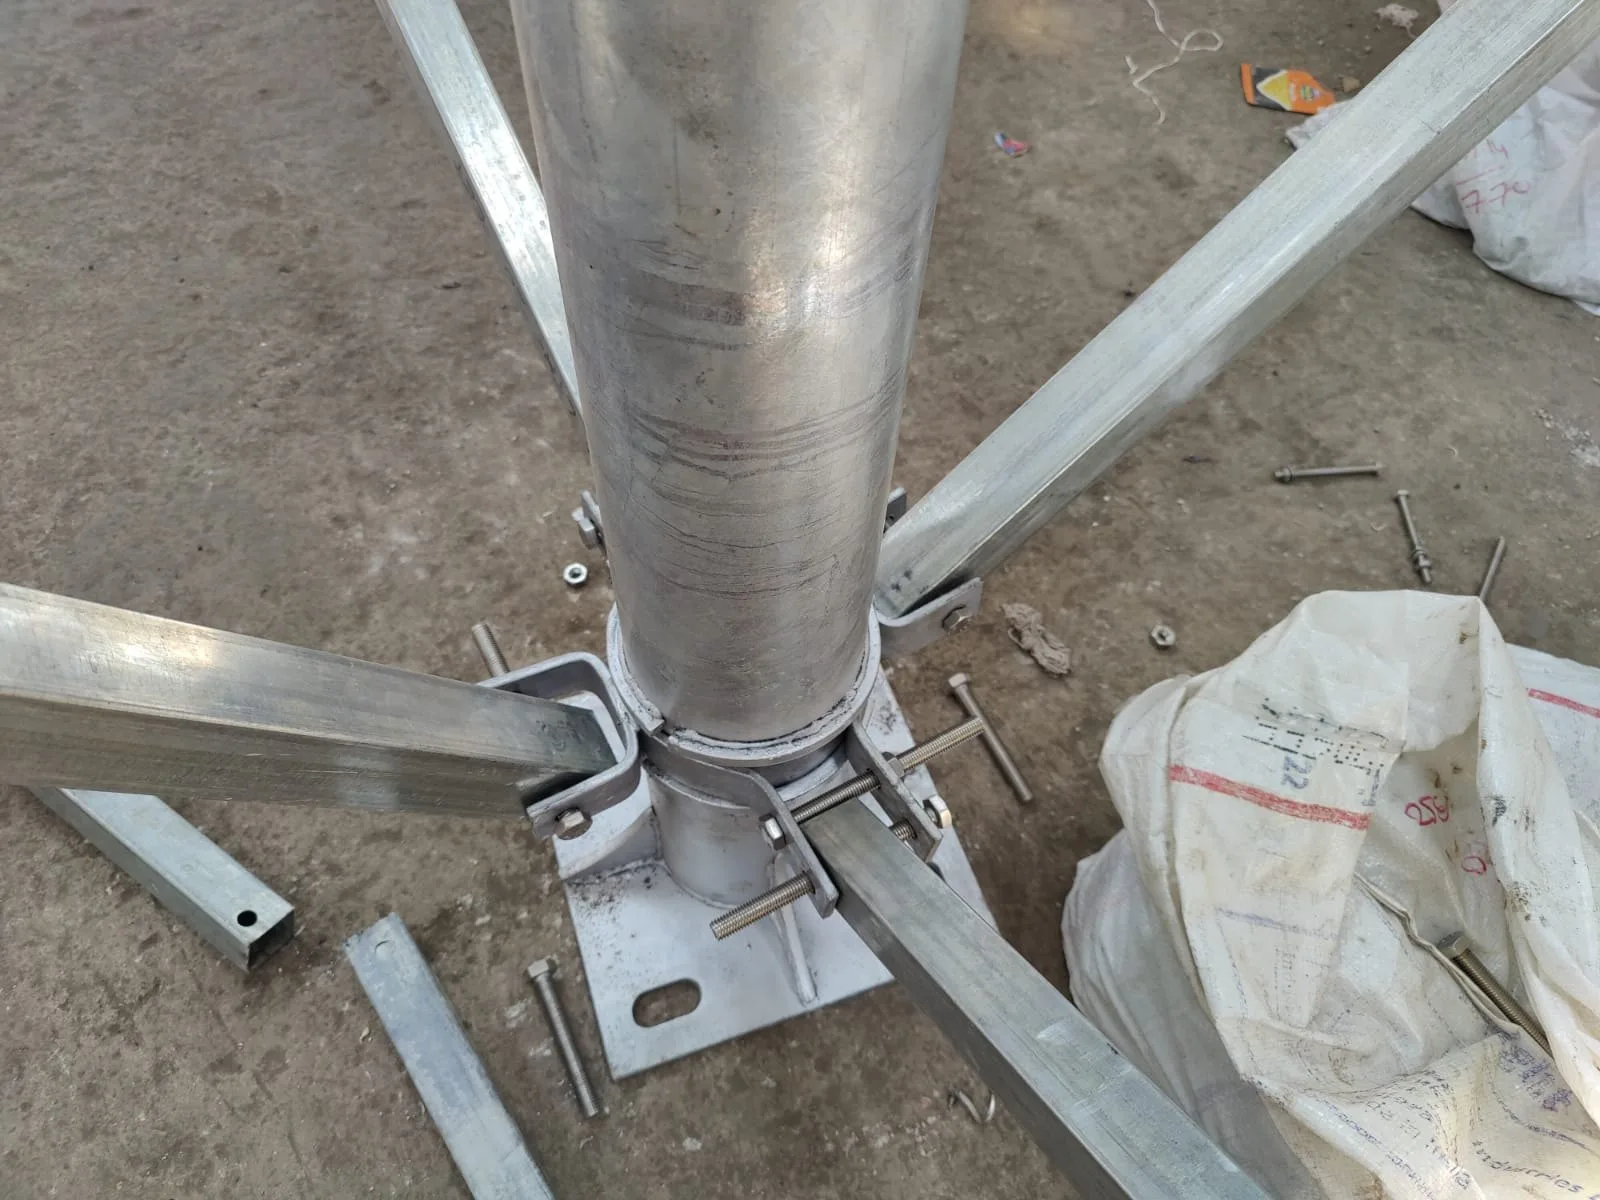
  • Dual purpose installations (power + shelter).
  • High visibility demonstrations of clean energy.

The main barriers to larger carport or canopy projects have traditionally been the high upfront design and material costs. However, as solar panel prices continue to fall, these types of installations are becoming more financially viable. And they serve as impactful sustainability symbols for schools, commercial centres, and other public spaces.

Learn More

VIII. Cost of Ground Mounted Systems

Installing a ground mounted solar array comes at a higher initial price tag than rooftop solar. There are several cost factors that contribute to this:

  • Structural Materials – Industral grade aluminium and galvanized steel is used to assemble the racking, poles, and foundations. These materials are more heavy duty than typical rooftop mounts.
  • Excavation And Equipment – Digging holes for foundations, trenching electrical wires, renting heavy machinery, and transporting materials add to project costs.
  • Labour – Ground mount installations take longer and often require crane equipment to position modules. More man hours equals more labour expense.

However, against these higher upfront costs are the long term savings:

  • Increased Energy Production – The optimal positioning and solar tracking capabilities lead to significantly more clean energy generated.
  • Accelerated depreciation further reduces tax burden.

Over time, the extra energy and financial incentives make ground mounted systems pay for themselves more rapidly compared to equivalently sized rooftop installs. And protection from weather/debris means savings on roof repairs.

IX. Maintenance of Ground Mounted Solar

Maintenance of Ground Mounting Solar

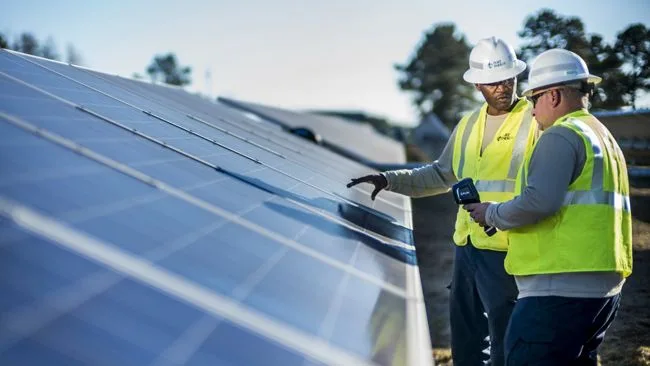
A key advantage of ground mounted solar is that regular maintenance is easier than rooftop systems. Accessing panels on the ground avoids the need for ladders or technical rope training. Basic upkeep best practices include:

Inspections

  • Inspect all wiring, mounts, gear boxes for damage quarterly. Repair any loose connections or corrosion.
  • Check panel glass for cracks/chips annually which could allow moisture damage.

Cleaning

  • Clear any accumulated leaves/debris around the mounting structure.
  • Wash panels with soft brushes and water at least twice per year for maximum solar absorption.

Vegetation trimming

  • Trim any nearby plants/branches that may overhang and put panels in shade. Sunlight occlusion severely reduces output.

Snow Removal

  • Use non-abrasive plastic shovels to clear heavy snow off panels after storms.

Tracking & Monitoring

  • Ensure tracker motors function properly in all seasons.
  • Monitor production output levels monthly to catch any decreased yields from common culprits like dirty panels, tracking miss collaboration, or wiring issues.

Following this basic preventative maintenance checklist for your ground mounted system improves reliability, extends equipment lifespan, and maximizes solar energy production year after year.

X. Conclusion

Installing solar panels on the ground rather than roofing provides unique advantages. Ground mounted solar gives you flexibility on placement for optimum sunlight exposure for leading to significantly higher energy generation. The ability to incorporte tracking systems takes this productive potential even further.

As solar panel and storage prices continue falling, renewable energy adoption will only accelerate further. Both rooftop and ground mounted solutions each have ideal applications depending on the site constraints and power demands. Consult with qualified solar professionals to map out the best clean energy generation plan tailored for your home or business.

Solar Mounting Structure Design

Solar Mounting Structure Design

I. Introduction to Solar Mounting Structure Design

Solar Mounting Structure Design

Structura Metal provide a solar mounting structure is a crucial component of any photovoltaic (PV) system installation. Furthermore, this structures purpose is to securely anchor the solar panels while distributing weight and allowing us to orient the panels at the optimal angle to maximize solar radiation capture.

When designing solar mounting structures, we must make the following key considerations:

  • Building Specifications – age, roof type/condition, location.
  • Climate Conditions – wind, snow loads.
  • System Size and Components – number of panels, foundations.
  • Accessibility for installation and maintenance.
  • Safety standards and certifications.

There are two main categories of solar panel mounting structures are:
Rooftop Mounting Structures

Rooftop mounts support themselves using the building itself and are generally a lower-cost solution. Sub-types include:

  • Rail-Based – panels clipped onto rails bolted into roof
  • Rail-Less – panels bolted directly into roof
  • Shared-Rail – rails are shared between panels

These can be used on both sloped and flat rooftops.

Ground-Based Mounting Structures

Ground mounts require foundations but allow more flexibility. Types include:

  • Pole Mounts – structure with vertical pole anchored in concrete
  • Foundation Mounts – vertical posts fixed in excavated foundations
  • Tracking Mounts – structures with 1 or 2 axis tracking
Mount TypeProsCons
RooftopLower cost <br> Use existing structureLimited panels <br> Roof condition dependent
GroundMore panels <br> Flexible layoutHigher cost <br> Site prep required

The mounting structure are also relies on the components like rails, brackets, anchors, and foundations to secure the panels.

II. Rooftop Mounting Structures

Rooftop Mounting Structures

Rooftop solar mounting structures attach directly to the roof surface, which helps to distributes weight and reduces costs by utilizing the existing structural support. The main types of rooftop mounts are:

  • Rail-Based Mounting – Solar panels mount onto the rails that bolt into the roof. This is one of the most common rooftop solutions.
  • Rail-Less Mounting – Panels bolt directly to the roof without rails. This reduces materials but requires more skill to install.
  • Shared-Rail Mounting – Solar panels share common rails to reduce rail usage.

Rooftop mounts work for both sloped roof tilted designs and flat roof systems like commercial buildings.

Ballasted Footing Mounts made of concretes blocks help anchor flat roof structures without roof penetration. For pitched roofs, rail-based mounts orient panels at slopes matching the existing roof, while rail-less systems mount the panels in flexible tilted angles.

TypeDescriptionConsiderations
Rail-BasedPanels clip onto roof-bolted railsMost common <br> Easy to install
Rail-LessDirect panel roof mountingLower cost <br> Requires skill
Shared-RailPanels share common railsReduces rails <br> Optimizes installation
BallastedConcrete block anchorsNo penetration <br> For flat roofs

Proper Mounting Structure Design distributes panel weight, resists wind/weather elements, and orients panels properly on the roof.

III. Ground-Based Mounting Structures

Ground Mounting Structures

Ground-mounted solar structures are anchored into the ground itself, providing more flexibility than rooftop solutions. Key types of ground mounts include:

  • Pole Mounts  A simple steel pole and concrete anchor drilled into the ground can support smaller solar panel installations.
  • Foundation Mounts – Vertical posts or pipes are fixed in concrete foundations requiring excavation and soil analysis.
  • Tracking Mounts – Structures with the integrated 1 or 2 axis tracking capability to optimize solar radiation capture.

Multi-pole Mounting utilizes multiple vertical pipe supports to extending in a horizontal line to allow the scaling of larger installations.

The Smart Flower is a compact new solution resembling an opening flower with the integrated tracking solar “petals” for high efficiency generation.

TypeProsCons
Pole MountsLower cost <br> Simple installSmall systems <br> Soil dependent
Foundation MountsLarger systems <br> Adjustable tiltHigh cost <br> Site prep required
Tracking MountsIncreased energy yield <br> Automated sun trackingComplexity <br> Higher cost

Learn More

With ground mounting, factors like soil conditions, wind loads, and frost line depth inform needed foundation specifications. Integrated cable trays and wire runs should also be incorporated into the structural design.

IV. Mounting Structure Components

Mounting Structure Components

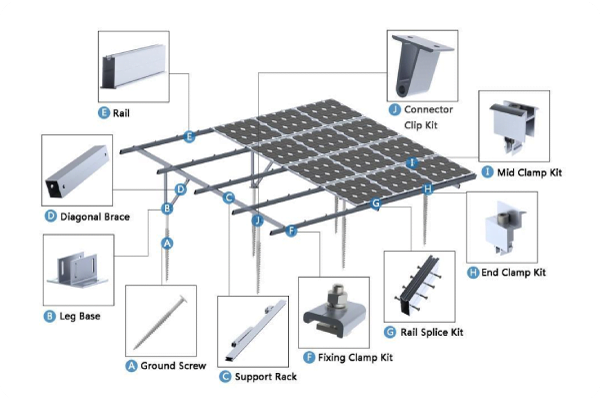
In addition to the main structure frames, solar mounting systems rely on components like rails, brackets, clamps, and anchors to secure panels and transmit loads.

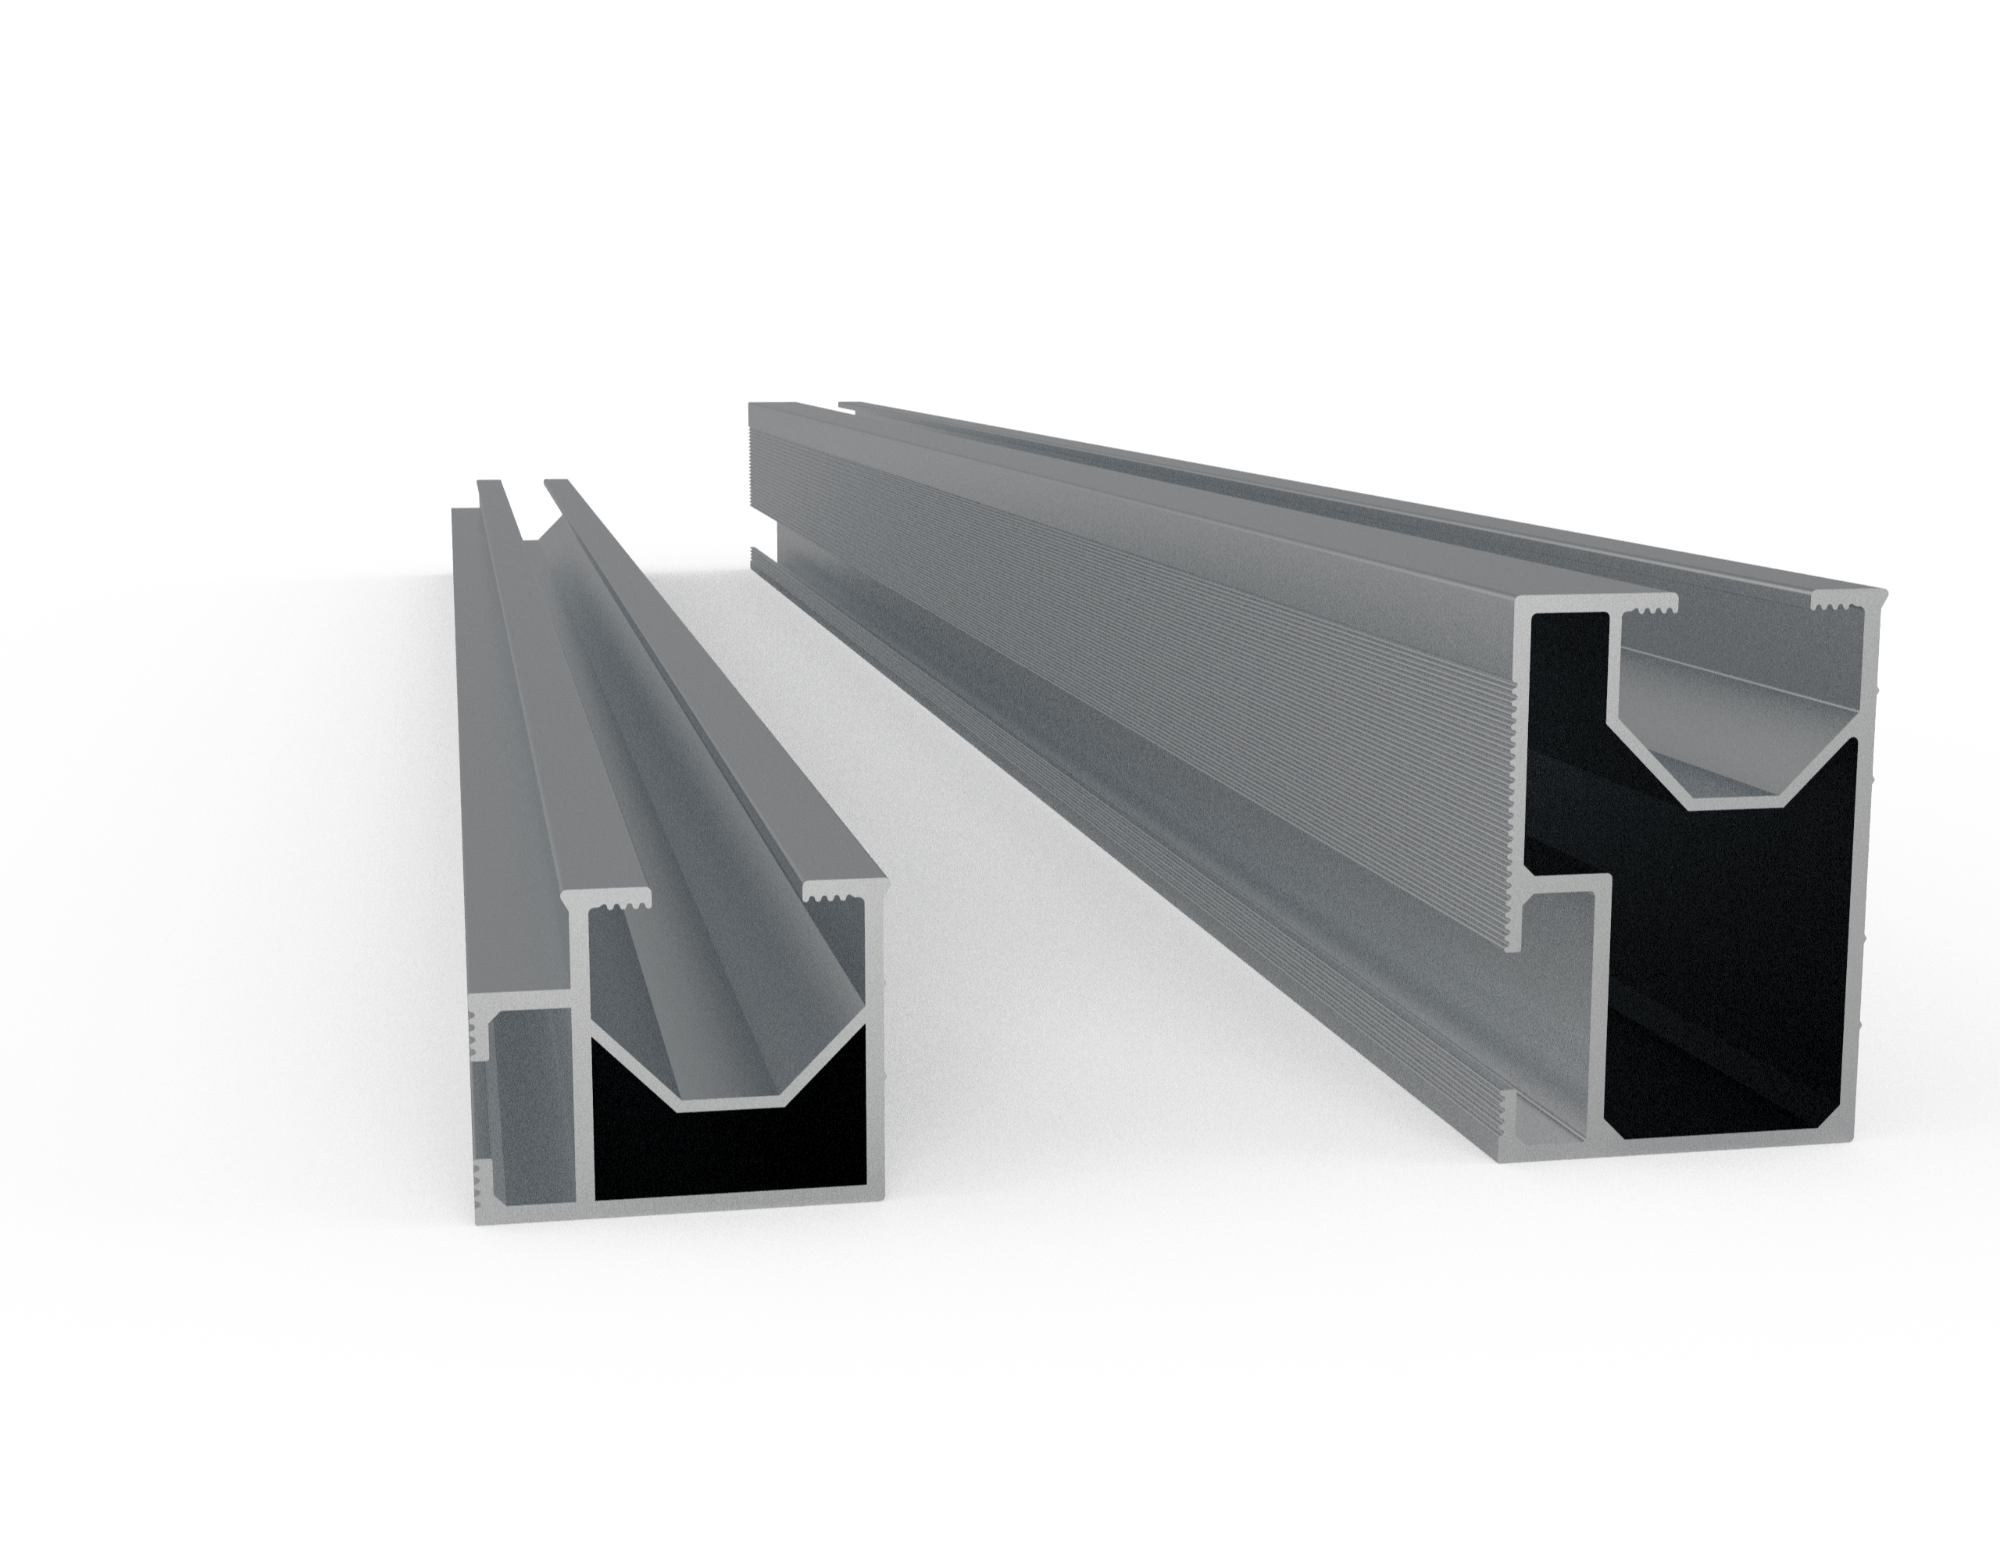
  • Rails & Strut Channels – Horizontal rail structures and strut channels, often aluminium or galvanized steel, provide intermediate support and panel mounting points.
  • Brackets – Adjustable bracket structures attah to rails to angle panels at the optimal tilt.
  • Clamps – End and mid-clamps tightly affix panels along their edges and prevent slippage.
  • Anchors & Foundations – Ground screws, anchor bolts, concrete piers and more keep the mounting frame fixed in place.

Wiring trays and cable management components are also integrated into the composite mounting unit.

ComponentCompositionPurpose
RailsAluminium, steelPanel support & mounting points
BracketsStainless steelSecure and tilt panels
ClampsAluminiumGrip panel edges
AnchorsGalvanized steelFix structure to roof or ground

Proper specification and structural analysis ensures components can withstand anticipated wind, snow loads and thermal stresses across the system’s life.

Regular re-torquring of bolts and monitoring of components for issues like corrosion is key for longevity.

V. Structural Considerations

Careful analysis of building specifications and site conditions informs the customized structural design of solar mounting systems. Key factors include:

  • Building Age & Type – The roofing substrata must have sufficient integrity to withstand panel loading. Older or weaker structures may have lower weight tolerances.
  • Roof Accessibility – Installers will require safe access routes to the roof location that can accommodate components and tools.
  • System Layout – Allowances must be made for positioning of all structural elements, panels, inverters and related components.
  • Shading – Nearby structures or roof elements that could cast shadows on panels should be considered.
  • Weather Loads – Snow, wind and rainfall levels determine design wind and snow load requirements.
  • Soil Conditions – For ground mounts, soils must be evaluated for suitability to anchor foundation components.
ConsiderationFactorEffect
Building TypeMaterial strength <br> Roof pitchWeight limits <br> Mounting options
AccessibilityPathways <br> SafetyInstallation <br> Maintenance
ShadingNearby structures <br> Roof elementsSolar interruption

Analysis software models these parameters to tailor optimized, code-compliant mounting structural specifications.

VI. Analysis and Reporting

Analysis and Reporting

Detailed structural analysis and reporting ensure solar mounting systems meet safety and performance standards throughout their 25+ year lifetimes.

  • Software Modeling like STAAD analysis the building specs, layouts, component ratings and environmental factors to engineer code-compliant mounting specifications.
  • Structural Reports document all structural design elements, recommended hardware specifications, layouts, and electrical component integration guidance.
  • Installation Manuals provide step-by-step mounting and wiring instructions for field implementation.
DeliverableContentsValue
Structural ReportSpecifications <br> Layouts <br> Hardware detailsCustomized design basis
Installation ManualMounting instructions <br> Electrical layoutsCorrect field implementation

Through reporting and guidelines empower the proper system installation and inform ongoing maintenance requirements like bolt re-torquing for maximum safety and energy production.

Click Here For More Details

Mounting Structure for Solar Panels

Mounting Structure for Solar Panels

Mounting Structure for Solar Panel

Introduction

Solar panel mounting structures play a critical role in ensuring solar systems operate efficiently and safely for decades. This guide covers key types of solar mounting structures, components, materials and considerations.

Why Mounting Structures Matters

Proper mounting enables solar installation across locations like residential rooftops, warehouses and solar farms. It secures panels at the best angle to maximize solar absorptions and energy output based on factors like sun exposures and climate. Mounts protect panels from weather like wind, rain and snow over 20-25 year lifecycles. Flimsy structures risk system failures or safety issues over time.

I. Types of Solar Mounting Structures

Types of Solar Mounting Structures

There are several main types of solar mounting structures used to install solar panels. Selecting the right mounting solution is crucial, as it impacts the overall efficiency, durability, and generation capacity of the system. The structure must also be stable enough to withstand wind, rain, hail, snow, and even moderate earthquakes.

The 5 primary solar mounting structure types are:

  1. RCC Roof Mounts
  2. Ground Mounts
  3. Solar Carports
  4. Shed Mounts
  5. Tracking Structures

RCC Roof Mounts

RCC stands for Reinforced Cement Concrete. These mounting structures are used to install solar panels onto concrete rooftops.

Benefits:

  • Reduce DC losses from long cable runs to inverter
  • Utilize unused roof space for clean energy generation
  • Protect roof from weather exposure
  • Common in residential and commercial installs

Drawbacks:

  • Require roof penetration which can lead to leaks if not properly sealed
  • Need proper roof orientation and shadow free area
  • Difficult to scale system size due to roof space limitations

RCC mounts are ideal when there is adequate roof space available. They can also be paired with solar trackers.

Ground Mounts

Ground mounts place solar panels directly on the ground rather than the roof. This is a good option when:

  • Insufficient roof space
  • Excessive shade from trees

Benefits:

  • Accommodate larger system sizes
  • Enable easier tracking system installation
  • Avoid house modifications

Drawbacks:

  • Higher installation costs
  • Need large shadow-free land area
  • Risk of vandalism and debris/snow accumulation

Ground mounts should only be installed in secure, debris-free locations.

Solar Carports

Solar Carport Structures

Carport structures elevate solar panels on poles to create a covered parking area underneath.

Benefits:

  • Provide shade for vehicles
  • Utilize parking area for clean energy generation
  • Can incorporate EV charging stations

Drawbacks:

  • Higher installation costs
  • Require significant shadow-free land

Shed Mounts

Shed mounts fasten solar panels onto shed rooftops or sheet metal roofing. They are often used by commercial and industrial facilities.

Benefits:

  • Low installation costs
  • Easy maintenance
  • Leverage unused roof space

Drawbacks:

  • Prone to overheating, reducing system efficiency
  • Require shadow-free roof area

In-Roof solutions can solve overheating issues by replacing sheet roofing entirely.

Tracking Structures

Tracking structures automatically pivot solar panels to follow the sun’s path for maximized exposure. The two types are:

  • One-axis track east to west movement
  • Two-axis track seasonal movement for concentrator systems

Benefits:

  • Boost efficiency during peak sunlight hours
  • Enhance limited space utilization
  • Avoid panel shading

Drawbacks:

  • High installation costs
  • Complex installation/maintenance
  • Risk of breakdown

While trackers improve efficiency substantially, their higher costs and complexity limit adoption.

II. Fixed Tilt Solar Mounts

Fixed tilt solar mounts

Fixed tilt solar mounts are the simplest and most cost-effective type of solar mounting structure. As the name suggests, these mounts hold solar panels at a constant angle throughout the year, optimized for the latitude to capture maximal sunlight.

Benefits

  • Cost-Effective
  • Inexpensive materials and simple installation lower overall system costs
  • Easy Maintenance
  • Does not require seasonal adjustments, reducing maintenance needs

Constant Angle

  • Tilt angle optimized for location’s latitude ensures efficient sunlight capture

While fixed tilt mounts maximize productivity in regions with consistent solar resource, they are less ideal for areas with variable sunlight.

TypeDescription
ResidentialWell-suited for home installations
Commercial RooftopsCommonly used to mount solar panels on flat warehouse and office roofs
Solar FarmsCan be used but tracking systems may improve performance

Key Considerations

  • Area must receive consistent annual solar exposure
  • Lifetime productivity partially depends on tilt angle accuracy
  • Not suitable for regions with diverse terrain that creates variability

Overall, fixed tilt solar mounting provides a reliable, low-cost mounting solution for residential and commercial rooftop solar installations in locations with steady sunlight availability. Their simplicity makes them a popular choice when roof space is sufficient.

III. Solar Tracking Systems

Solar tracking systems

Solar tracking systems automatically pivot solar panels to follow the sun’s path across the sky, adjusting the orientation to maximize sunlight exposure. There are two main types of solar trackers:

  • Single-Axis Trackers: Rotate along one axis, typically east-west to track daily movement
  • Dual-Axis Trackers: Rotate along two axes to track both daily and seasonal sun positions
TypeDescription
Single-AxisIncreases output up to 30% over fixed tilt
Dual-AxisMaximizes energy production but higher complexity and costs

Solar tracking enables substantial generation improvements compared to fixed mounting, especially in areas with high direct sunlight. Although trackers require more investment upfront, the energy yield enhancements often provide an attractive return on investment. Overall, tracking systems are most cost-effective for large-scale installations.

IV. Mounted Roof Racks

Mounted Roof Racks

Mounted roof racks are solar mounting structures installed directly onto roof surfaces. These racks:

  • Prevent DC Losses: Minimize wiring distances between solar panels and inverters
  • Require Roof Penetration: Attach to roof rafters using lag bolts that penetrate roof

Key Benefits:

  • Utilize unused roof space for solar generation
  • Rooftop installation reduces land usage
  • Concrete roof provides structural integrity
  • Protect roof from weather exposure
  • Enable customized system sizing
TypeDescription
ResidentialMost common rooftop mounting technique
CommercialWidely used on flat warehouse/office roofs

Potential downsides include roof leaks if improperly sealed and limitations on system expansion. Overall, mounted roof racks provide a convenient mounting solution for residential and commercial rooftop solar.

V. Ground-Mounted Racks

Ground-Mounted Racks System

Ground-mounted racks refer to solar mounting structures installed directly into the ground rather than on rooftops. Key features:

  • Adjustable tilt angles to optimize orientation
  • Enable expansive solar farms on open land
  • Secure locations reduce risk of damage/theft

Benefits include:

  • No rooftop limitations on system size
  • Easy to clean around arrays
  • Flexible panel positioning

However, ground-mounted arrays have higher wind loads, require more space, and installation costs can be higher than rooftop systems. Overall, their flexibility makes ground mounts ideal for large-scale installations.

Learn More

VI. Top of Pole Mounted Racks

Top of Pole Mounted Racks

Top of pole mounted racks refer to solar panel mounting structures fixed atop poles rather than rooftops or ground mounts. There are two sub-types:

  • Top-Pole: Panels mounted directly on top of a pole
  • Side-Pole: Panels attached to the side of poles

These pole-mounted solar solutions are optimal for small scale applications like:

  • Rural and agricultural installations
  • Off-grid auxiliary power
  • Solar lighting arrays

Their simplicity makes pole mounts a versatile solar mounting option.

Click Here For Details

VII. Tracking-System Mounted

Tracking-system mounted racks automatically orient solar panels to follow the sun’s path for maximum exposure. The key benefits include:

  • Solar Tracking – More energy generation than fixed mounts
  • Solar Water Pumping – Optimal for pumping applications
  • Mitigate shading losses
  • Utilize limited space more efficiently

However, trackers have higher complexity, installation costs, and risk of breakdowns. They are most practical for large-scale systems where the boost in energy production offsets the extra expenses. When sized appropriately, tracked solar mounts maximize solar utilization.

VIII. Components

Solar mounting structures consist of various components including:

  • Brackets: Made of stainless steel or aluminum to mount panels
  • Clamps: Attach to solar panel joints
  • Channels: Interconnect components and carry weight
  • Screws: Secure structure and panels; more screws increase mounting efficiency

Having high-quality and durable components is vital for structural integrity. Proper installation of these parts enables optimal sunlight capture.

IX. Installation Methods

Installation Methods

There are three main solar panel installation methods:

  • Rooftop: Panels mounted on concrete roofs or slabs
  • Ground: Structures built on open land or fields
  • Pole: Panels attached to top or sides of poles

Proper installation is key for maximizing sunlight exposure and energy generation. It also impacts system efficiency, durability, and maintenance needs. The method chosen depends on space requirements, orientation needs, and structural considerations.

X. Materials

Common solar mounting structure materials:

  • Aluminium: Corrosion-resistant, lightweight
  • Steel: Very durable but expensive
  • Wood: Cheap but weaker and prone to failure
  • Plastic: Affordable but suboptimal lifetime

The right material is crucial for structural integrity and preventing system failures under pressure (e.g. snow, hail). It must withstand the installation environment and last the system lifetime of 20-25 years. Aluminium is commonly used for its strength, lightweight nature, and compatibility with solar module frames.

Pole Ground Mount System

Pole Ground Mounting System

Pole Ground Mounting System

I .Types of Pole Mount Systems

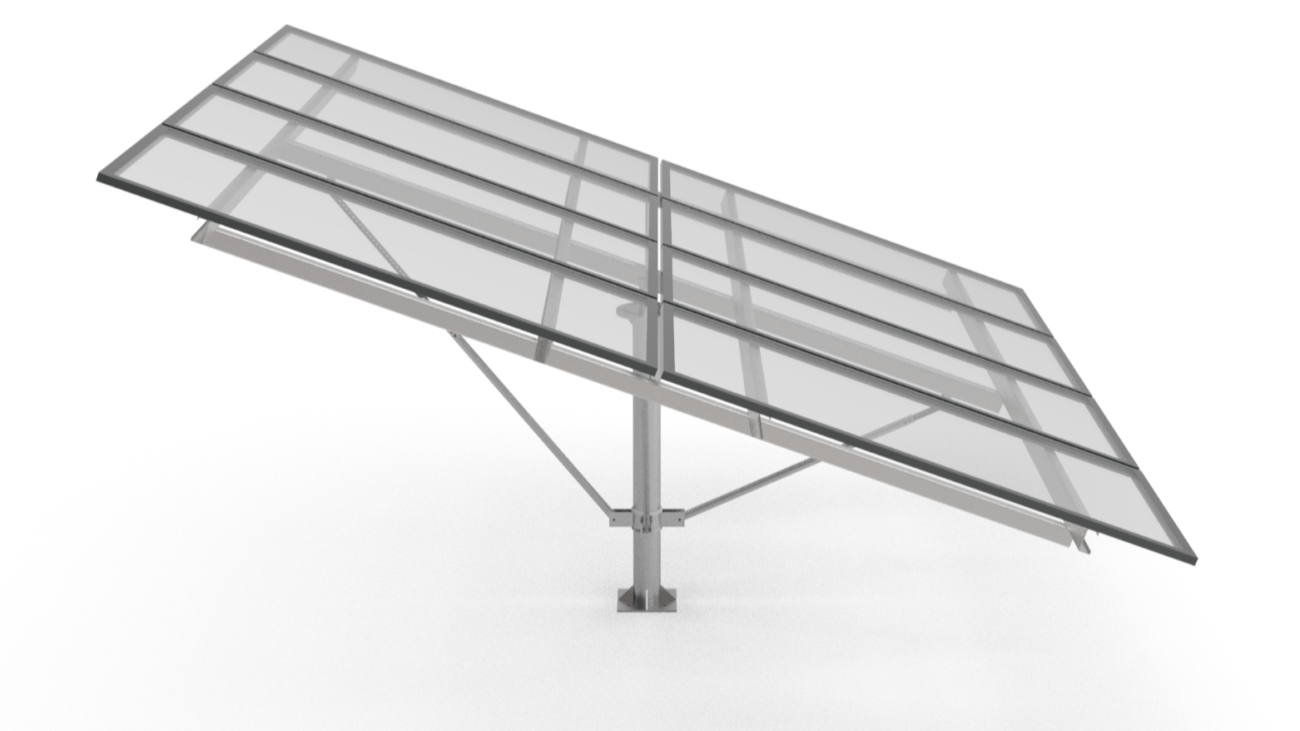
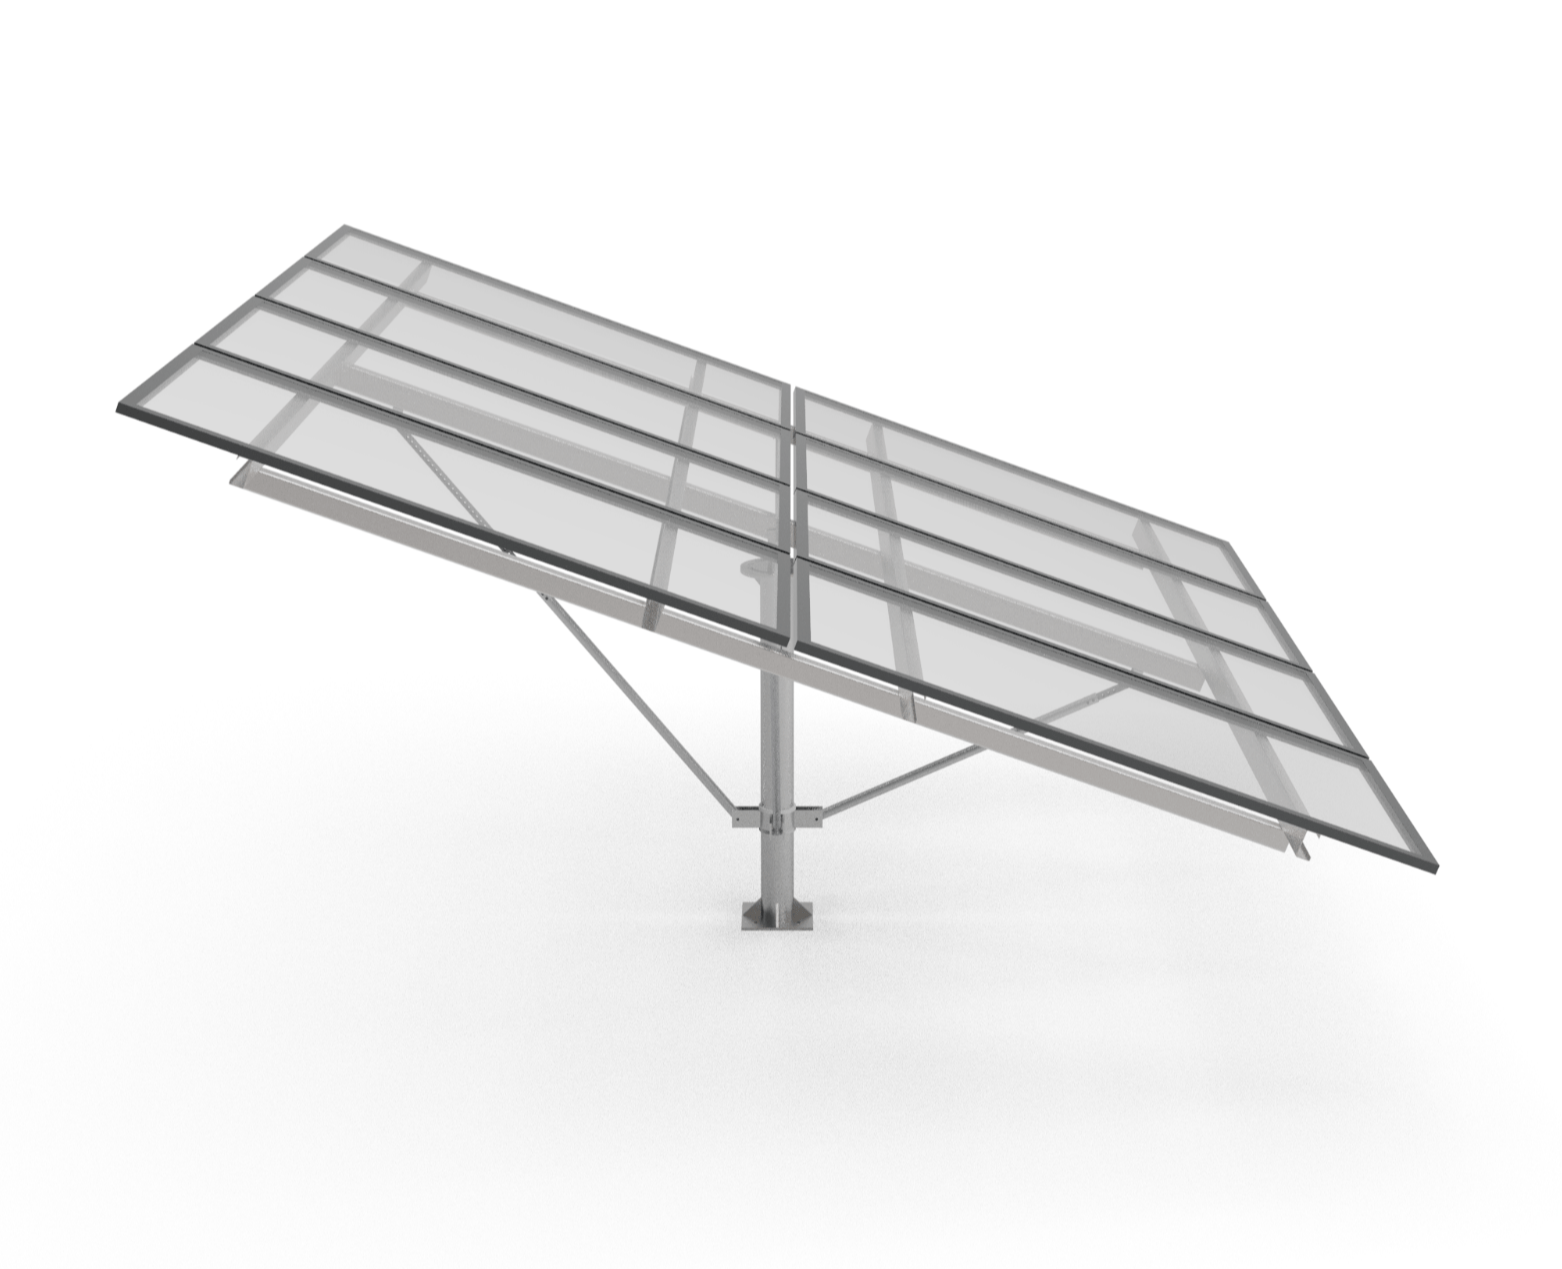
There are several main types of pole mounts used in solar installations, including top of pole mounts, side of pole mounts, and adjustable tilt pole mounts. The type of pole mount system chosen depends on factors like the number of solar panels, wind and snow loads, and site terrain.

Top of Pole Mounts

Top of pole mounts are installed on top of a vertical pole and angle the solar panels upwards towards the sun. They can accommodate anywhere from 1-60 solar panels or more, depending on the specific mounting system.

Some key benefits of top of pole mounts include:

  • Increased solar exposure
  • Ability to rotate panels to maximize energy production
  • Waist-level installation for ease of construction
  • Can be used in commercial and residential settings

Side of Pole Mounts

Side of pole mounts attach solar panels to the side of a vertical pole. They generally hold 1-3 solar panels.

Side of pole systems are commonly used for smaller solar installations like:

  • Traffic signals
  • Security cameras
  • Solar lighting
  • Off-grid cabins

They can withstand wind speeds up to 90 mph. Like top of pole mounts, side of pole mounts use 2-4.5″ Schedule 40 vertical pipes.

Adjustable Tilt Mounts

Adjustable tilt pole mounts allows for seasonal tilt adjustments to optimize solar exposure. For example, the MT Solar adjustable mount uses a hand crank to tilt panels from 0-90 degrees.

Adjustable tilt mounts are more expensive than fixed mounts but can maximize energy production. They provide an alternative to full solar tracking systems.

The type of pole mount selected depends on factors like location, number of panels, and budget. Consult with an installer to determine the best system for your solar project.

Adjustable Tilt Mounts

II. Residential Ground Mount Systems

Residential Ground Mount Systems

Residential ground mount systems are solar panel installations mounted on frames fixed into the ground rather than the roof. They allow homeowners to install solar when roof space is limited. There are two main types of residential ground mounts:

Low-Profile Ground Mounts

Low-profile ground mounts sit close to the ground and are the most affordable ground-based option. Key features include:

  • Shallow concrete footings (30″)
  • Quick and easy installation
  • Standard SCH 40 pipe materials
  • Spans up to 8fts.
SystemKey Features
Prosolar GroundTrac SystemIntegrated grounding, low parts count
IronRidgesMeets residential wind and snow load requirements

Low-profile ground mounts only require basic DIY skills for installation. They provide a cost-effective way to reap the benefits of solar with limited roof space.

Multiple Pole Mounts

Multiple pole mounts elevate solar panels higher off the ground with multiple vertical poles. This allows space for:

  • Livestock or crops to graze underneath
  • Adjustability – manually tilt pole height each season
  • Greater wind/snow clearance

MT Solar offers adjustable multiple pole mounts able to tilt 85 degrees. Systems are easier to install at waist height before lifting into final position.

Benefits of multiple pole mounts include:

  • Deeper solar panel clearance
  • Manual seasonal adjustability
  • Solar exposure maximization

Multiple pole mount systems have a higher upfront cost but provide flexibility and customization options. They are ideal for rural properties or farms.

When deciding on a residential ground mount system, homeowners must consider their property size, local zoning laws, and installation costs. Consulting a solar provider is recommended to determine the best solution.

III .Ramming Pole Mounting Systems

Ramming pole mounting systems are a type of solar panel mount designed for areas with low rock content. Vertical poles are driven into the ground using a pile driver, avoiding complex concrete foundations.

There are two types of ramming pole mounts:

Single Pillar Mounts

Single pillar systems have poles driven 1.5-2 meters into the ground, with a single vertical mount pole.

Key features:

  • Easy insertion into soils.
  • Adaptable to varying geological conditions.
  • Environmentally friendly installation.
  • Cost-effective for sites with favourable soil conditions.
SpecDetails
TiltPer client needs
Wind Rating100km/hr
Snow Rating0.5kN/m^2

Double Pillar Mounts

Double pillar mounts add rear pole support for stability. Systems interlock with flanged or non-flanged ramming poles.

Benefits include:

  • Extra structural reinforcement.
  • Ability to mount more/larger panels.
  • Options for steel or aluminium brackets.

Ramming pole systems deliver an affordable, low-impact mounting solution ideal for rural or agricultural sites. Soil conditions should be assessed before installing.

IV. Benefits of Pole Mounting

Pole mounting offers several key advantages over roof mounts and ground mount solar systems. Main benefits of pole mounting include:

Increased Sunlight Exposure

  • Mounts elevate panels higher, with no shading obstructions.
  • Allows inclusion of sun trackers to follow sunlight.
  • Panels can be manually adjusted for seasonal differences.
  • Improves airflow and panel efficiency.

Ease of Installation

  • Poles quickly driven or embedded into ground.
  • Wiring and infrastructure kept underground.
  • No need to penetrate building roof membranes.
  • Adjustable mounts convenient for maintenance.

More Installation Freedom

  • Suitable for oddly shaped lots limiting ground mounts.
  • Alternate option if roof cannot bear panel weight.
  • Rural sites have space for large pole mount arrays.
  • Creative positioning options unavailable on rooftops.

Cost Comparisons

While requiring more hardware, pole mounts yield higher efficiency gains long-term. Lifetime savings offset increased initial investment.

Potential downsides primarily include aesthetic concerns and land usage regulations that restrict pole mount visibility or placement.

With proper site planning and selection, pole mounting solves issues posed by insufficient roof space or shadows. It unleashes the potential for bigger, better solar with sites allowing array visibility.

V. Potential Drawbacks of Pole Mounts

While pole mounts provide increased solar potential, there are some potential drawbacks to be consider:

Aesthetic Concerns

  • Large, elevated panel arrays viewed as eyesores.
  • Community or municipality restrictions limiting pole visibility.
  • Not feasible in dense urban locations lacking open space.

Increased Land Use

  • Pole mounts require dedicated open ground space.
  • Competes with farmland or livestock grazing areas.
  • Not practical for smaller residential properties.

Upfront Costs

  • More pole and wiring materials required.
  • Labour and equipment rentals add expenses.
  • Overall system price estimated 10-20% higher.

Structural Considerations

  • Heavy wind/snow loading requirements.
  • Hurricane/seismic standards may increase costs.
  • Loose soil conditions cannot accommodate poles.

Pole mounting makes the most sense when improved solar exposure outweighs drawbacks like appearance, land usage, zoning issues or costs.

Proper site analysis, pole sizing, and community engagement help mitigate negatives. Engineers tailor mount strength and embedment depth to satisfy structural needs.

Pole mounts excel in rural, agricultural and large commercial settings where improved production returns the added investment. Their application selects sites allowing increased visibility.

VI. Applications for Pole Mounts

Pole mounts work well for certain solar applications with space for visibility. Common examples include:

Rural Properties

  • Farms with unused acreage for pole arrays.
  • Allows grazing under panels protecting soils.
  • Suitable for barns, agricultural buildings.
  • Provides backup energy resilience off-grid.

Universities

  • Campus roll-out of zero emissions goals.
  • High energy research/classroom uses.
  • Visibility attracts sustainability-minded students.
  • Lower long-term expenses.

Healthcare Centres

  • Hospitals are use 2.5x more energy than offices.
  • Rooftop HVACs limit available placement space.
  • Parking shade structures ideal for pole mounts.
  • Enhances community health focus.

Commercial Businesses

  • Distribution/logistics centres with large roofs.
  • Mount over open storage or vehicle lots.
  • Shopping plazas integrating shade and energy.

Pole mounted solar supports infrastructure demands with tailored visibility levels. Farms can isolate arrays daily operations. Campuses highlight sustainability commitments for constituents. Pole mounts ultimately target sites synergizing improved sunlight access with energy resilience and community benefit.

VII. Installation Considerations

Properly installing pole mount solar systems requires assessing:

Structural Requirements

  • Wind, snow, seismic ratings to withstand elements.
  • Engineer pole sizing, depth, and reinforcement.
  • Attachment methods resisting uplift forces.

Site Conditions

  • Sun orientation and exposure to maximize production.
  • Survey shading from buildings/trees.
  • Geotechnical study if loose soil or steep slopes.

Equipment Needs

  • Cranes, drills, pile drivers to position poles.
  • Conduit for underground wiring runs.
  • Adjustable mounts may require generators.

Permitting and Zoning

  • Local ordinance setbacks from property lines.
  • Visibility restrictions in neighbourhoods.
  • ADA access and fire code considerations.

Optional Enhancements

  • Integrate pole mounts with trackers.
  • Allow space for future solar expansion.
  • Plan arrays not to disturb livestock or farming.

Thorough planning and engineering on the frontend streamlines physical pole mount installation. Sites support easier construction and access for maintenance. Drawings should detail buried electrical lines and infrastructure. Establishing relationships with city officials and neighbours smooth approval processes before starting work.

VIII. System Sizing and Design

Properly sizing a pole mount system involves:

Energy Load Calculations

  • Estimate site’s annual electricity consumption.
  • Add planned consumption increases.
  • Account for future electrification goals.

Equipment Selection

  • Choose panel wattages and quantities.
  • Determine inverter sizes.
  • Optimize system design for efficiency.

Structural Specifications

  • Local wind, snow, seismic conditions.
  • Soil tests detailing composition.
  • Panel and hardware corrosion resistance.

Positioning and Layout

  • Maximizes unshaded solar exposure.
  • Allow access for maintenance and cleaning.
  • Optimize spacing and tilt angles.

Pole mount layouts balance generation capacity, equipment capabilities, and site limitations.

FactorDesign Impact
Site areaNumber of possible pole mounts
Soil qualityPole foundation sizing
Wind loadsStructural reinforcement needs

Refinements like sun trackers require factoring additional power, controls, and loads.

Proper pole mount design considers present and future energy needs, infrastructure restrictions, and mounting goals. This holistic approach delivers the ideal customized solar installation.

IX. Integration Options

Pole mounts allow integrating supplementary technologies like:

Trackers

  • Actively move panels to follow sunlight.
  • Increase energy production up to 30%.
  • Require rigids poles sustaining tracker/panel movement.
  • Typically powered by separate solar PV system.

Hybrid Rooftop Solar

  • Pole mounts expand capacity beyond rooftops.
  • Combines sites’ generation for resilience.
  • Enable incremental solar adoption over time.
  • Independent pole operation if roof equipment fails

Storage Batteries

  • Store excess solar energy for night time use.
  • Important for off-grid or backup power needs.
  • Adds consideration for battery cabinet dimensions.
  • Increased system costs, but enhances self-supply.

EV Charging Stations

  • Solar power emissions-free transportation.
  • Mount charging stalls under pole arrays.
  • Highlights sustainability commitment.
  • Reduces grid impact from EV adoption demands.

Pole mounted solar affordably meets growth through phased buildouts. The independent infrastructure allows customizing improvements over time, avoiding full roof replacements. Strategic options like trackers, storage and EV charging reduces environmental impacts even further.

X. Comparison to Ground Mounts

Pole mounting differs from ground mounts in four key ways:

  • Pole mounts elevate panels higher off the ground for improved solar exposure.
  • Less land area required for poles versus extensive ground mounting racks.
  • Pole mounts sustain higher wind loads with smaller foundation footprints.
  • Adjustability possible by tilting pole mounts to optimize angles.

Conversely, ground mounts have some advantages:

  • Lower profile keeps panels less visible.
  • Grading racking with the contour of sloped sites.
  • Wider variety of foundation options.
  • Overall lower material component costs.

The ideal residential or commercial solar installation leverages the strengths of both mounting approaches. A solar provider can advise the best system design and mounting method for your property.

Solar Mounting Systems on Trapezoidal Roofs  

Solar Mounting Systems on Trapezoidal Roofs  

Solar Mounting Systems on Trapezoidal Roofs  

 I. Trapezoidal Mounting System Types 


There are two main types of trapezoidal mounting systems: clamp systems and insertion systems.

A. Clamp systems

In trapezoidal mounting system clamp systems use short rail lengths, normally aluminium are secured directly to the roof surface with screws or rivets. The solar panels are then clamped onto these rails using panel clamps.

Benefits:

  • Cost-effective
  • Easy to install
  • Well-suited for portrait panel orientation

Considerations:

  • Ensuring water tightness with the screw/rivet seals
  • Accounting for varying sheet thickness with fastener pull-out strength

B. Insertion systems

In trapezoidal mounting system insertion systems use long rail profiles with built-in channels that are the modules frames slide into. These rails are also attached directly to the roof.

Benefits:

  • Fast snap-in module installation
  • No need for separate panel clamps

Considerations:

  • Allowing proper rear ventilation
  • Typically better suited for landscape panel orientation

So as per the result our clamp systems are directly attach panel on clamp to short rail pieces, while insertion systems utilize long rails that modules insert into. Both have pros and cons to weight based on factors like cost, performance, and easy for installation.

II. Components

The main components of trapezoidal solar mounting systems are:

  • Rails: Used to securely mount solar panels, available in various lengths and shapes such as short rails or long insertion rails. Typically made of aluminium.
  • Brackets: Attached rails to the trapezoidal roof structure. Often feature are rubber seals to ensure water tightness.
  • Screws: Special ER-U-S5.5X25-S12 screws fasten brackets to roof. Need proper gauge and thread design to account for varying sheet thickness and pull-out strength requirements.

Additional accessorie include:

  • Panel clamps: Hold panels onto short rail clamp systems.
  • Custom mounting kits: Full kits with all trapezoidal mounting components.
  • Drive tool accessory: Assists screws installation for certain systems.

In our trapezoidal mounting system the proper selection of ethes components is key for secure, high-performing, cost-effective trapezoidal solar panel installations.

III. Considerations

There are a few key considerations when selecting and installing trapezoidal solar mounting systems:

Water Tightness

  • Use rail seals, screw washers, bracket seals to prevent leaks
  • Penetrations through roof must be properly sealed

Sheet Thickness-

  • Varies widely (0.4mm – 0.7mm)
  • Affects fastener pull-out strength
  • May require adjusting screw type/number

Panel Orientation

  • Portrait = shorter horizontal rail spans
  • Landscape = cheaper vertical rails
ThicknessPull-Out Strength
0.5mmLower
1.0mmHigher

Careful attention in these areas ensures:

  • Waterproof roof integrity
  • Secure mounting system under wind/snow loads
  • Optimized system cost and performance

IV. Clamping systems

Clamping systems

Clamping systems are a common in trapezoidal mounting solution consisting of:

  • Short rails
  • Pre-assembled aluminium profiles
  • Attached directly to roof
  • Panel clamps
  • Grip module frame
  • Allow for thermal expansion

Benefits:

  • Preassembled – faster installation
  • Less rails – lower cost
  • Short rails – easy to handle

They secure modules directly to the roof, eliminating the need for long rails.

Some key points:

  • Attach rails with screws/rivets
  • Use neoprene washers to ensure water tightness
  • Adjust rail length based on crown spacing
  • Account for sheet thickness with fastener type and number

With smart design choices, these economical systems can be quickly mounted while keeping the roof sealed and secure.

V. Insertion systems

In trapezoidal mounting system the “Insertion systems” use long aluminium rail profiles with built-in channels that module frames slide and “insert” into.

Benefits:

  • Fast snap-in module installation
  • Clean aesthetics (no visible clamps)
  • Allows both portrait and landscape orientation

Considerations:

  • Ensure proper rear ventilation
    • Use spacer blocks or slight tilt
  • Allow for thermal expansion
    • Slot size matches frame thickness
  • Span spacing between trapezoid crowns
    • Rail length > crown spacing

Slight elevation angles can also improve performance:

  • Increased yield
  • Enhanced self-cleaning
  • Better rear ventilation

VI. Customized Mounting kits

Customized Mounting kits

In our trapezoidal roof installations, customized mounting kits bundle all the necessary components in one package:

  • U-Support brackets
  • ER-U-S5.5X25-S12 screws
  • FR Drive tool accessory
  • Rails (if needed)
  • Seals/washers
  • Cable parts

Benefits:

  • Simple ordering/inventory
  • Perfectly matched components
  • Optimized for specific projects

For example, the Trapezoidal system uses just in 3 main parts:

  1. U-Support bracket
    1. Lightweight aluminium
    1. 20mm wide base for all profiles
  2. Special screw
    1. Twin asymmetric thread
    1. Range of sheet thickneses
  3. FR Drive tool
    1. Speeds installation
    1. Prevents overdriving

This streamlined approach simplifies and speeds mounting:

  • Only 2 min per PV module
  • No concerns over expansion joints
  • Significantly reduces cost

The key with any kit is ensuring it meets the needs – sheet thickness, panel layout, wind/snow loads. Prefabbed for rapid mounting. Fully customized for your trapezoidal rooftop.

VII. U-Support Brackets

U-Support brackets

U-Support brackets are a component specifically designed for trapezoidal sheet metal roofs. They offer a simple but versatile mounting solution.

Features:

  • Made of durable, lightweight aluminum
  • Narrow 20mm width
    • Suits all trapezoidal profiles
  • Integrated EPDM rubber seal
    • Ensures water tightness
  • Height options
    • 25-35mm: optimize rear ventilation
    • 60mm+: high snow loads

Benefits:

  • Rapid installation (~2 min per module)
  • Avoid concerns over rail expansion
  • Less parts = lower system cost

Considerations:

  • Proper torque to avoid overdriving screws
  • Use appropriate screw for roof sheet thickness
  • Meet wind/snow load requirements

With smart design and engineering, U-Support brackets enable simple, cost-effective trapezoidal solar mounts.

VIII. Drive Tool Accessory

Drive Tool Accessory

Installing solar on trapezoidal metal roofs requires unique screws that are carefully torqued to avoid damage. A drive tool accessory makes this process faster and easier.

Benefits

  • Speeds installation time
  • Enables proper screw guidance
  • Prevents overdriving
  • Works with specific electric drivers

How it works:

The tool interfaces with the ER-U-S5.5X25-S12 screws to:

  1. Guide screw correctly to roof hole
  2. Drive screw to proper depth
  3. Stop driver when reaching target torque

Considerations

  • Works for specific screw types and drivers
  • FR tool suits certain hex drive sizes
  • Bit holder required for some drivers
ComponentDetails
Screw typeER-U-S5.5X25-S12
Drive size1/4″ hex
Driver torqueLow (< 3 Nm)

The trapezoidal mounting system are using a drive tool is highly recommended for trapezoidal solar mounts using specialty screws, which have very precise torque requirements. This accessory makes meeting roofing best practices much simpler!

IX. Mounting Brackets

Mounting brackets are a versatile solution for installing solar panels on trapezoidal and corrugated metal roofs. They allow for height-adjustable installation to ensure the panels sit completely flush on uneven sheet metal roofing.

Key advantages of mounting brackets:

  • Fast and direct attachment to the raised seams of the roof with rivets or sheet metal screws
  • Height adjustment enables flat, tension-free panel installation
  • Connections to crossbar adapters simplifies frameless panel installation
  • Made of weather-resistant aluminium
  • Pre-assembled with sealing tape

Components

ComponentDescription
BracketAttaches to the roof seams
Mounting railsLightweight rails to mount panels
Rail connectorsJoin rails with structurally integrity
**Cross adapters **Connect floor rail to panel rail

In trapezoidal mounting system the versatility of mounting brackets makes them an ideal solution for residential and commercial trapezoidal roof solar projects. Their height flexibility and ability to integrate with leading rail and panel systems reduces installation labor and ensures an optimized, secure panel fit. As solar access expands globally, mounting brackets have become a contractor-preferred best practice for metal roof applications.

X. Delta Triangles

Delta triangles are an exceptional solution for elevated solar panel mounting on trapezoidal and corrugated metal roofs. Their adjustable tilt angle and compatibility with leading rail systems enables optimized solar capture.

Key advantages of delta triangles:

  • Installation at tilt angles from 5° to 45°
  • Position and size of solar array is variable
  • Orientation towards eaves or verge possible
  • Ideal even for small, 1-panel systems
  • Low shipping cost due to collapsible design

How Delta Triangles Work

Delta triangles have a triangular frame that sits atop roof seams, secured directly using sheet metal screws. The triangles pivot to adjust tilt angle to the ideal degree for solar exposure.

Trapezoidal sheet metal rails then attach to connect the triangle to the roof seem. The panels themselves mount to the rails using end clamps and mid clamps.

Cross adapters join the upper rail to the triangle base, enabling a secure structural connection.

Components

ComponentDescription
Delta triangleAdjustable tilt mount
Sheet metal railAttaches triangle to roof
Mounting railsSecure solar panels
Rail connectorsJoin mounting rails
Cross adaptersConnect rails to triangle

Applications

Thanks to their flexibility, delta triangles have become a preferred solution for solar mounts on metal roofs of:

  • Warehouses
  • Processing plants
  • Commercial buildings
  • Aircraft hangars
  • Agricultural structures

If there is a either facing issues with shading, angling for max sunlight, or working with curved roofing, delta triangle systems enable customized solar captures for metal roof applications. Their lightweight triangle frames allow cost-effective shipping and hands-free installation.